
DHCP Servers
ProVision's DHCPv2 combines server management, group organization, and pool management under the DHCP tab.
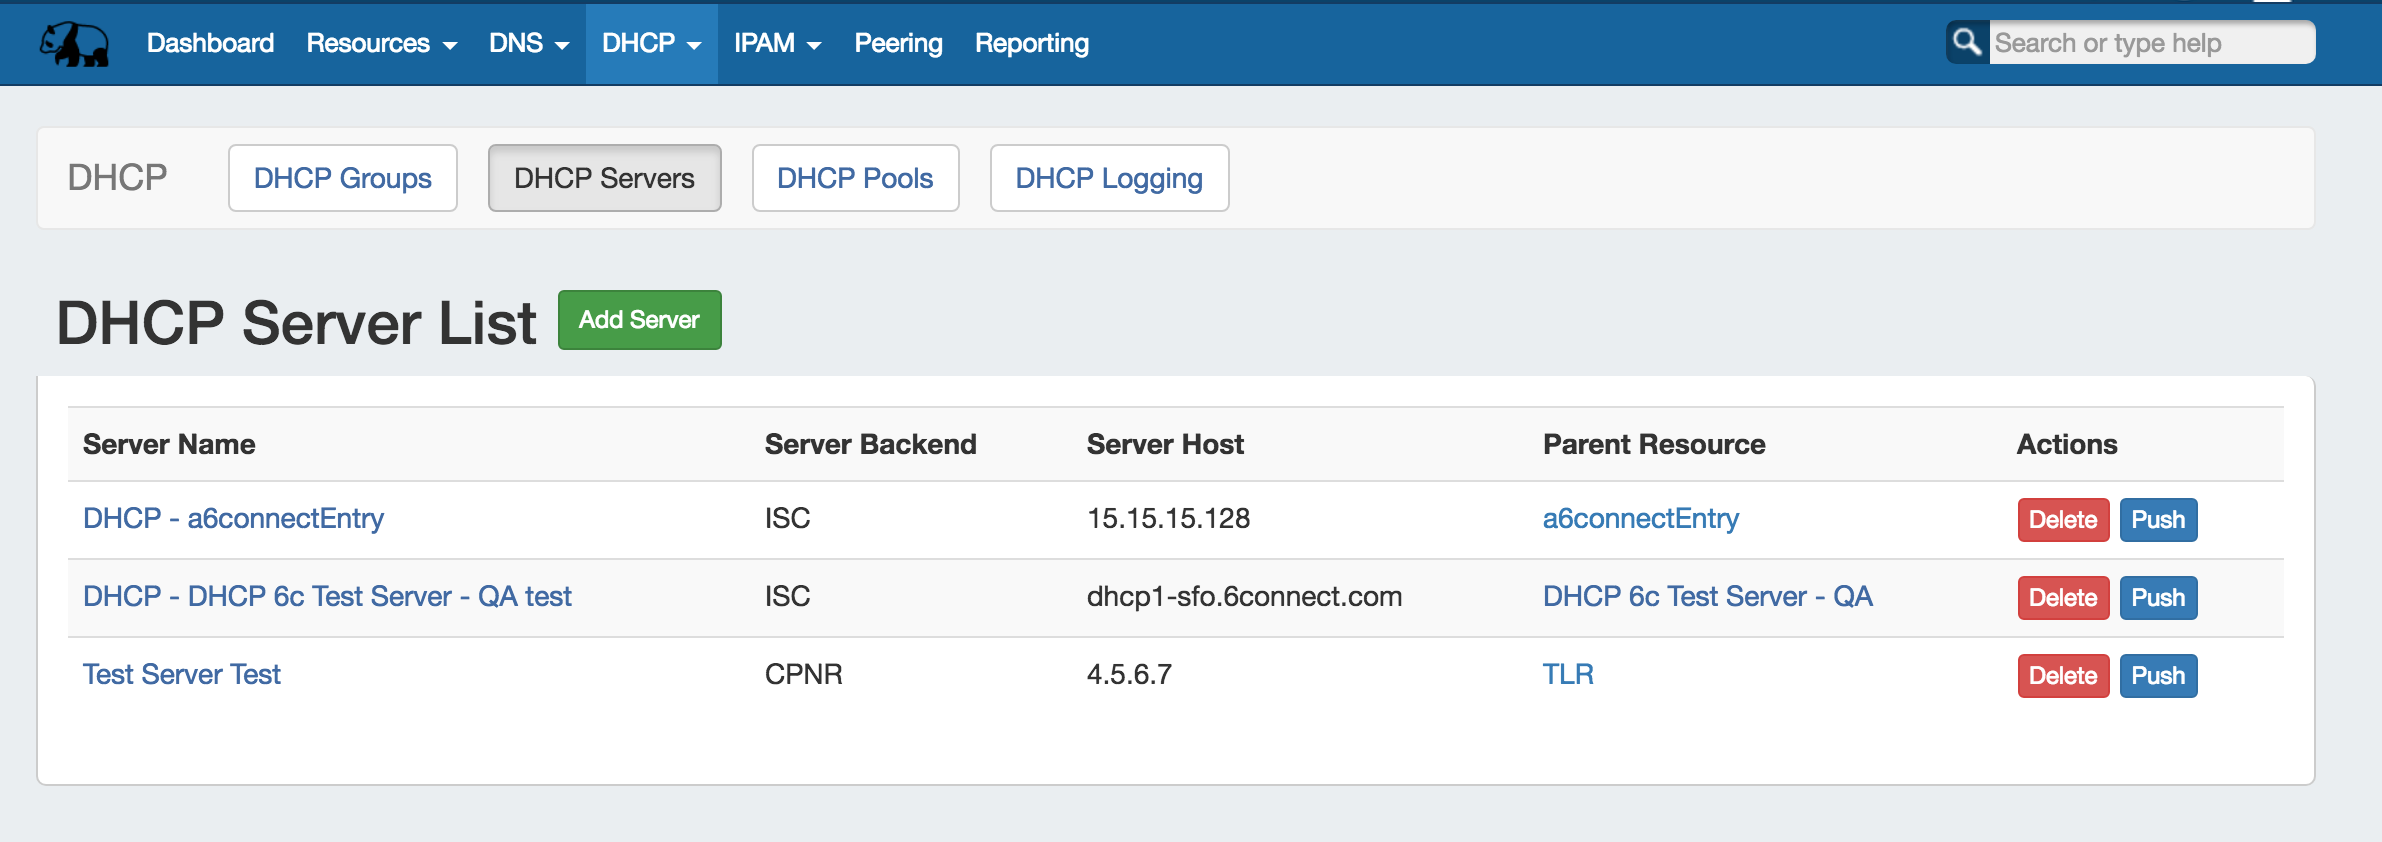
The DHCP Servers tab is only accessible to Admin users, and contains functions for adding, updating, and managing DHCP servers as well as scheduling server tasks.
DHCP Server List Interface
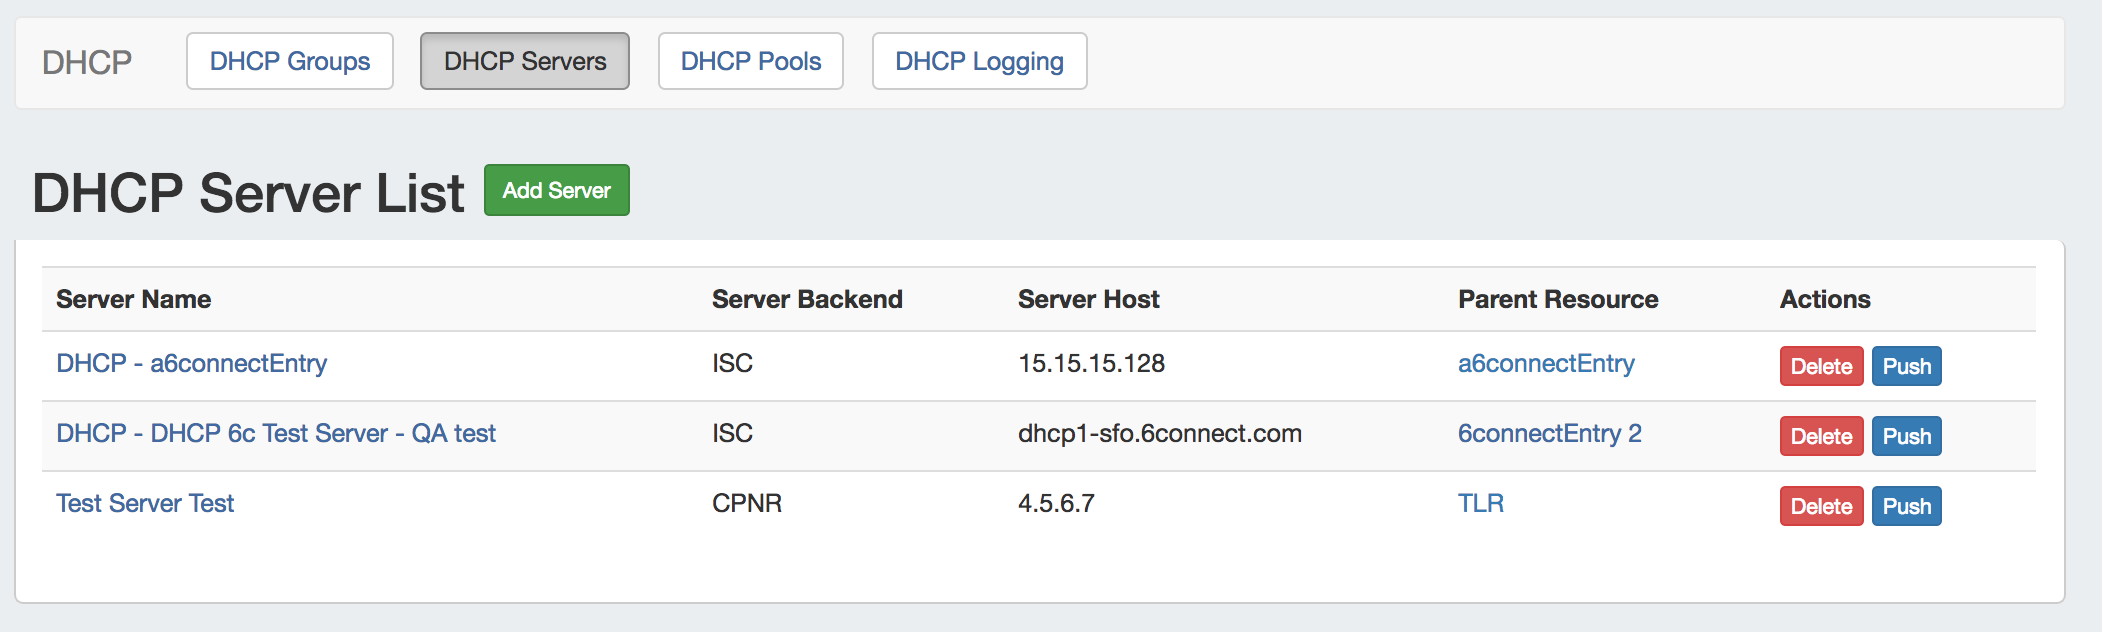
1) Add Server Button: Opens a dialog for creating a DHCP server.
2) Server List:
3) Server Name: Name of the DHCP server. Click to open server details.
4) Server Backend: The DHCP Service backend type for the server. Available types are ISC and CPNR.
5) Server Host: The server host.
6) Parent Resource: The ProVision resource set as the Parent for the server.
7) Actions: The actions that may be performed on each server:
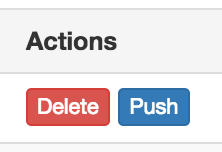
8) Delete: Deletes the server from ProVision.
9 Push: Pushes all pools associated with the selected server.
Working with DHCP Servers
Add a Server
To create a new server, start from the DHCP Tab, select the DHCP Servers sub menu. Then, click the "Add Server" button next to "DHCP Server List".
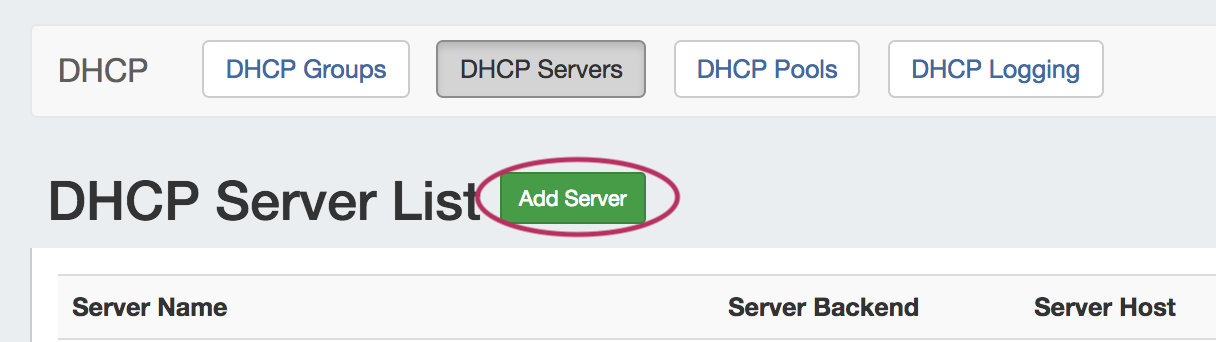
This will open the "Server Settings" page.
Server Settings
1) Set Server Common Settings
In the "Common Settings" section of Server Settings, enter the new server's Display Name (the name that will appear on the ProVision interface), the FQDN / IP, server type, service type, and desired parent Resource (may be left at the default Top Level Resource).
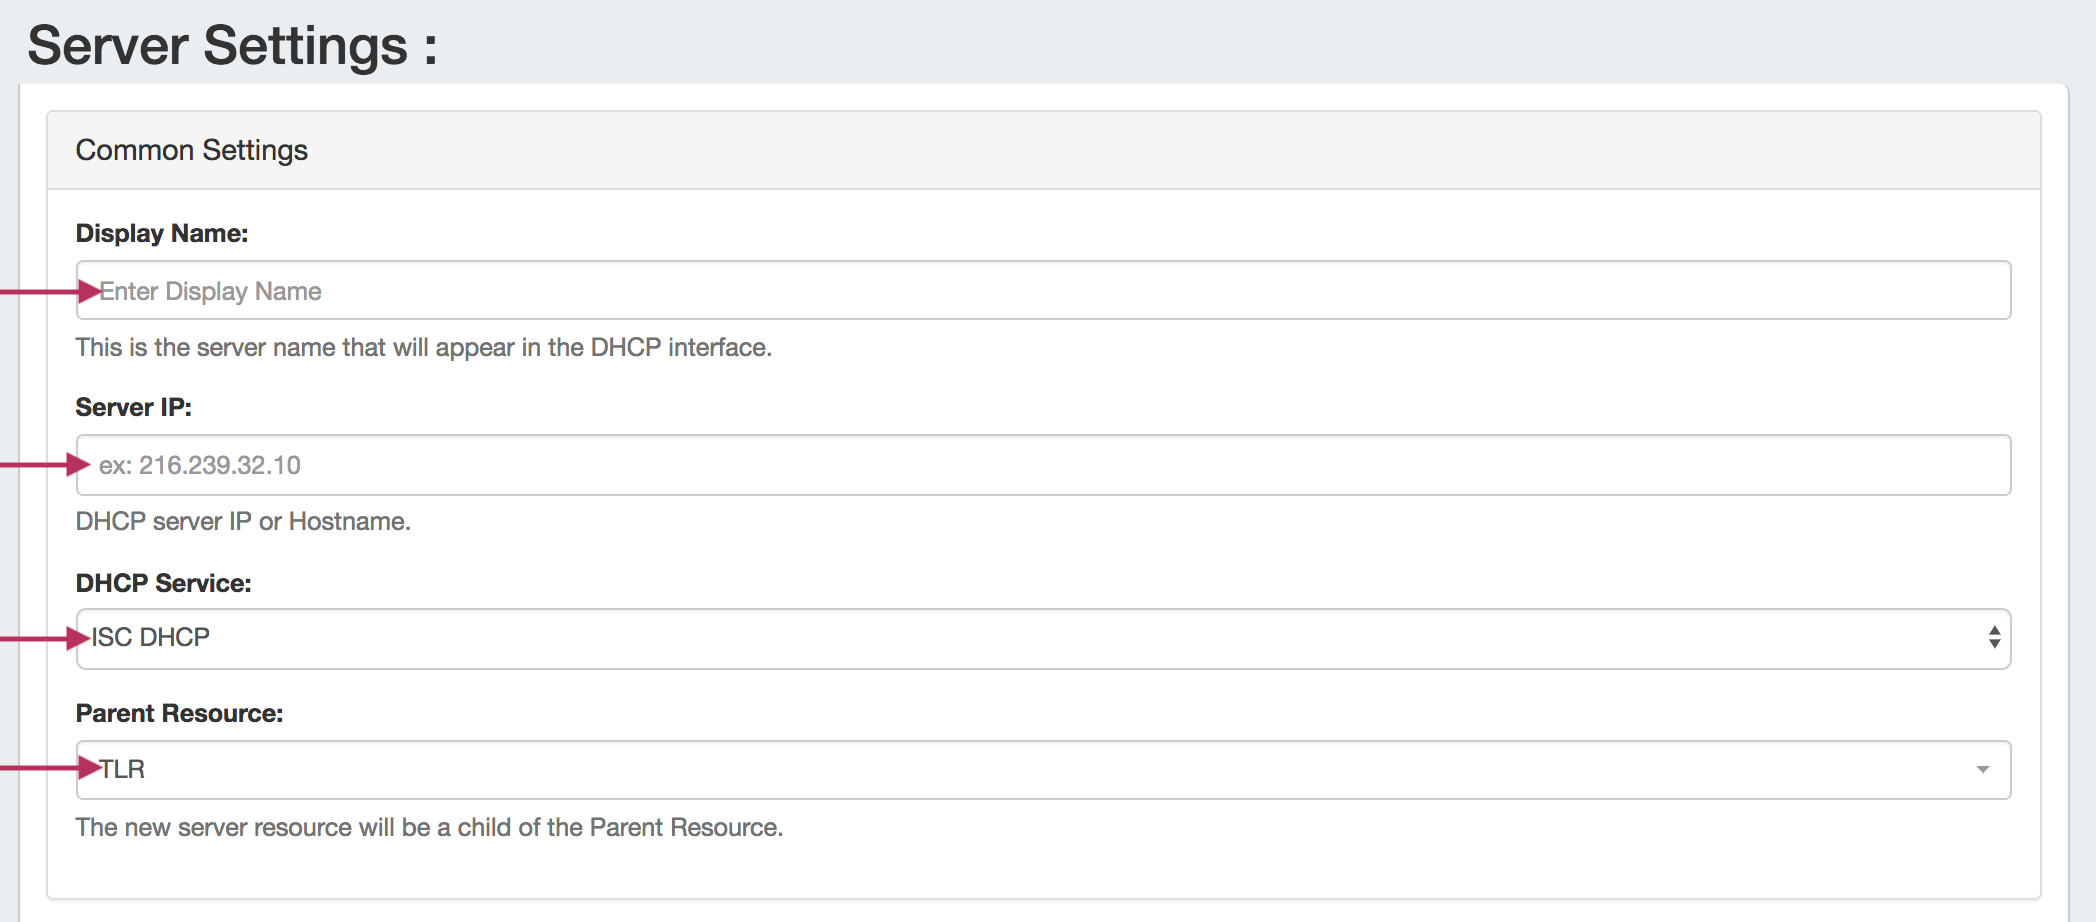
Display Name: Name you want the server to display.
Server IP: The IP or Hostname of the DHCP server.
DHCP Service: Select the DHCP service type - ISC DHCP, or Cisco Prime Network Registrar (CPNR).
Parent Resource: Select the ProVision resource to be the "parent" of the server - typically TLR (Top Level Resource), but may be a lower level resource such as a Customer or Location. The parent resource selection is the basis of access permissions for the server.
2) Set Server Specific Settings
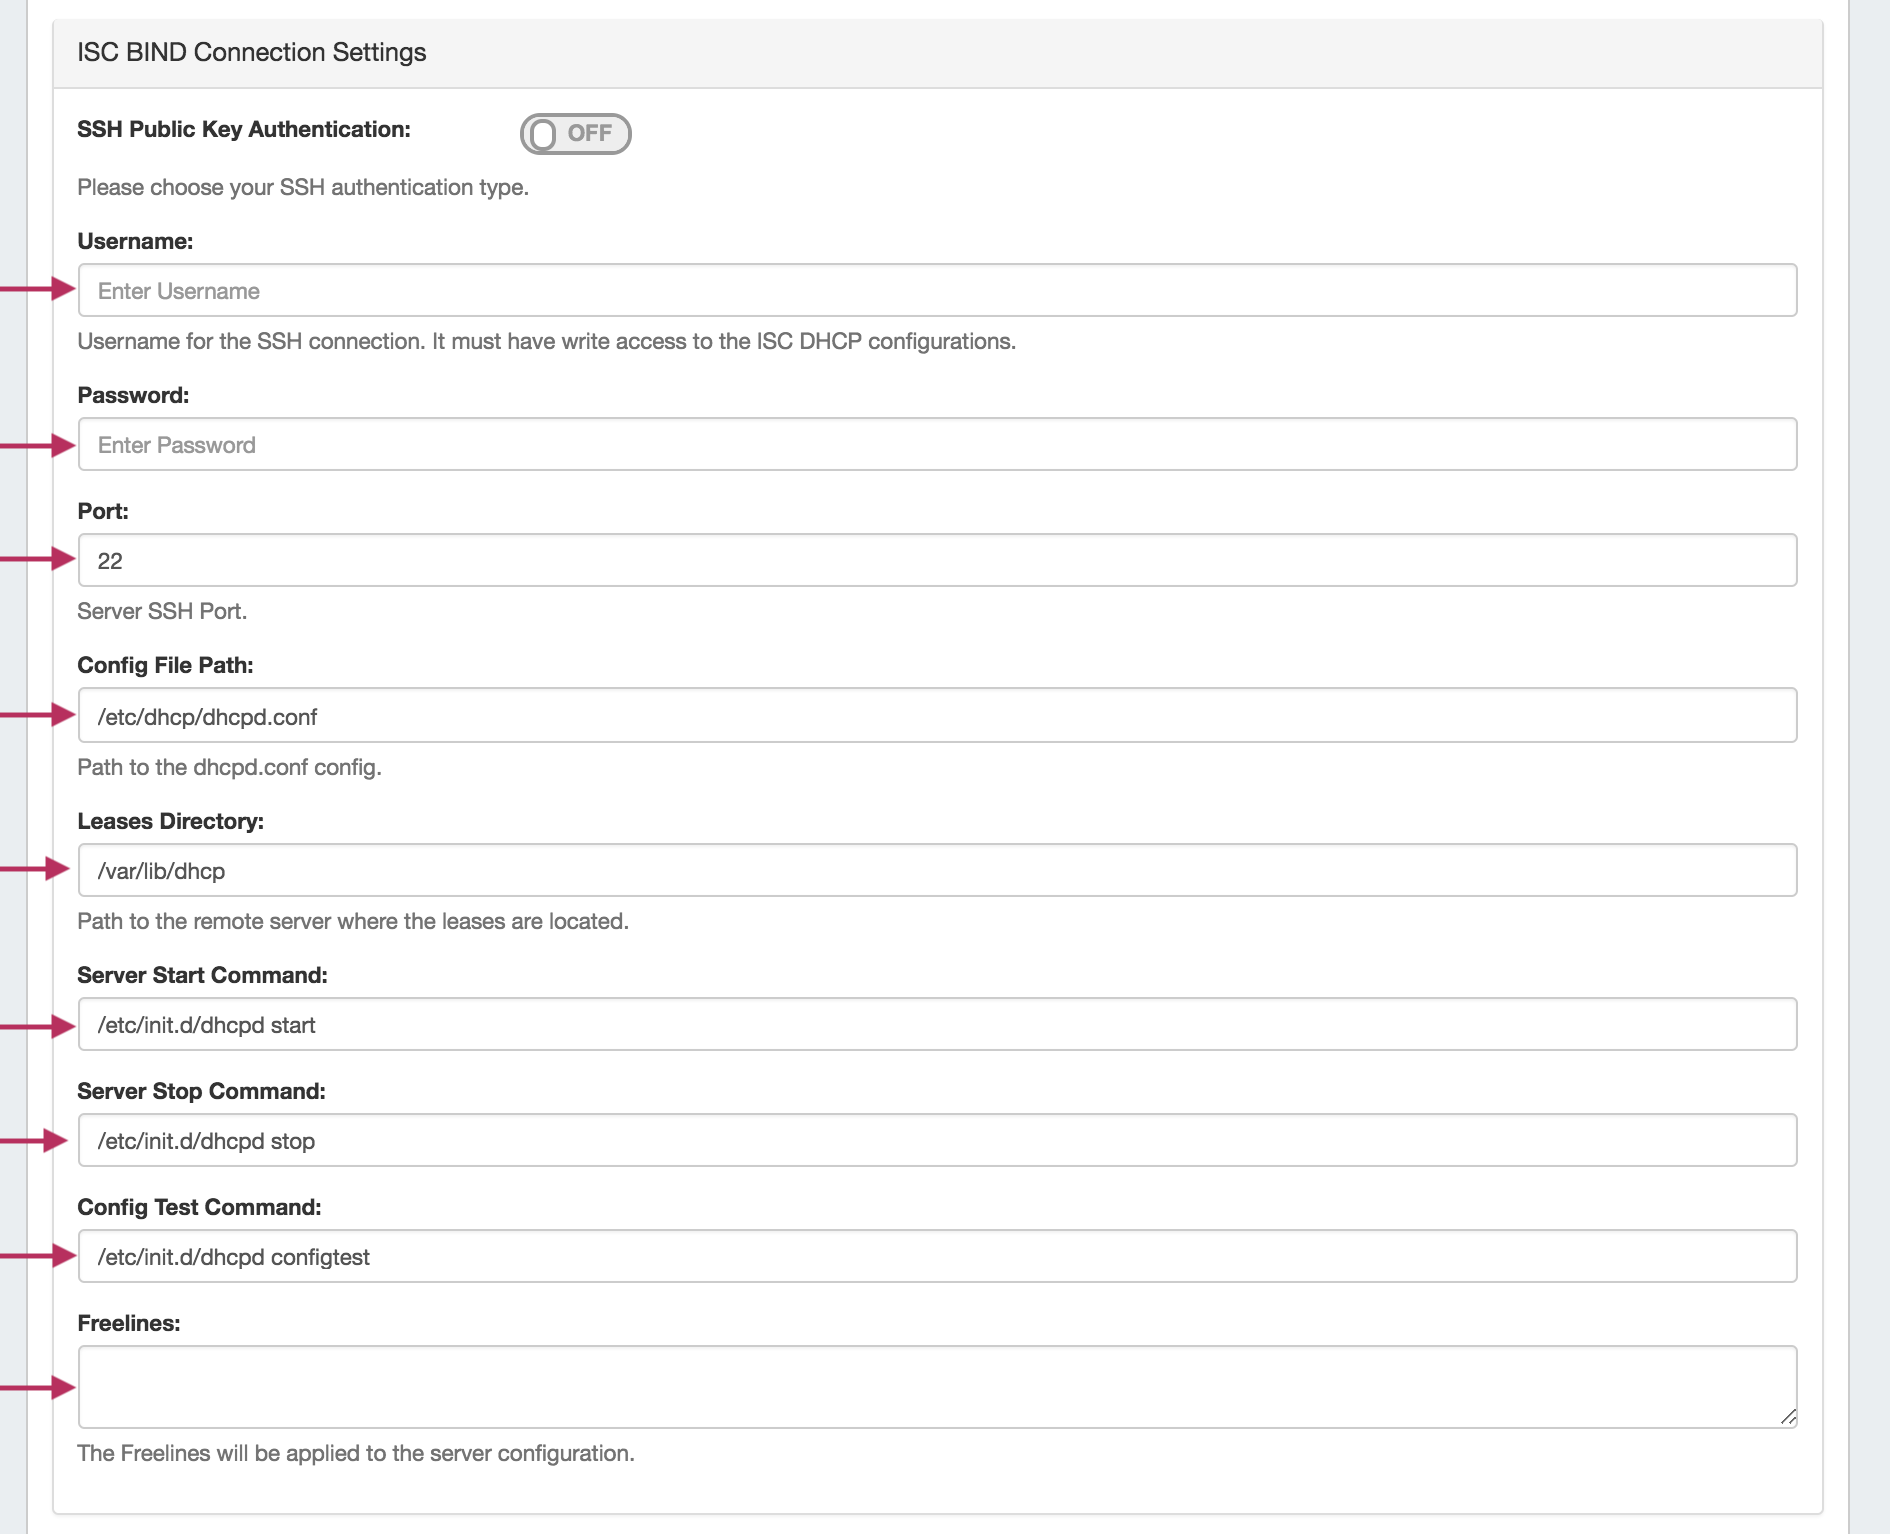
The next section is entering server service-type specific settings. The options visible in this section will depend on the "DHCP Service" type chosen under "Common Settings".
Here, we see the fields for ISC DHCP server settings. Enter the server Username, Password, Port, Leases Directory, Server Start / Stop Commands, Server Test Command and Freelines (if desired).
Your fields may vary for other server types.
For SSH Public Key Authentication, click on the ON / OFF toggle to select "ON" or "OFF" as needed.
3) Set Advanced Server Settings
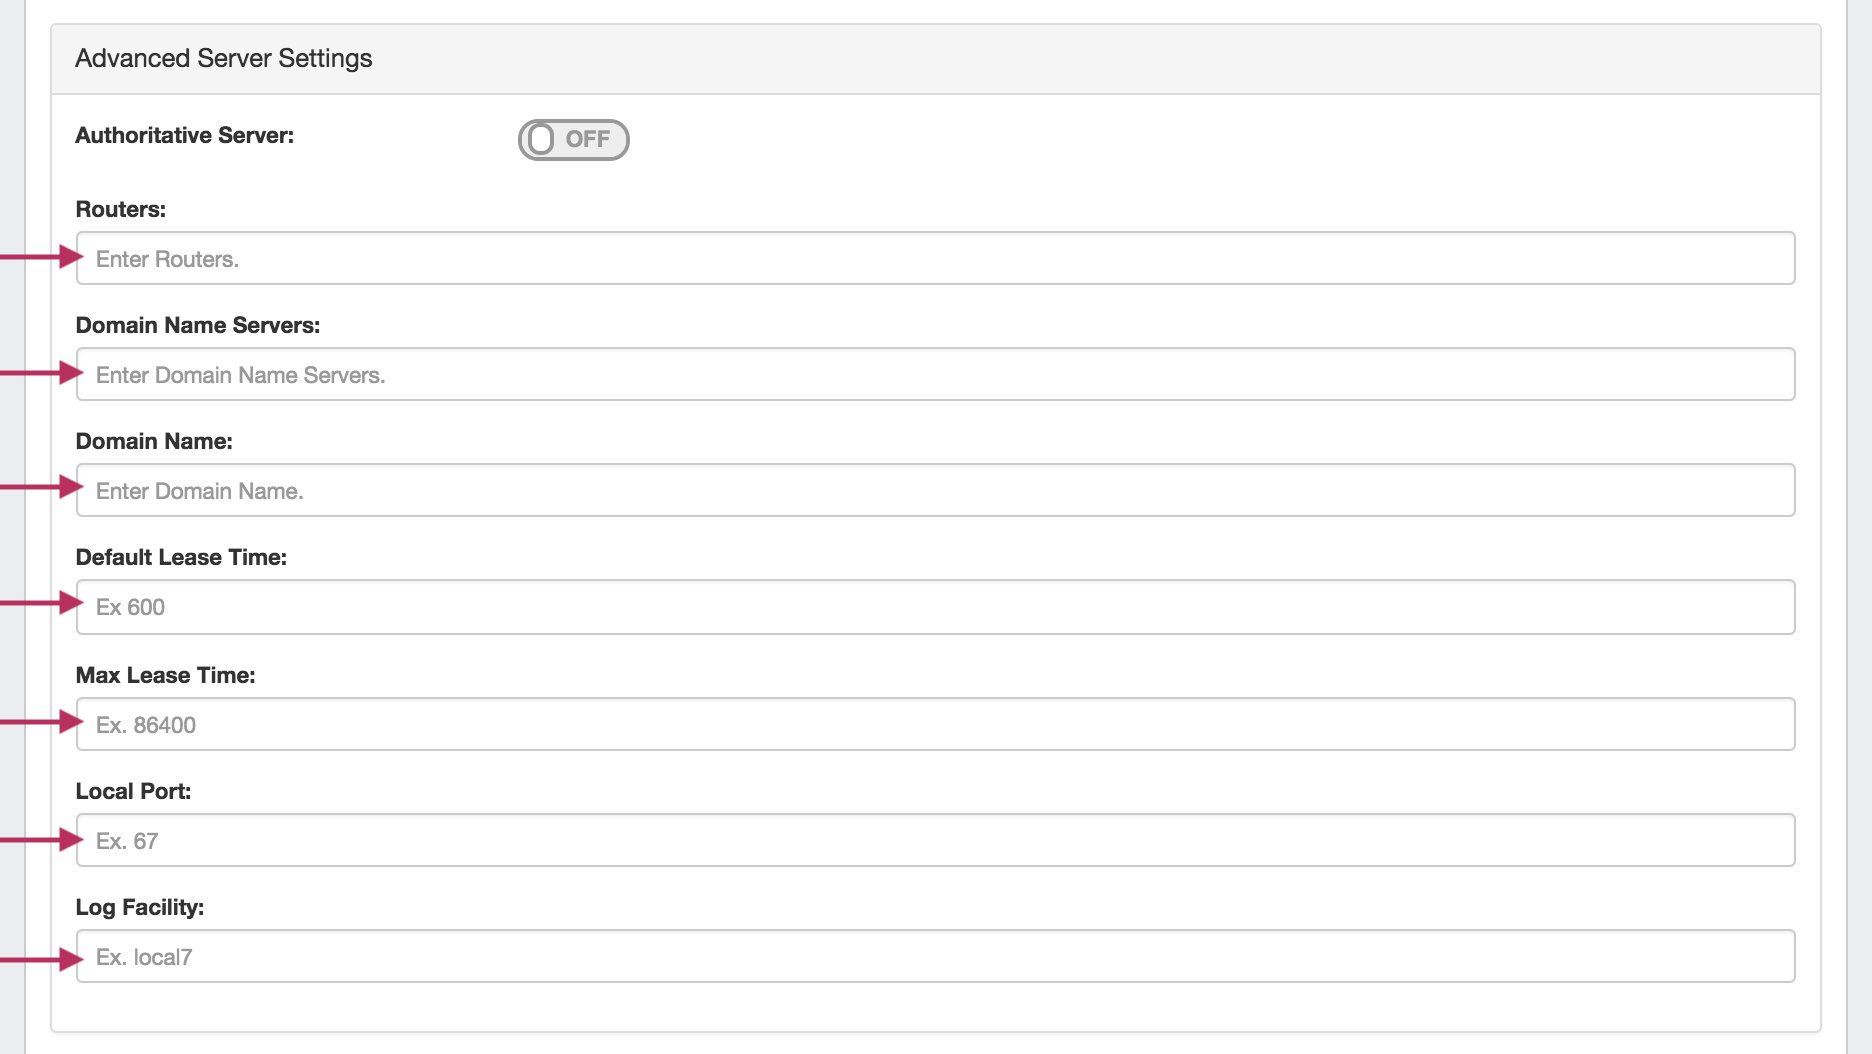
If desired, Advanced Settings for the DHCP Server may be entered. Toggle "Authorative Server" to "On" or "Off", and fill in the fields for Routers, Domain Name Servers, Domain Name, Default Lease Time, Max Lease Time, Local Port, or Log Facility.
4) Set DHCP Group Settings for Server
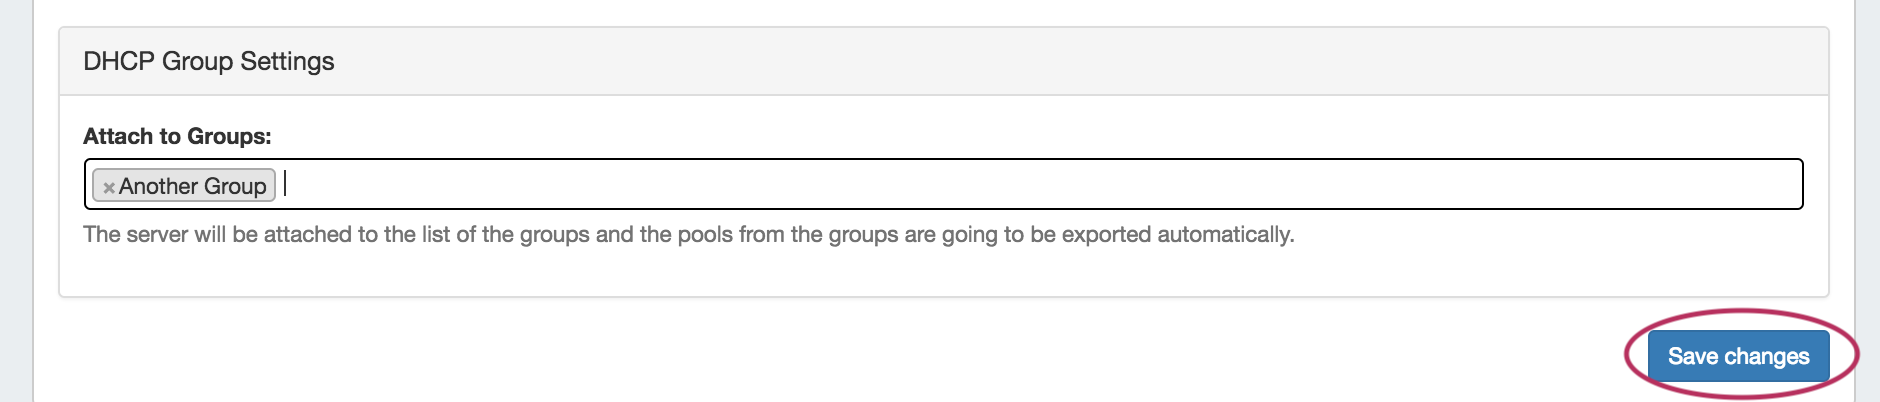
In the last section, select whether to attach the server to an existing DHCP Group. Pools assigned to the selected Group will automatically be attached to the server.

5) Save Changes
Save your changes when done! Just click the "Save Changes" button at the bottom right of the page.
The new server will now be added to the DHCP Servers list. These settings may be changed at any time by selecting the server from the server list and editing the information.
Edit Servers
Edit an existing server by clicking once on the server name in the DHCP Servers list.

The "Server Settings" page will open.
Click inside the field that you want to change, type your changes, and then click "Save Changes" at the bottom of the page.
Review Pools Connected to a Server
There are two ways that pools may be connected to a DHCP server:
1) Directly connected, by attaching the pool to a server from the Pool Details page.
or,
2) Connected by a Group that has been set as the default DHCP Group for the server, selected under "DHCP Group Settings".
Both are able to be viewed on the DHCP Server Settings page.
To view either, open the Server Settings page for the server by clicking on the server name in the DHCP Servers list.
Edit an existing server by clicking once on the server name in the DHCP Servers list.
The "Server Settings" page will open.
Pools Directly Connected to the Server
Scroll to the bottom of the page, and open the module titled "Pools directly connected to the server" by clicking on the expansion arrow.

A pool list will show the pool(s) that have been directly connected to this server.
Here, you may browse through subnet and host pools by selecting the appropriate tabs, sort the list by Pool Name or Last Modified, or open the Pool Details page by clicking on the name.
Zones Connected via a Group
If a default Group has been selected under "DHCP Group Settings" for the server, pools under that Group will be connected to the server and able to be viewed on the Server Settings page.
Scroll to the bottom of the page, and open the module titled "Pools connected to Group '(Group Name)' " by clicking on the expansion arrow.
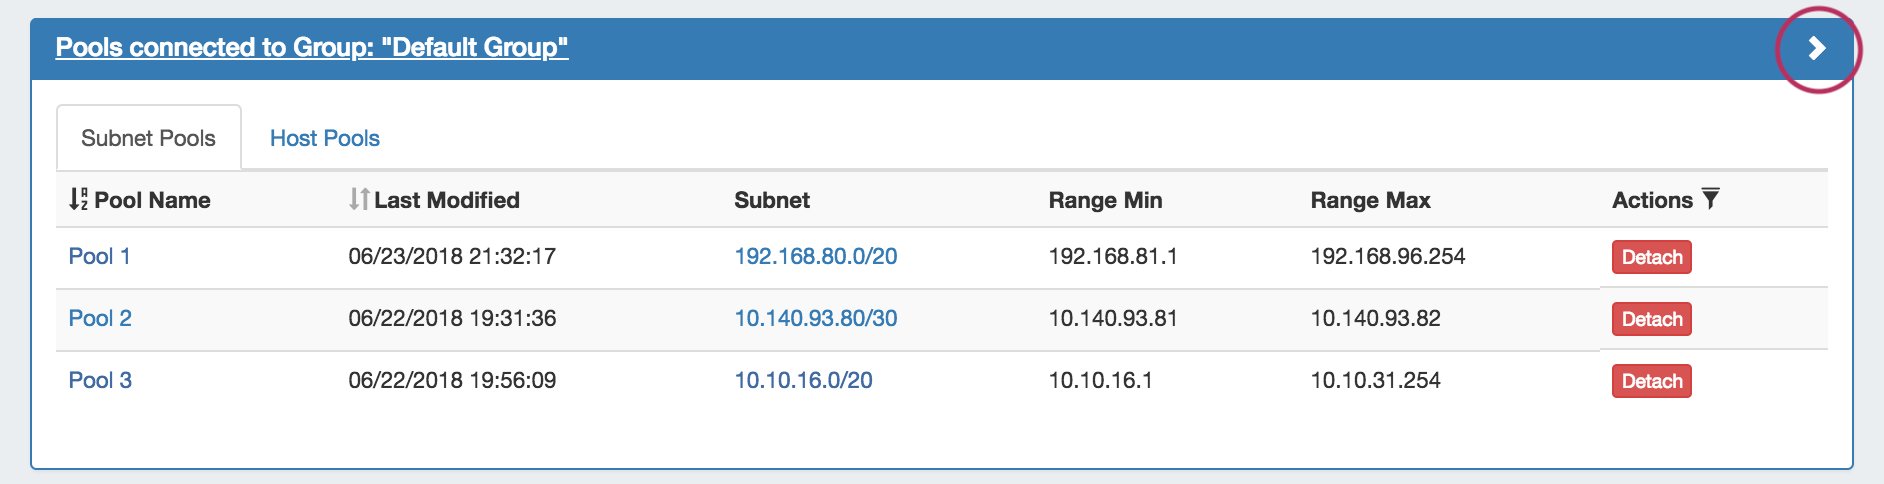
A pool list will show the pool(s) that have been directly connected to this server.
Here, you may browse through subnet and host pools by selecting the appropriate tabs, sort the list by Pool Name or Last Modified, or open the Pool Details page by clicking on the name.
Pushing a Server
Manual Push
Manually pushing all pools on a server may be done directly from the DHCP Server list. Under the "Actions" section of the Server List, click the "Push" button for the desired server.

Pushing may also be done while in the Server Settings page. While in the Server Settings page, click the "Push Pool" button at the top right of the page.
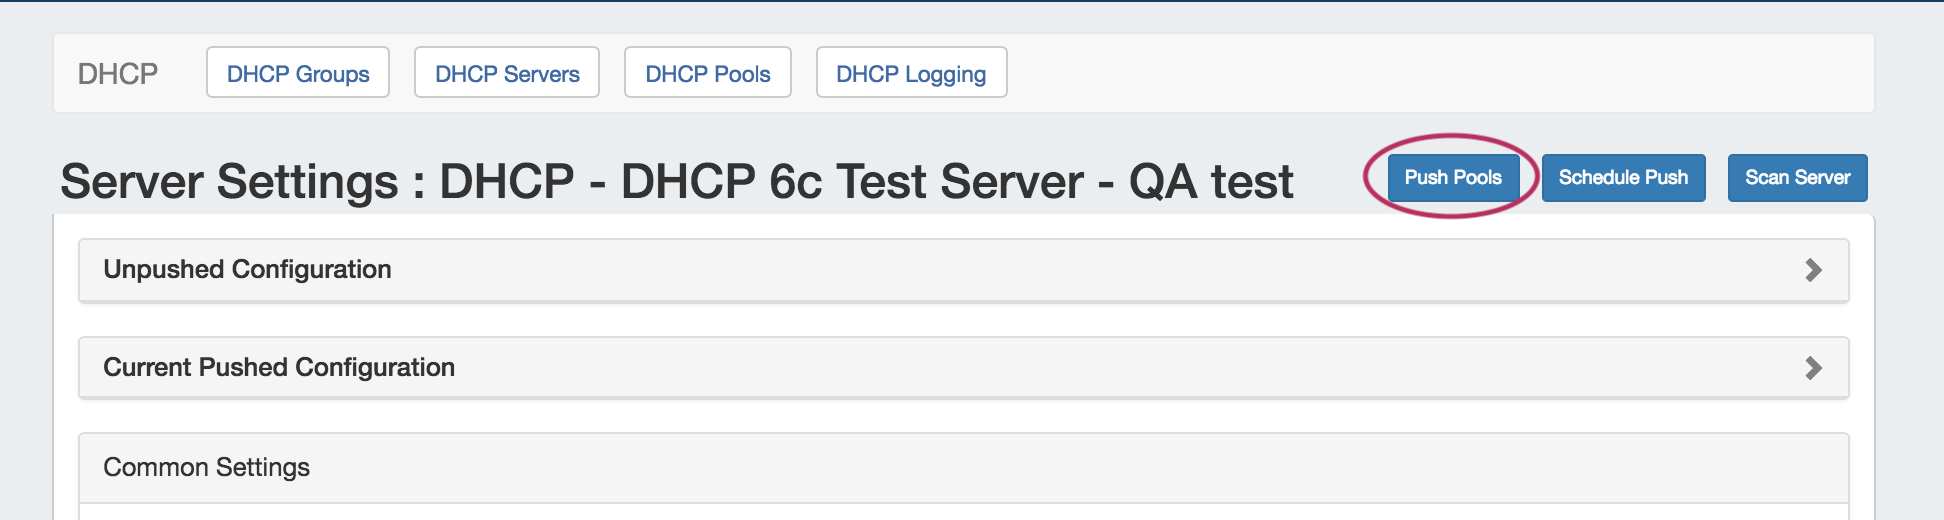
A "DHCP Push Status" box will appear, showing the status as the server is pushed. Once all pools have been pushed successfully, a green status message of "Finished DHCP Pushing Request" will appear. At this point, the push is complete and the window may be closed.
Scheduled Push
DHCP server pushes may be scheduled from either the Admin Area Scheduler Tab, or from within the DHCP Server Settings page. Scheduled pushes require Admin access.
For information on scheduling a push from the Scheduler Tab, see Scheduler Tab documentation.
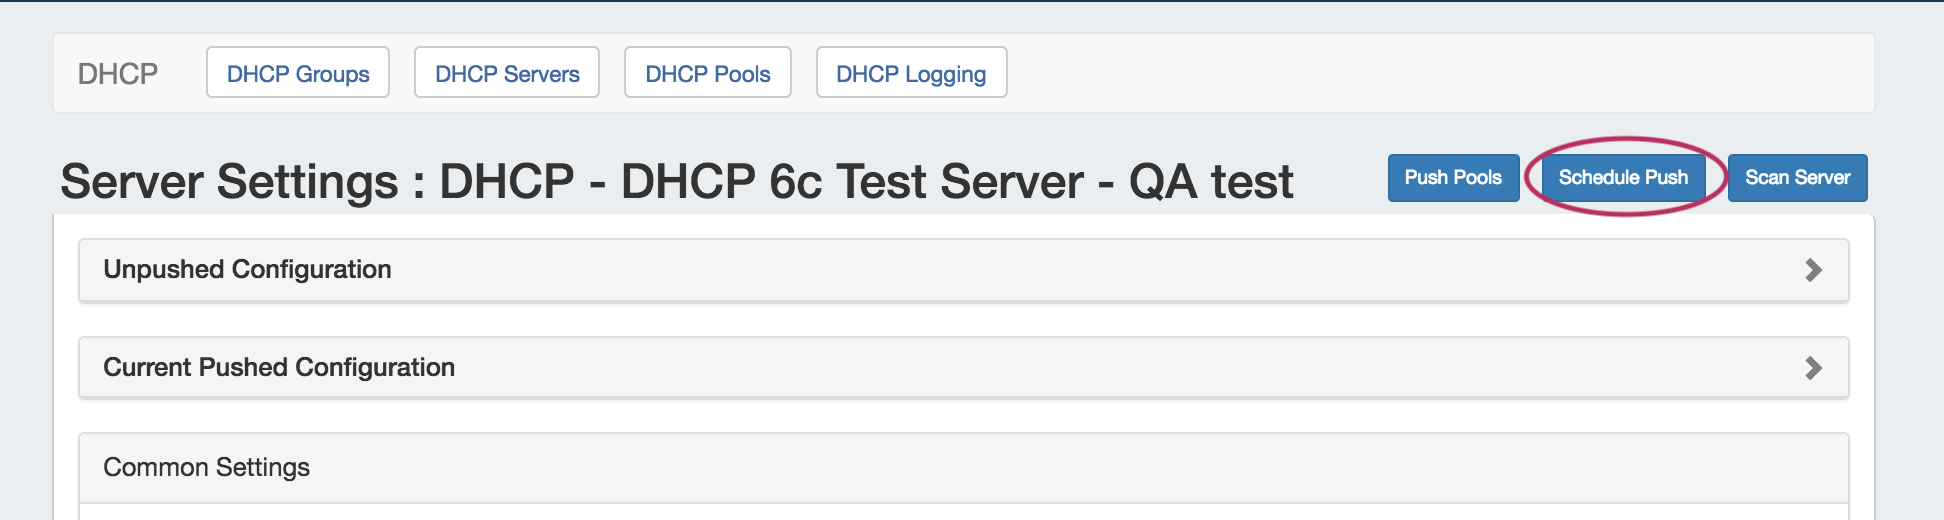
To schedule a push from a server's Settings page, open the Server Settings page for the desired server, and click on the "Schedule Push" button.
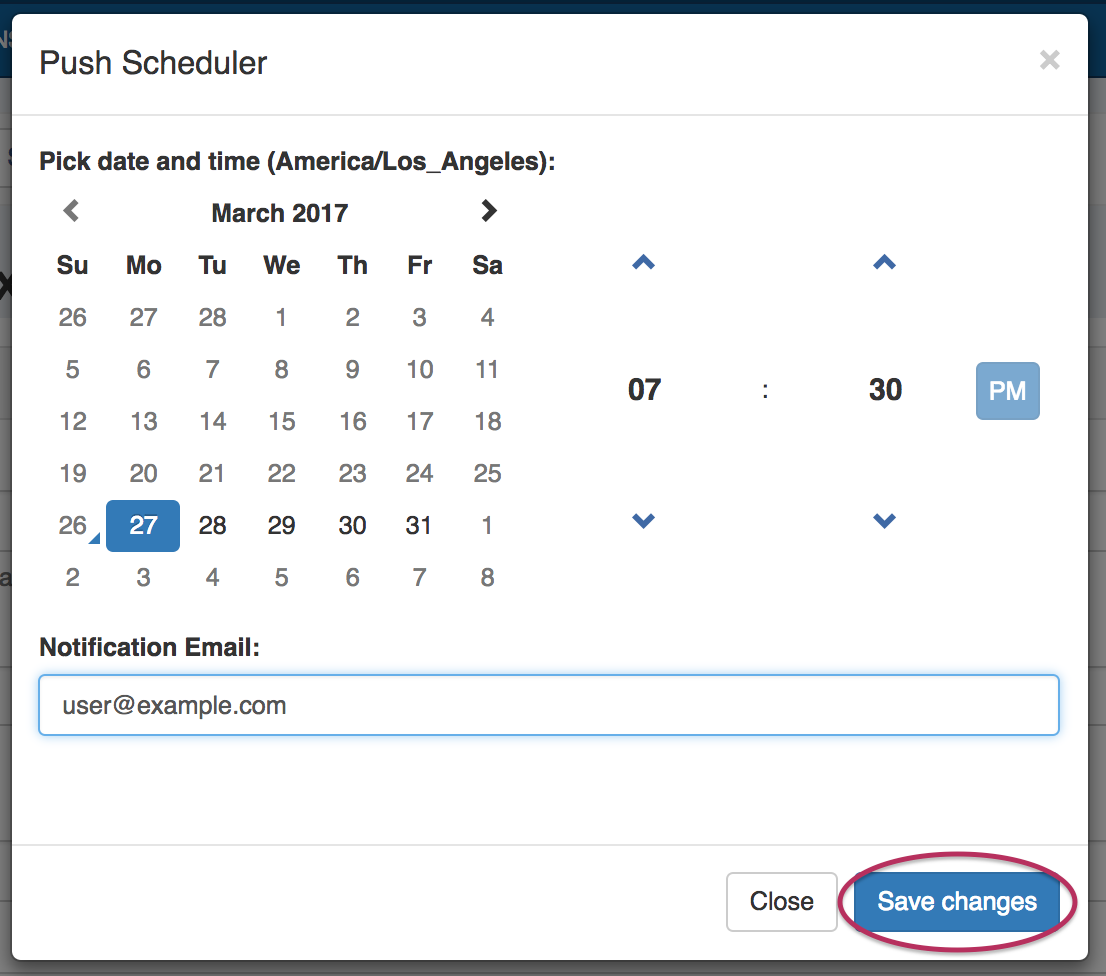
The Push Scheduler dialog will open. Click on the calendar on the left to select a date for the push, set the desired push time on the right, enter a notification email address, and then click "Save Changes".
Once a schedule push has been created, a "Scheduled Tasks" module will appear at the top of the Server Settings page.
Click on the expansion arrow for the module to open and view the tasks. Scheduled tasks may be deleted by clicking the "Delete" button under "Actions".

If necessary, the Scheduled Push may be edited from the Scheduler Tab in the Admin area of ProVision. See the Scheduler Tab for information on editing scheduled tasks.
Review Pushed / Unpushed Configurations
After a server has been created, unpushed edits may be viewed under the "Unpushed Configurations" module in Server Settings.
After a push, the most recent pushed configuration may be viewed under the "Current Pushed Configuration" module in Server Settings.
To open either, click the expansion arrow for the module on the top right of the header.
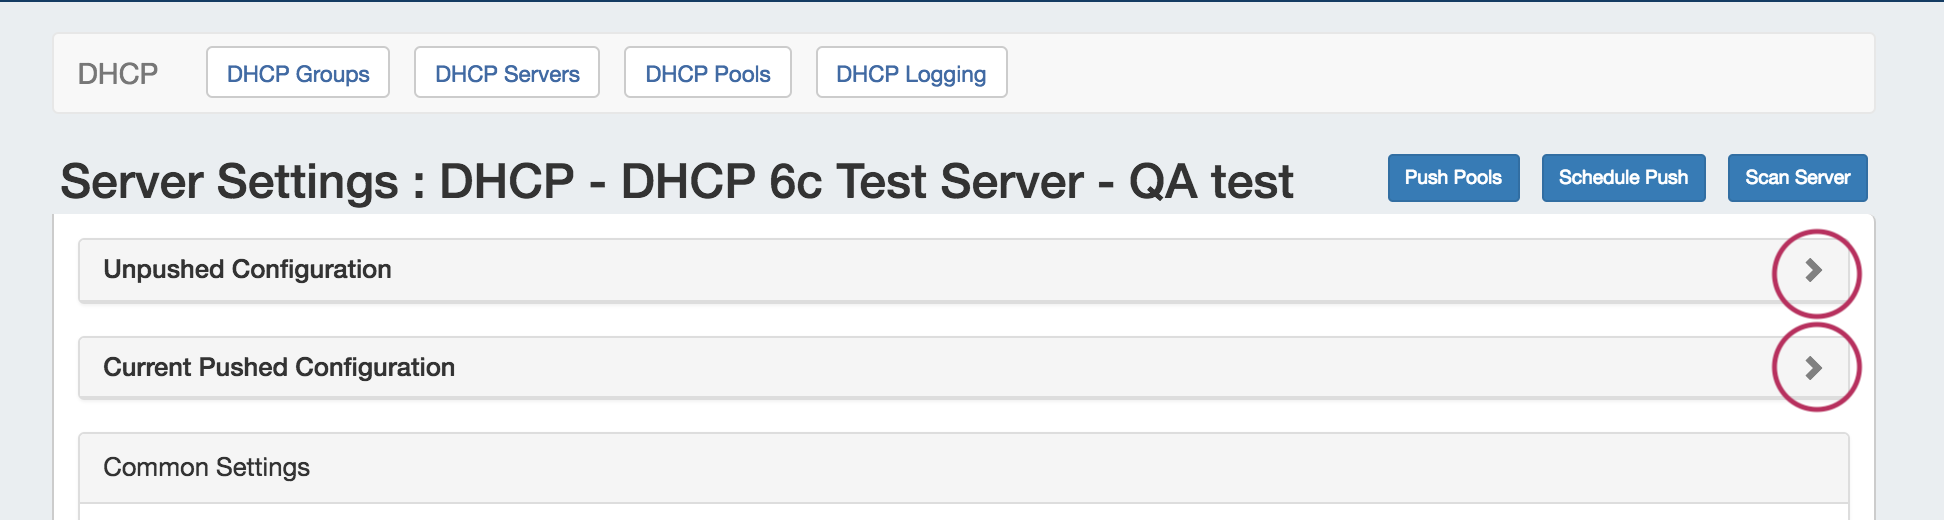
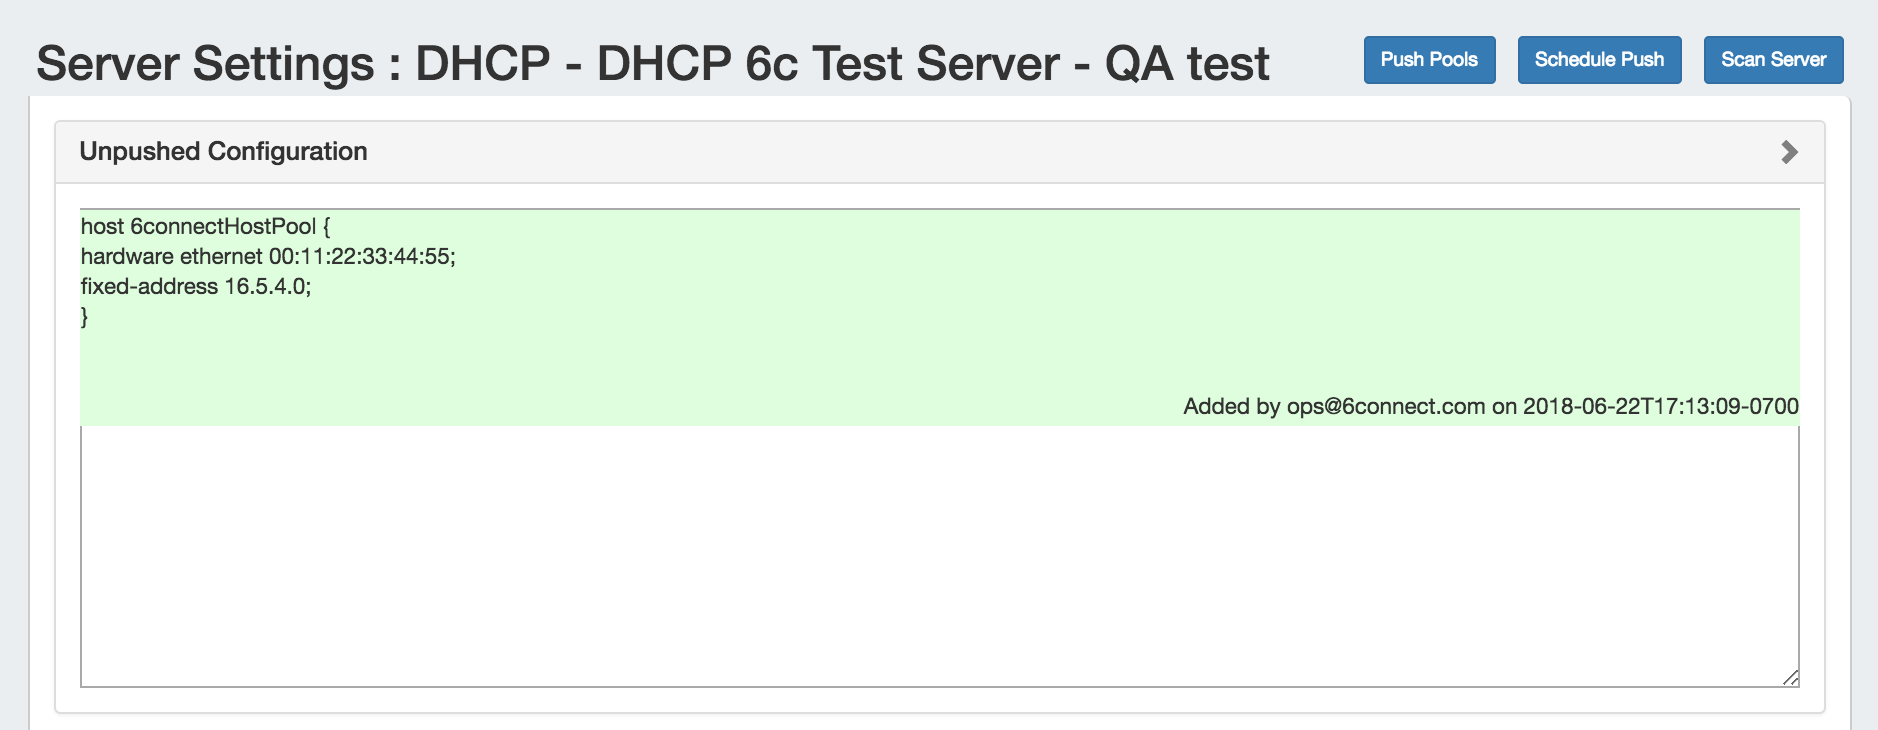
The Unpushed Configuration module will show the edits made to the configuration since the last successful push, and the user, time, and date of the change.
In Current Pushed Configuration, you may search for a specific line by entering a term in the search bar and hitting the "Enter" key - the config will jump to the appropriate line for review.

Scan a Server
Scan a DHCP Server by clicking the "Scan Server" button at the top of the Server Settings page.
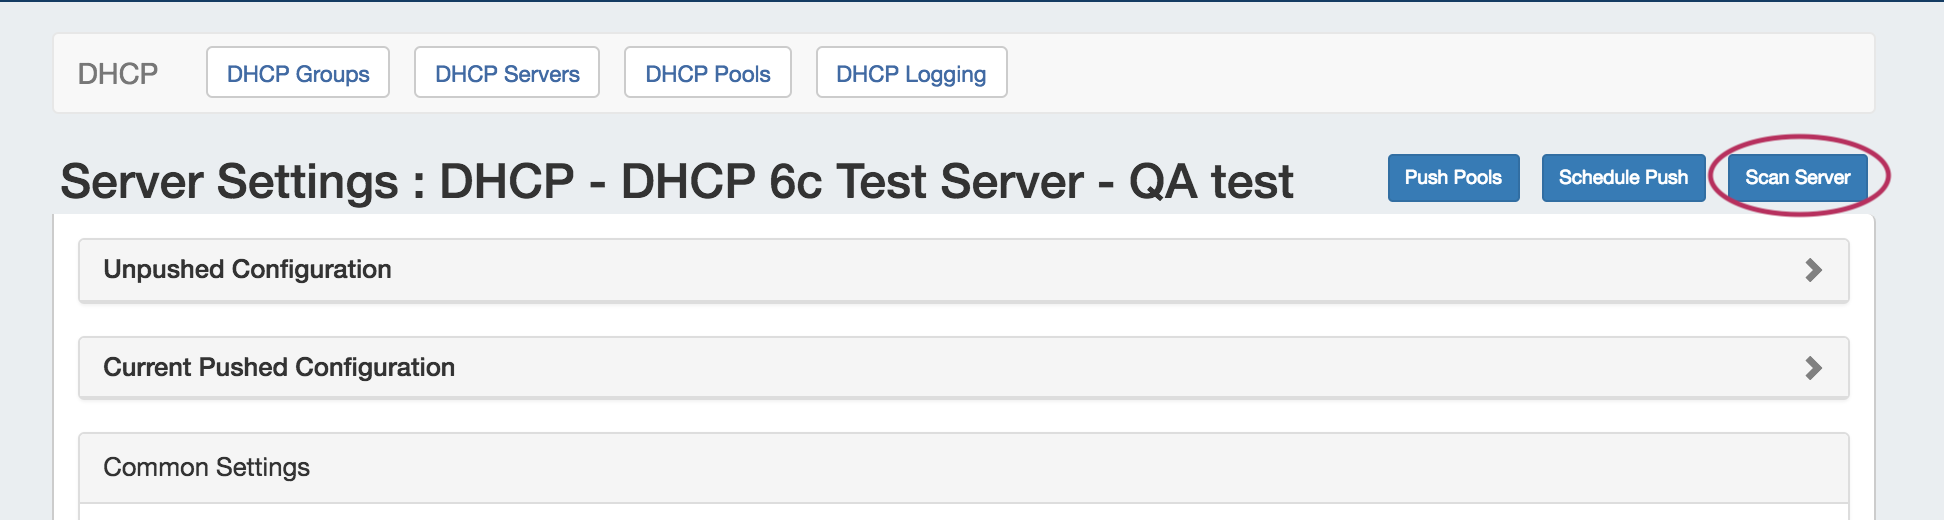
When complete, a "Server Statistics" module will appear. Expand the module, and if the server permissions allow, the scanned statistics will show in the module.
If permissions or directory location fails during the scan, an error message will show instead.

Delete a Server
Delete a server by clicking the "Delete" button under the "Actions" section of the Server List for the desired server.

Additional Information
For more information on working with DHCP in ProVision, see the following areas: