LIR Setup - RIPE
Before you begin:
RIPE Integration
You must be using an MD5 password to update RIPE objects from ProVision! Please refer to RIPE's authentication page for additional details:
Step 1: Setup the LIR information via the LIR Manager
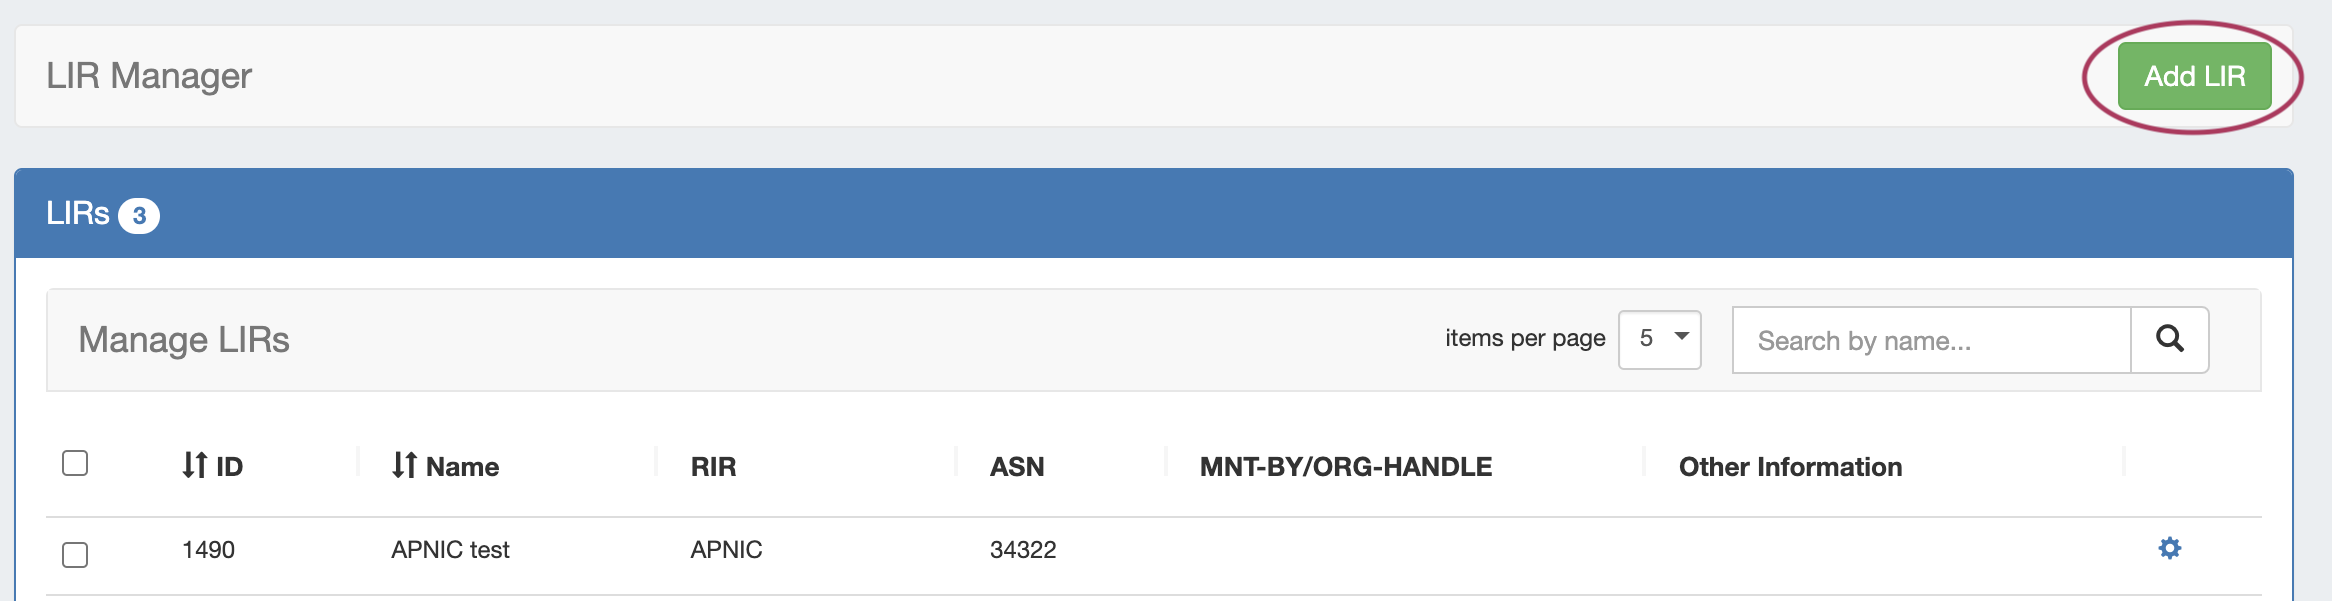
Add a New LIR by clicking "Add LIR" at the top right of the LIR Manager page.
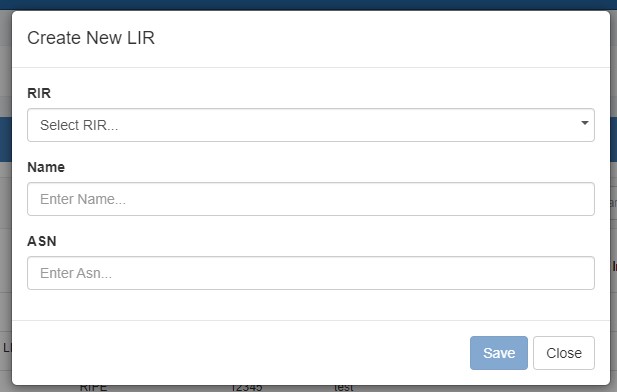
You will be prompted to the select the RIR:
Select "RIPE", then add in the requisite Maintainer Object related information:
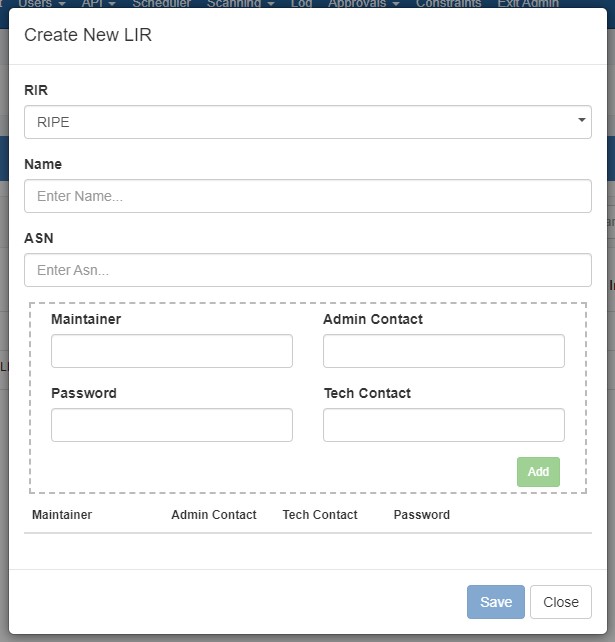
Be sure to hit "Save" when done to save your changes.
Multiple Maintainer Object Support
Note that we support multiple maintainer objects per LIR entry. Simply complete the maintainer fields and click "Add" after each addition. A list will display at the bottom of the Add LIR dialog box.
Step 2: Assign an IP block to a Resource
Navigate to either IPAM Manage or the IPAM Gadget, and assign a block under the RIPE RIR. See Working with IP Blocks for additional detail.
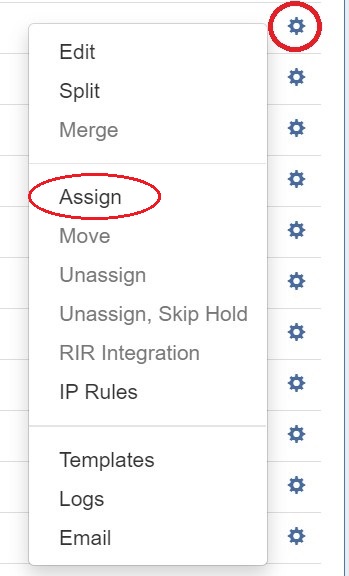
Step 3: Update RPSL information
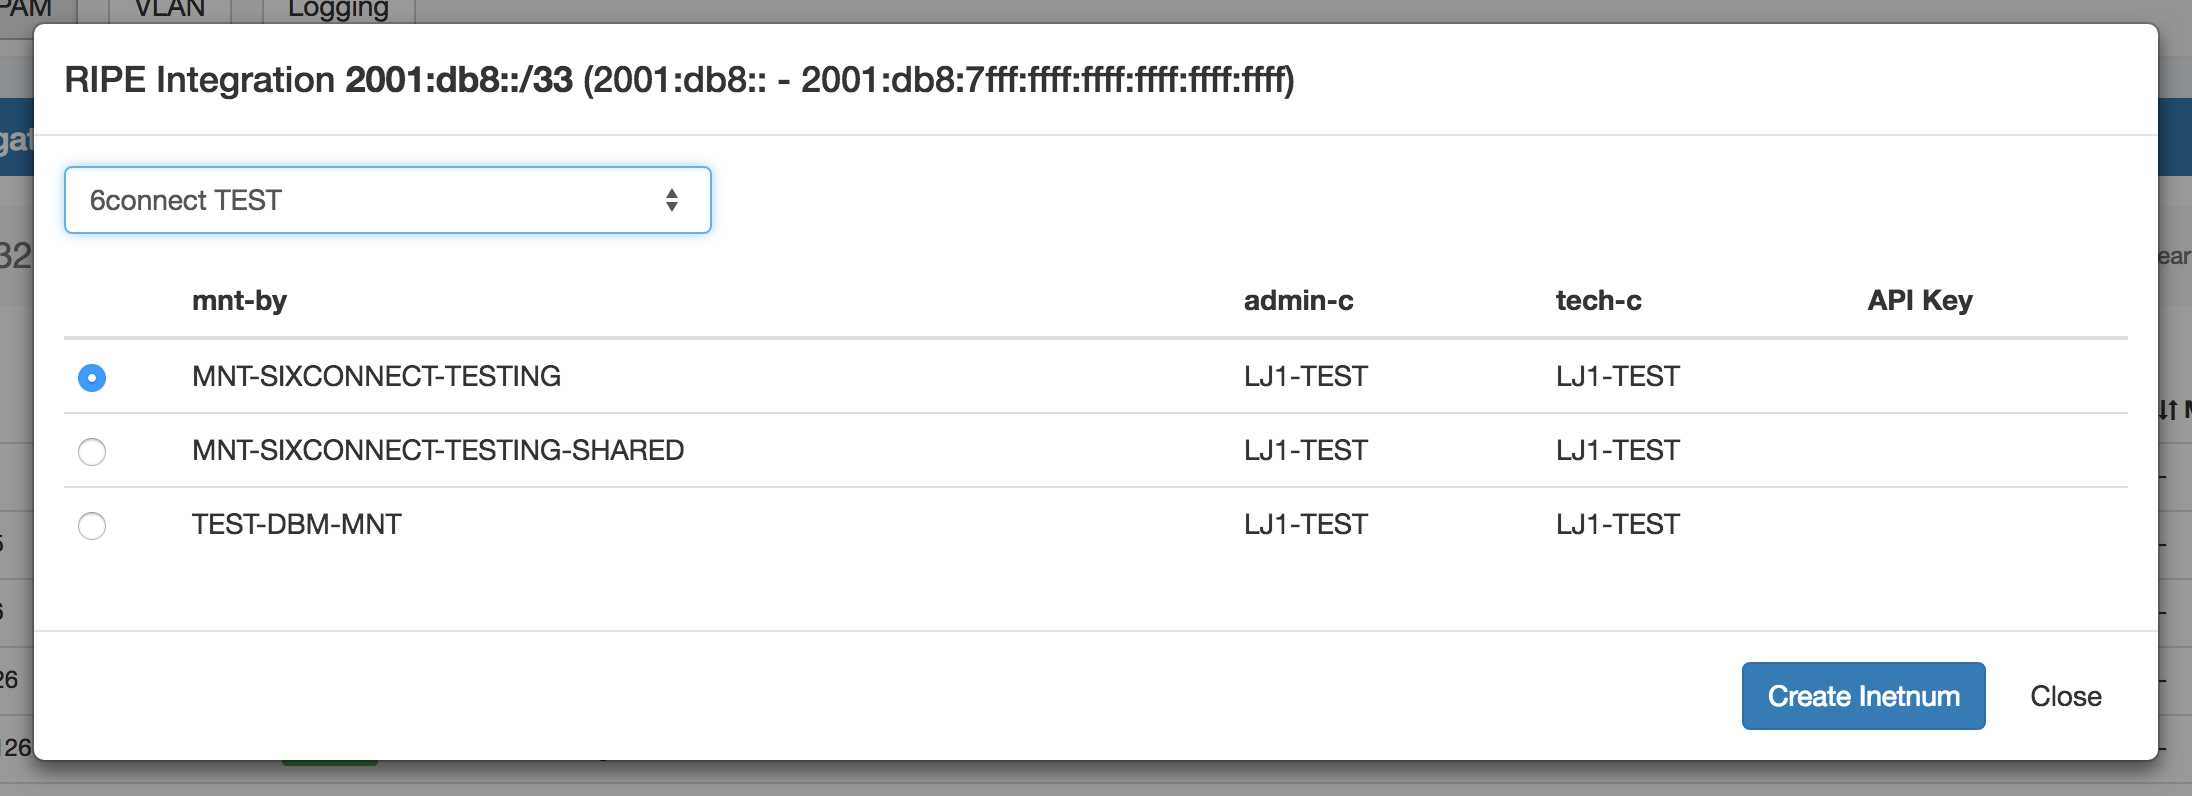
Select "RIR Integration" from the Action Menu in IPAM Manage.
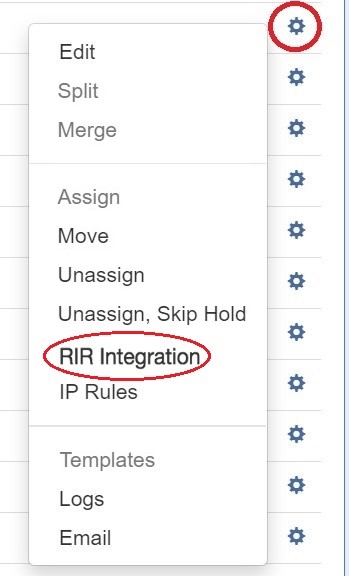
Identify which LIR data you want to use for the netnum update, and select either "Create Inetnum" or "Cancel" to exit.