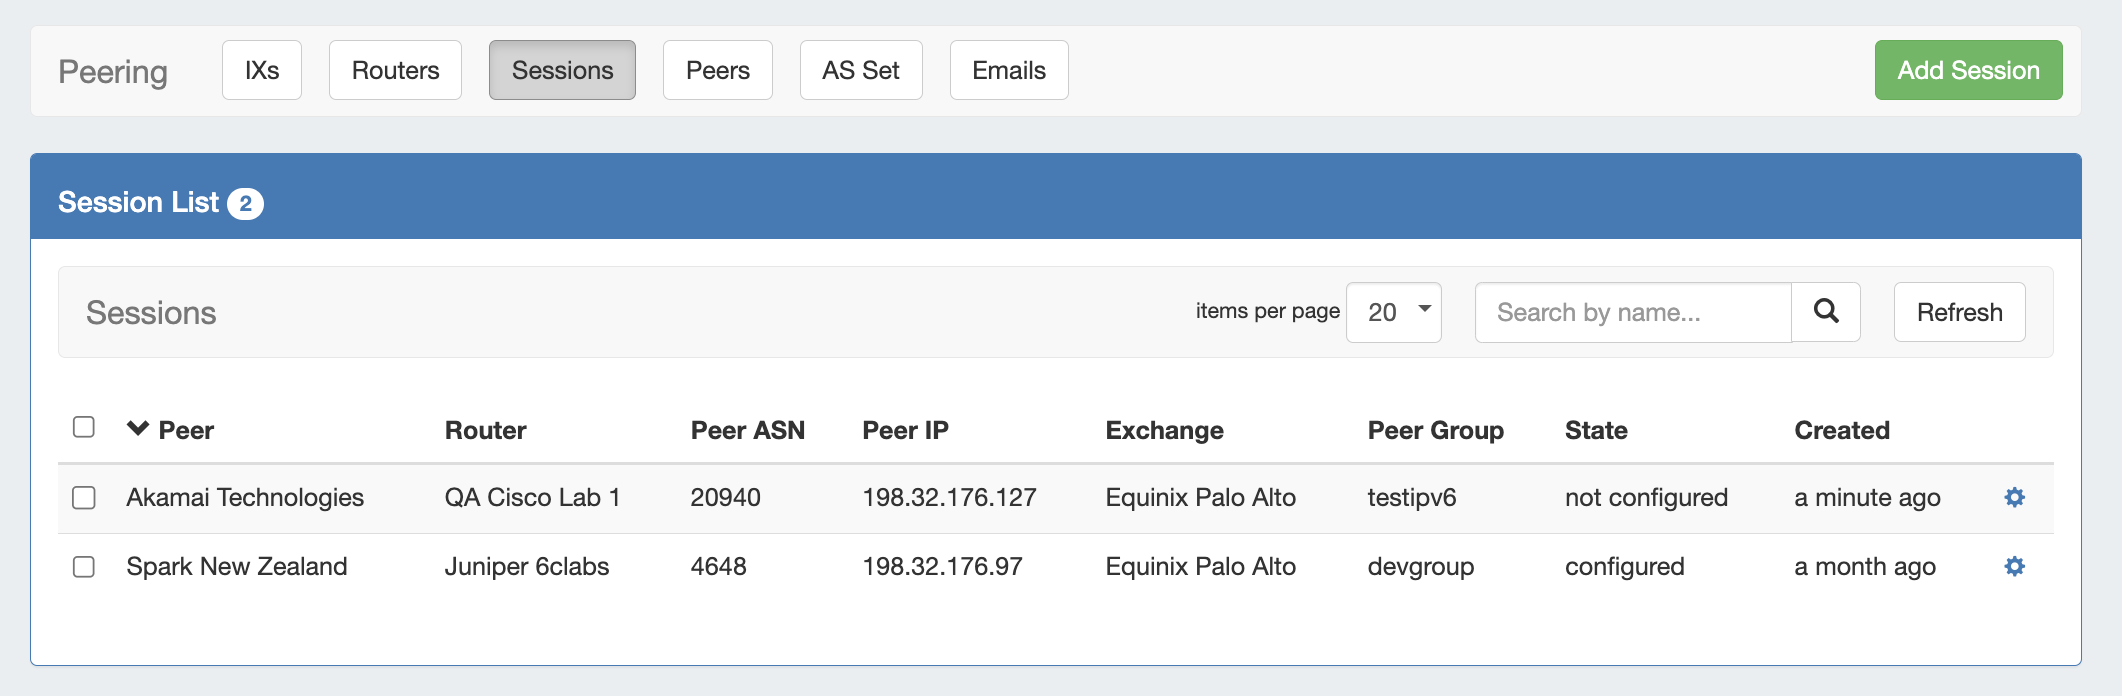
The Sessions subtab is where current sessions may be added, managed, and updated.
The Session List shows all current sessions in ProVision, and their current information and session state. Update the session states for all sessions by clicking the Refresh button, or manage individual sessions by clicking on the row for the desired session.
Working with Peering Sessions
Add a Session
Add a new session by clicking the Add Session button from the Peering → Sessions sub-tab.
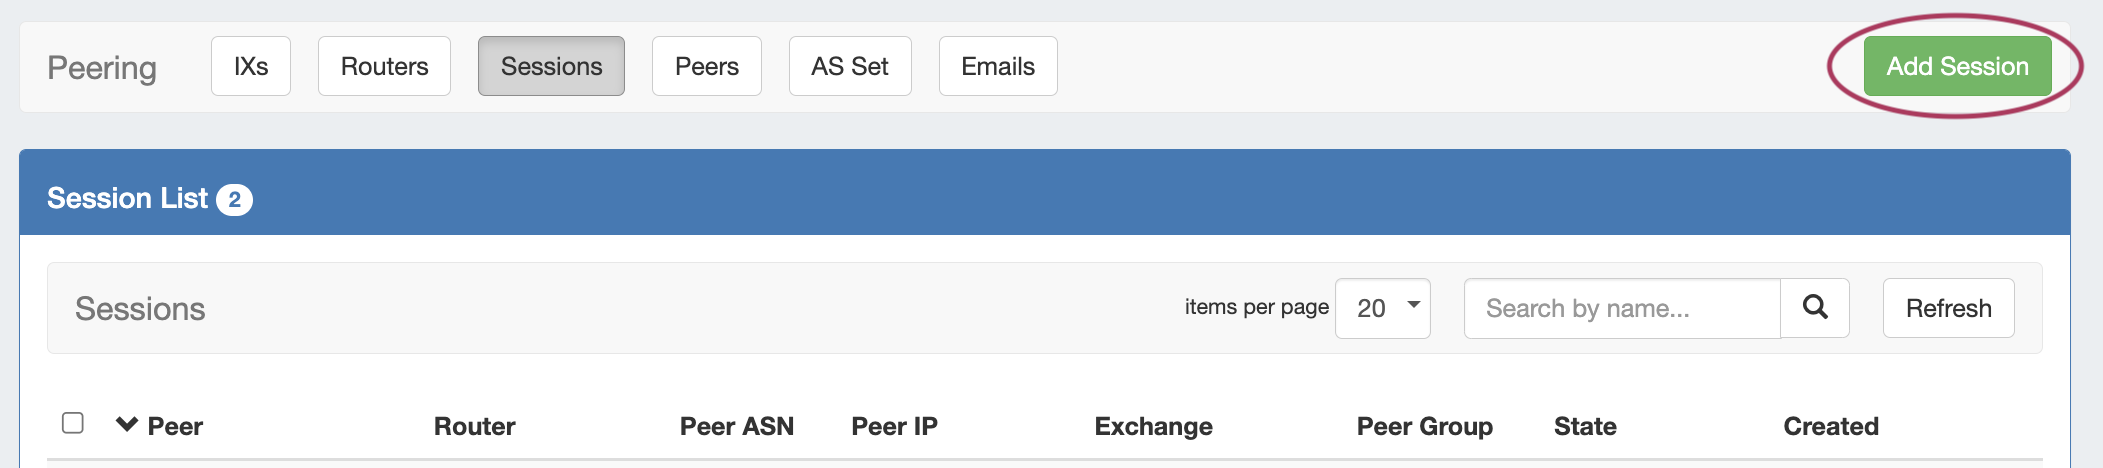
Then, proceed through the Create New Session wizard dialog to enter session details.
Create New Session Wizard...
Step 1: Common Settings
In the Create New Session Form, select the session type and exchange for the planned Peer. If using a Local Peer, "No Exchange" is an available option. You may also add notes, if desired.
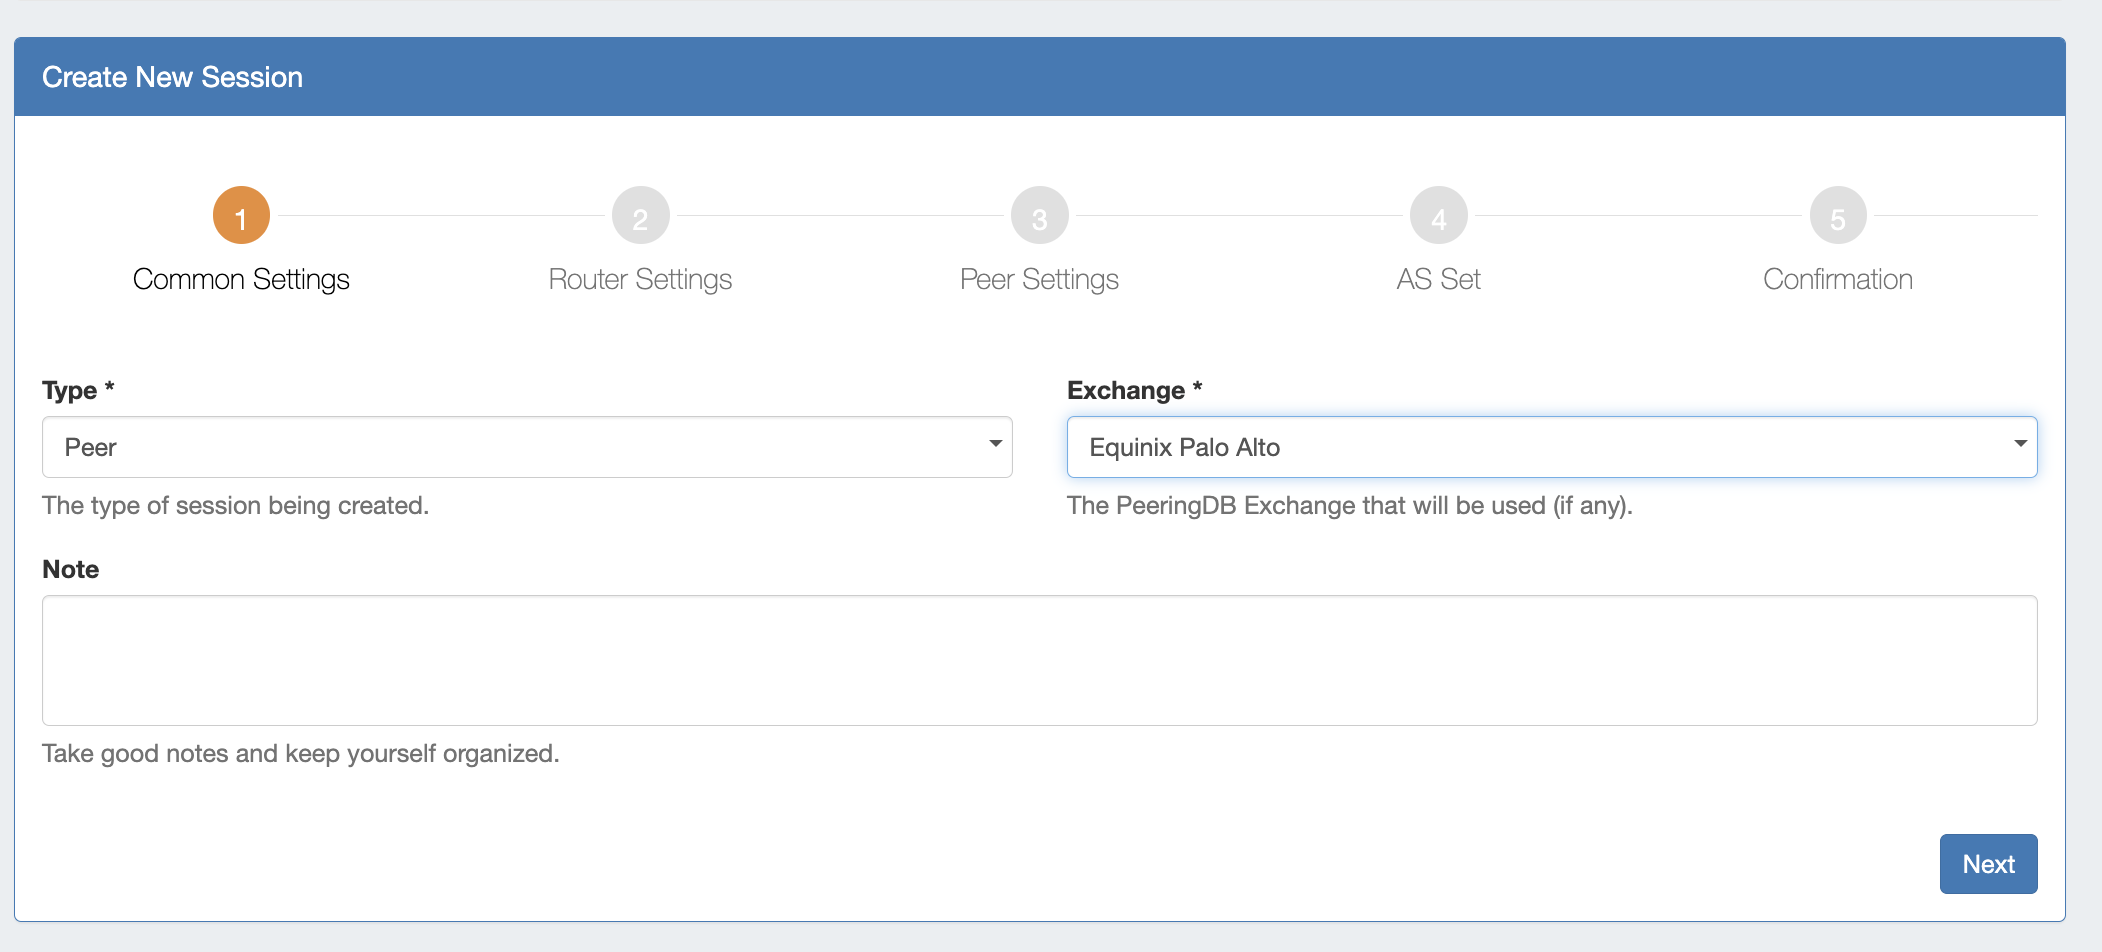
When done, click Next to proceed to Router Settings.
Step 2: Router Settings
Select the Router, Peer Group, ASN, and MD5 (optional) values.
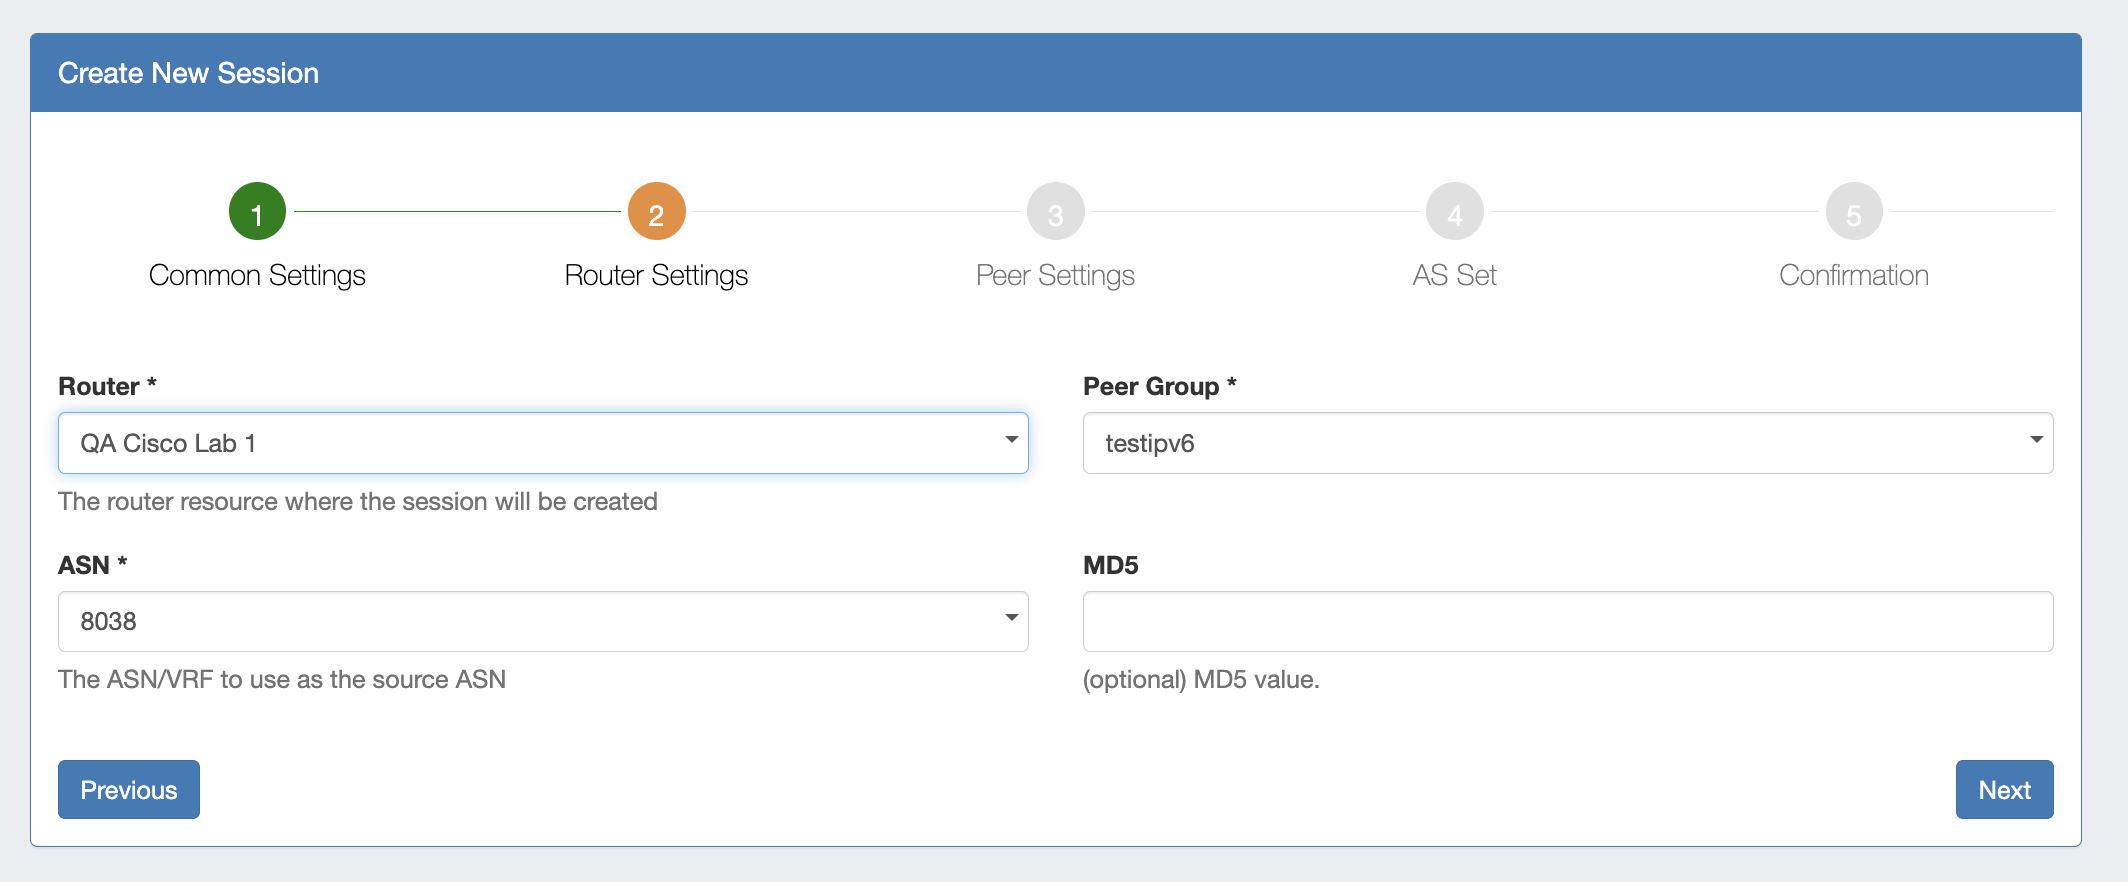
When done, click Next to proceed to Peer Settings.
Step 3: Peer Settings
Under the Peer Settings section, select or type in information for a peer. You may add Peer information from any of the three available methods:
-
Use PeeringDB Lookup to select a PeeringDB Peer (the destination fields will be automatically populated).
-
Look up an existing Local Peer under "Local Peer Lookup" by selecting the peer name and IP address (the destination fields will be automatically populated).
-
Manually add a new Local or Custom Peer, by directly typing the Peer Name, ASN, and IP in the Session Details fields.
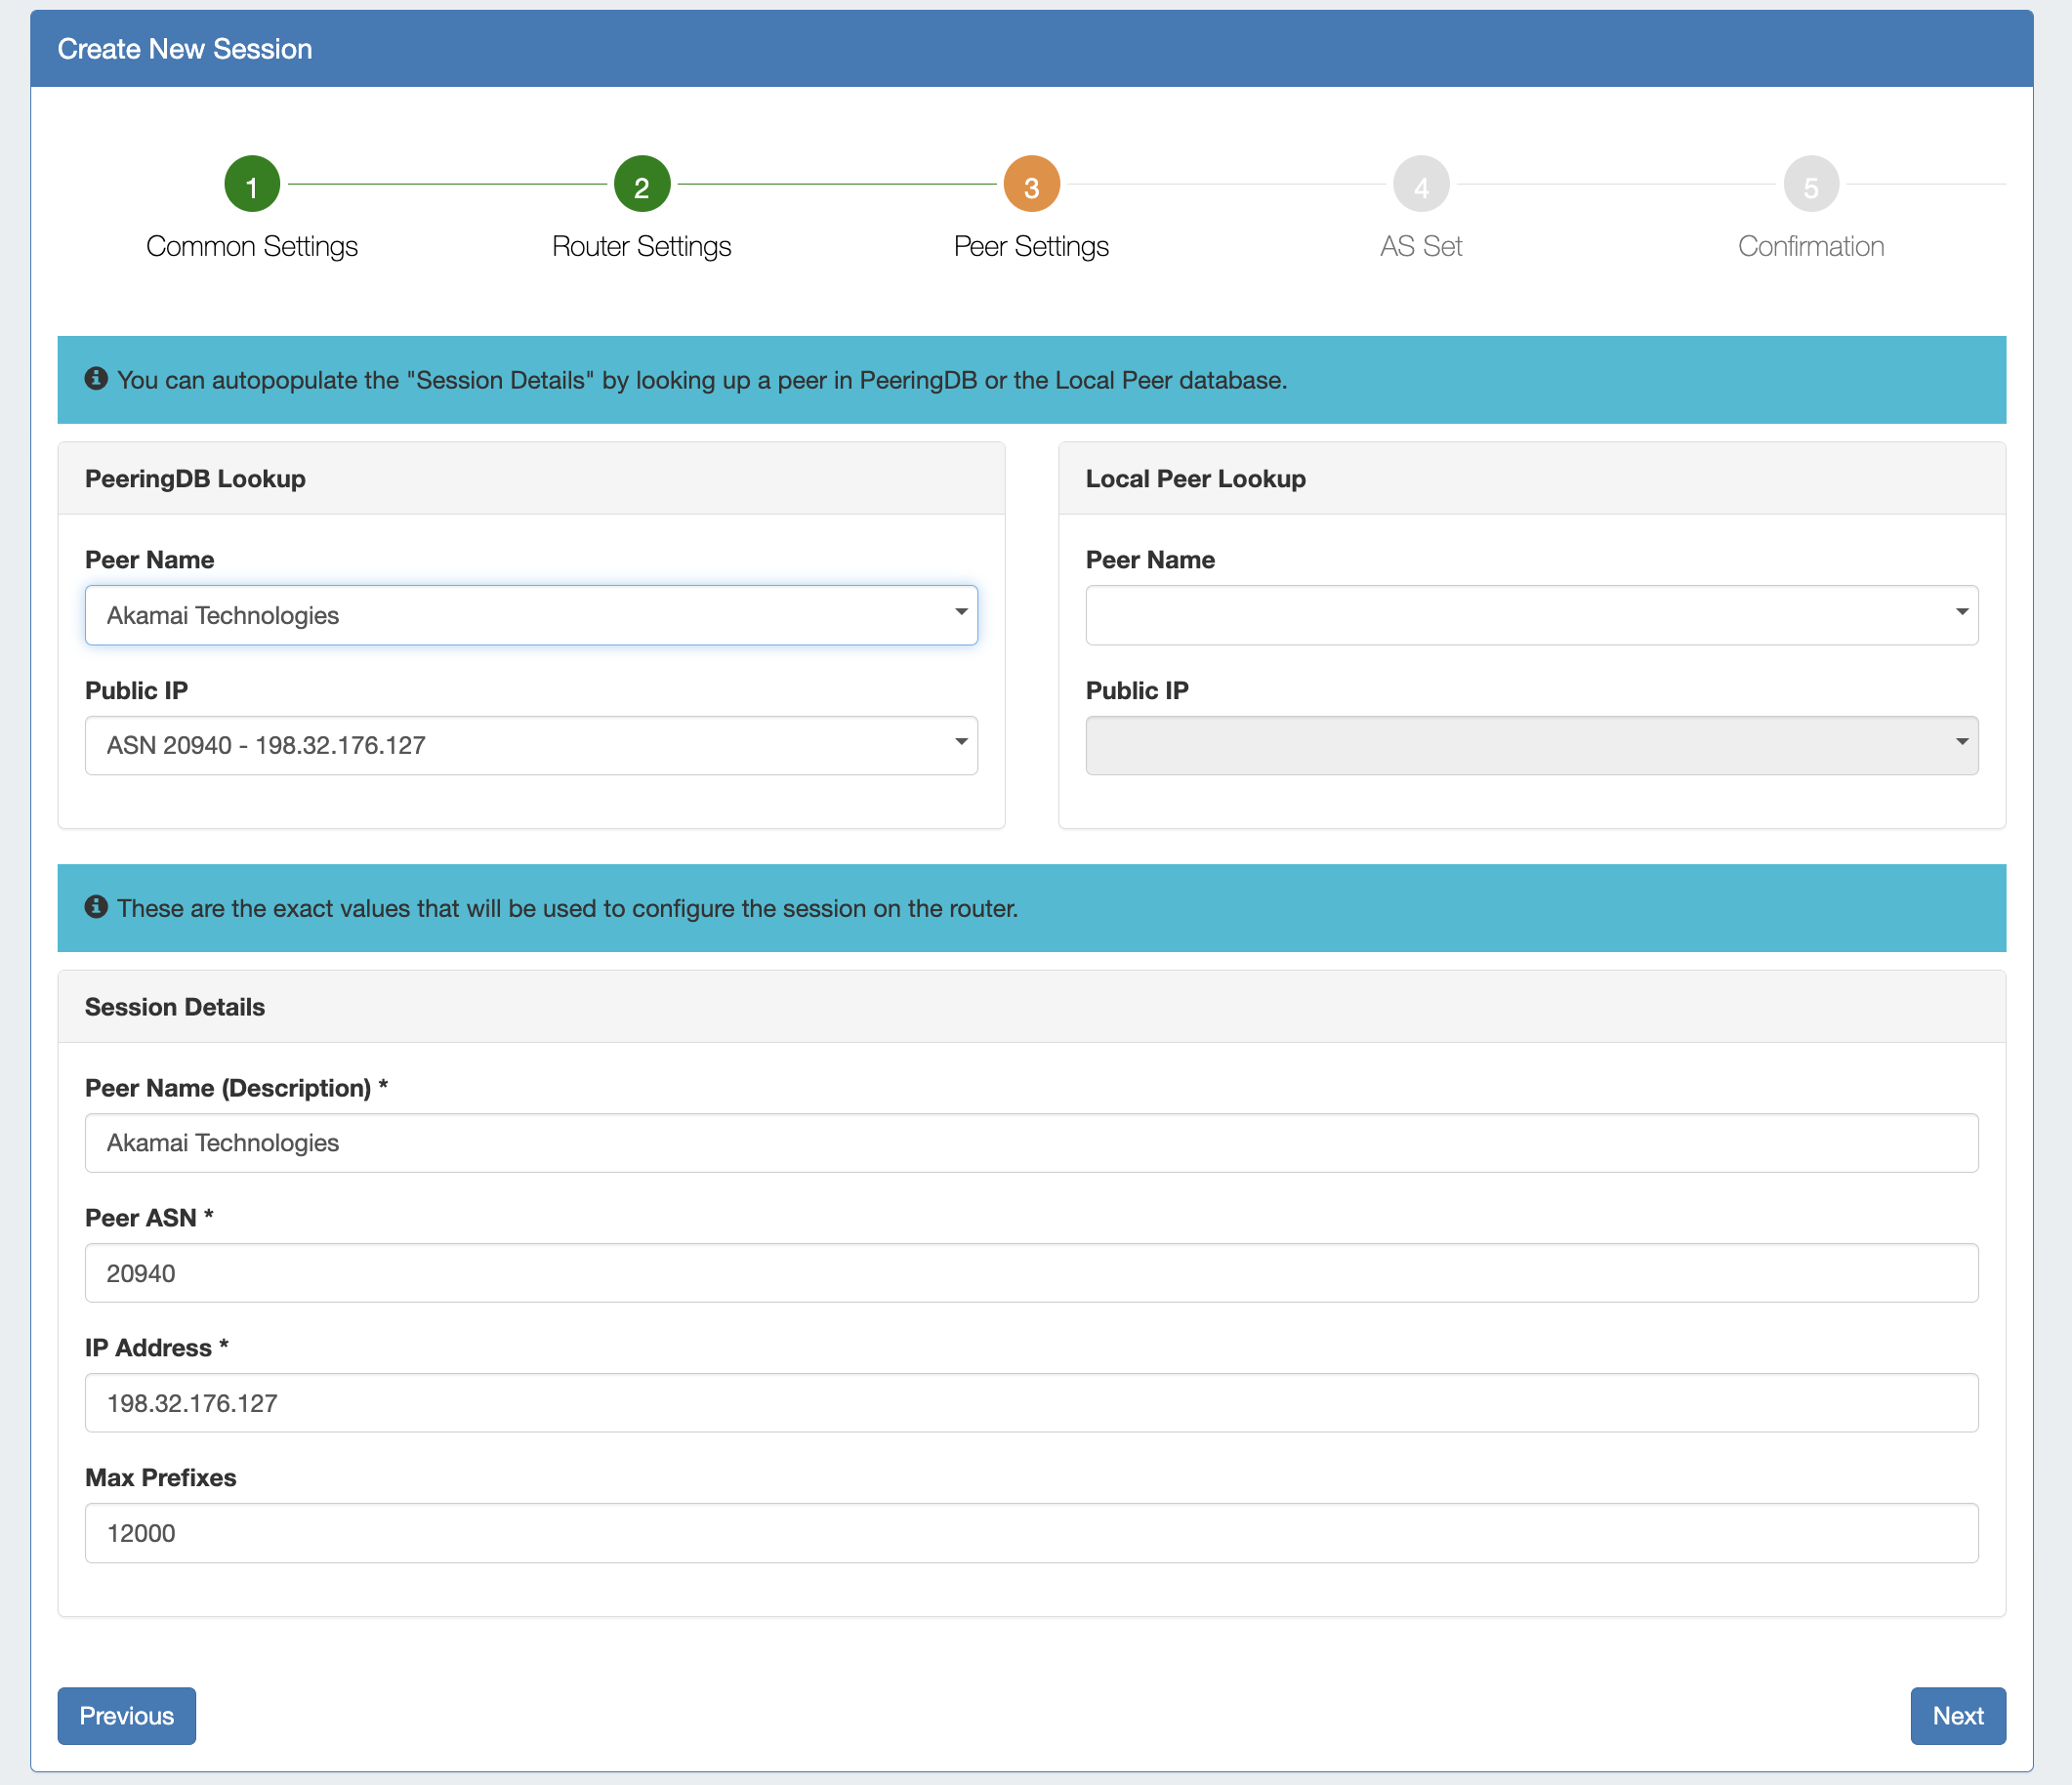
When done, click Next to proceed to AS Set options.
Step 4: AS Set (Optional)
You may optionally specify and AS Set to enabled prefix filtering. If desired, enter the AS Set. If it already exists in ProVision, you may confirm by clicking Validate. If it does not exist in ProVision, click Import.
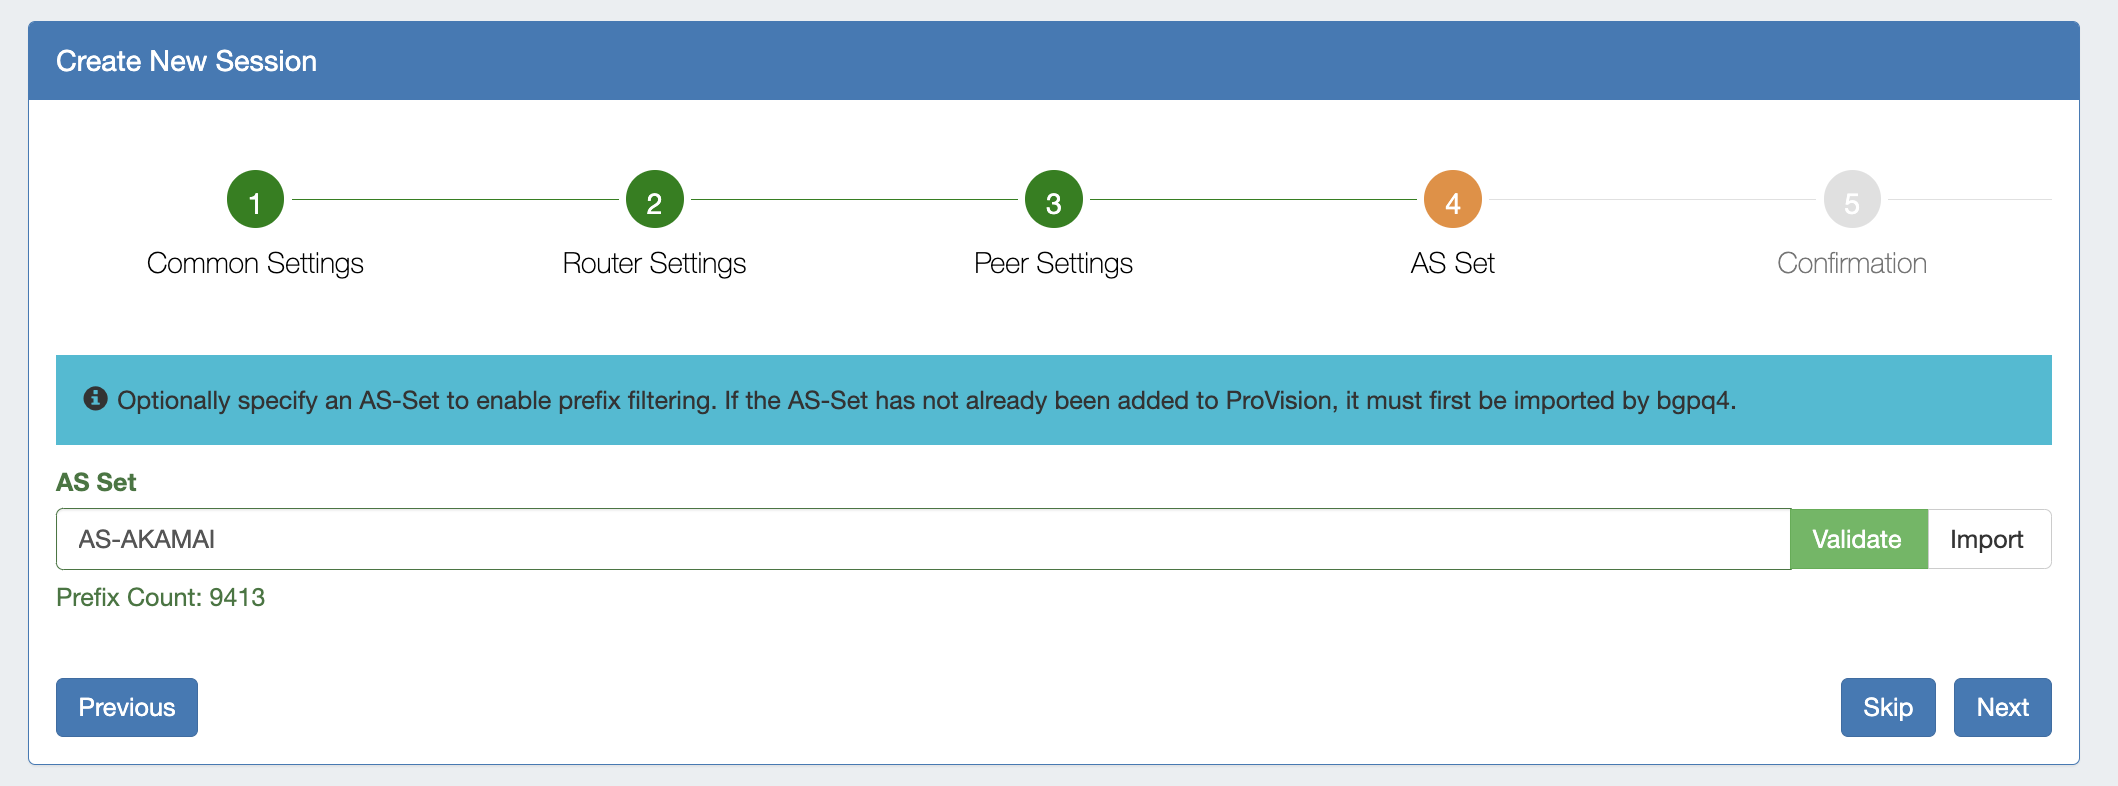
When done, click Next to proceed to final confirmation.
Step 5: Confirmation
Review your session details, and if correct, click Create Session to finish.
To correct any details, you may click Previous to revisit earlier steps and update values.
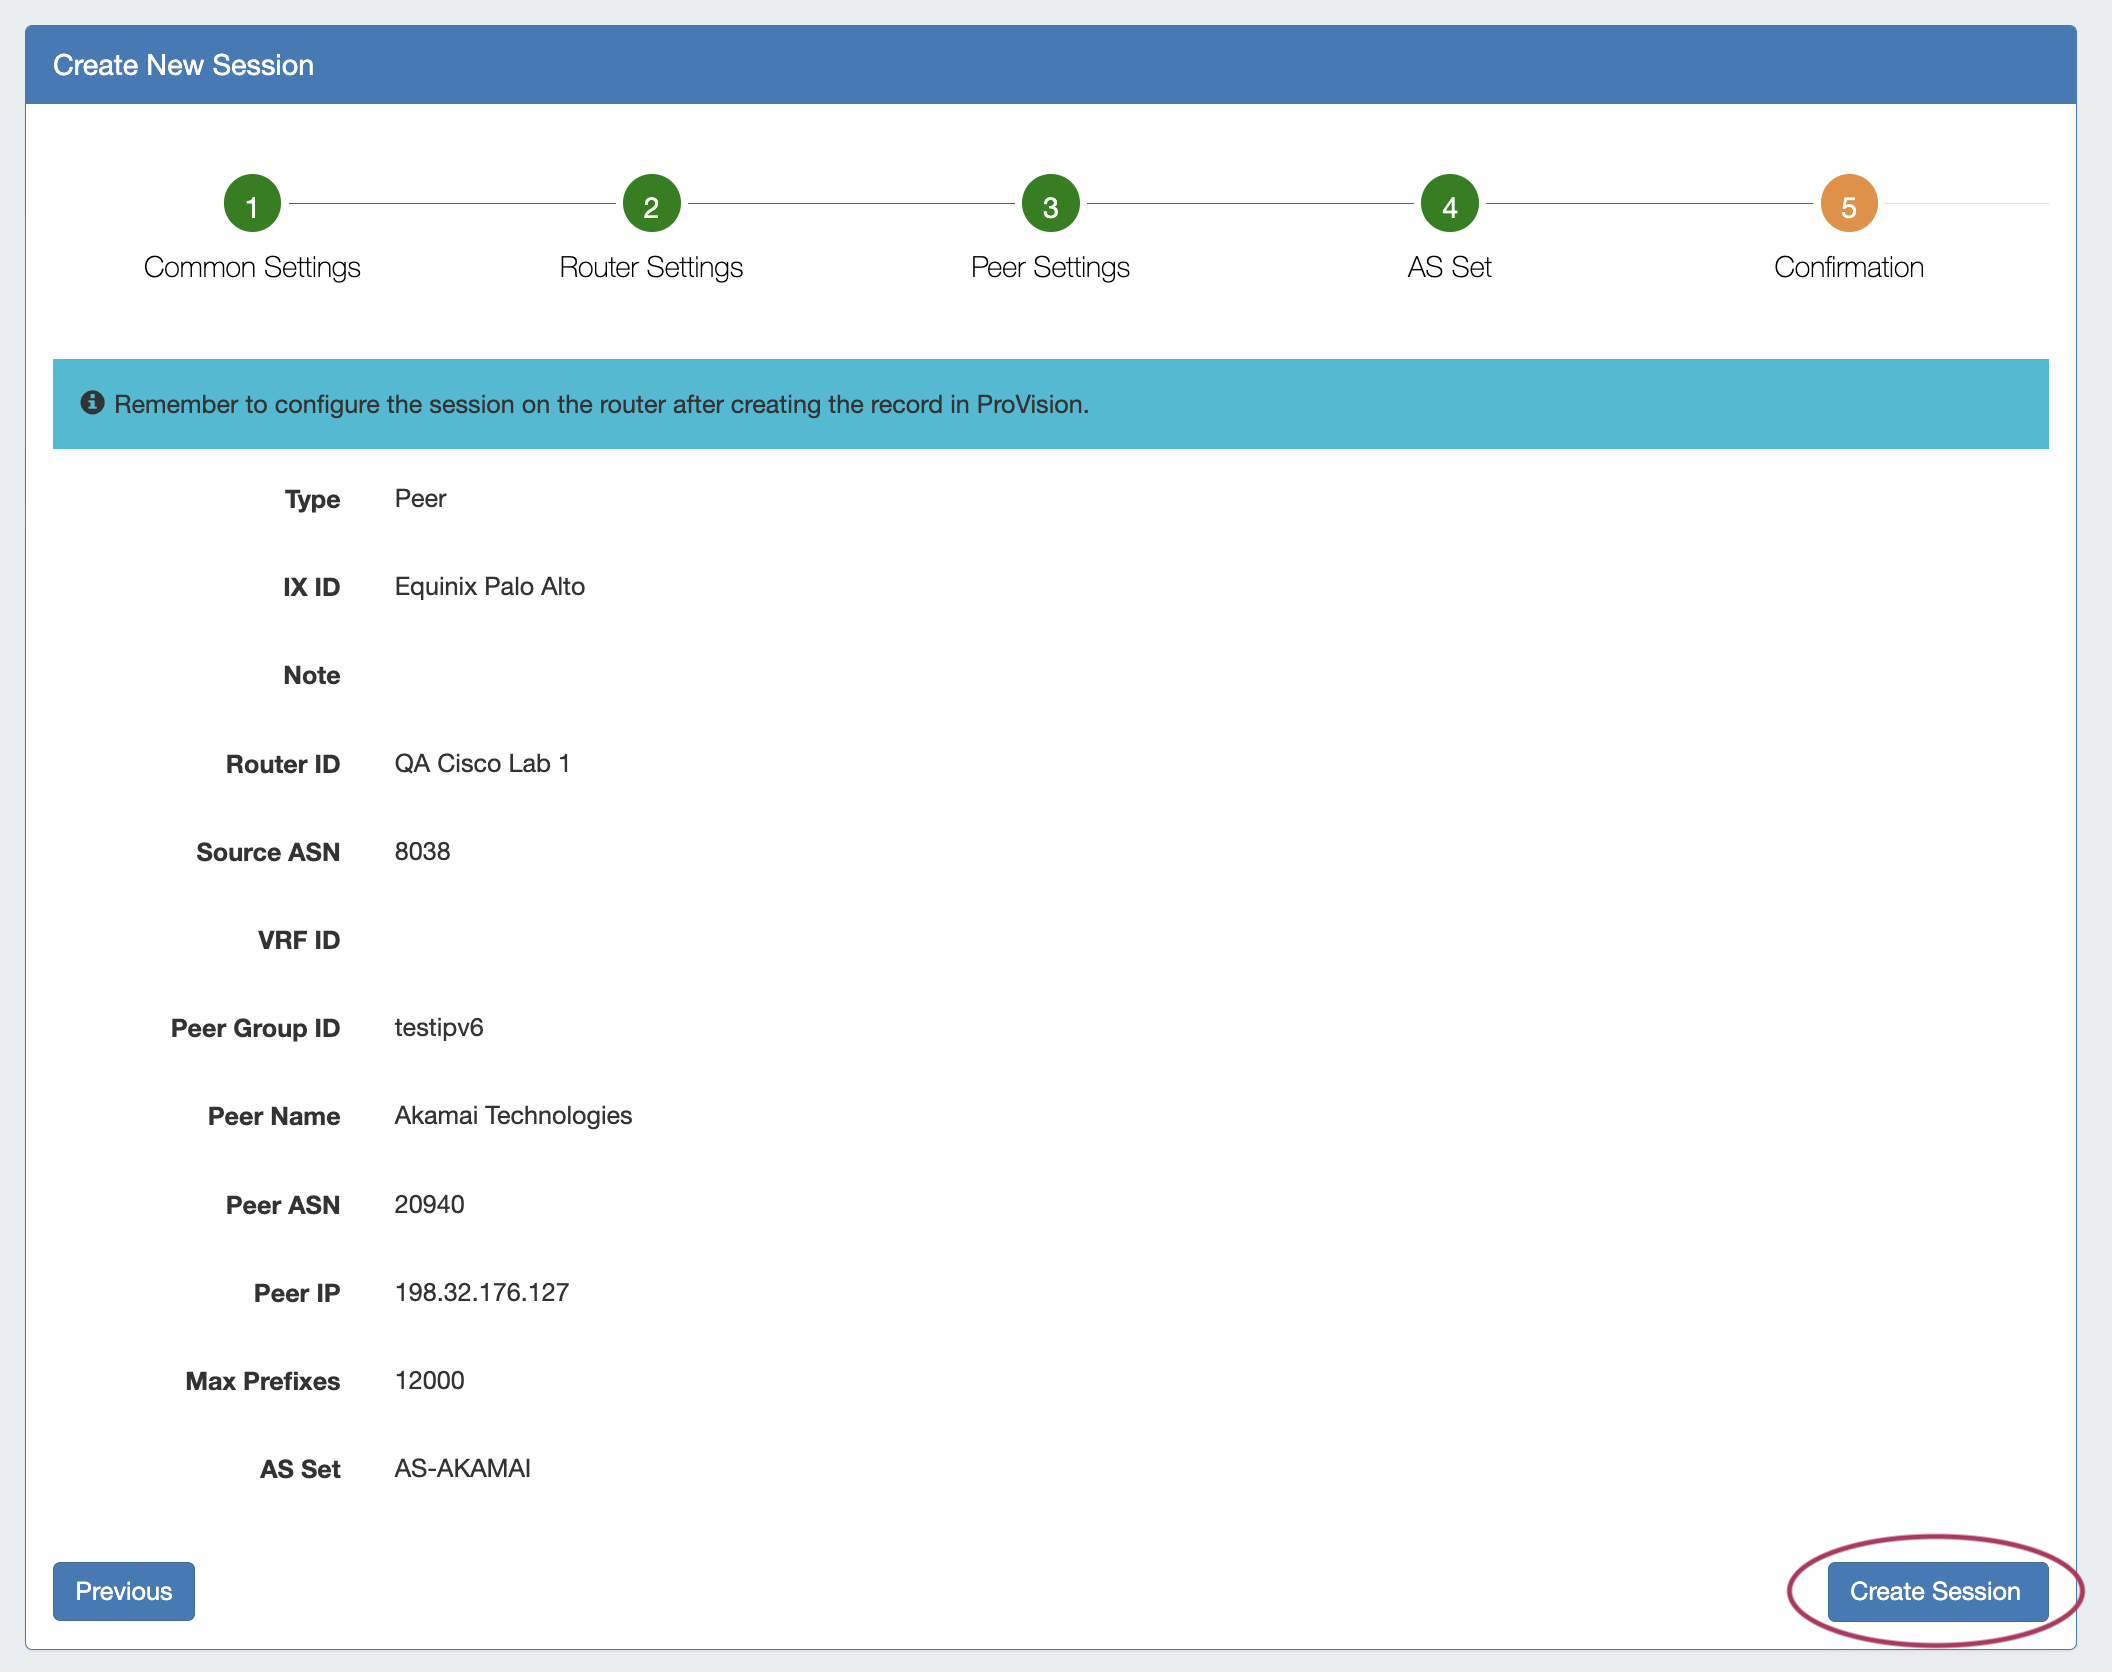
The Session detail page will display for review or to perform actions, and the new session will be added to the Session List.
Manage a Session (The Session Details Page)
Clicking on a Session entry from any Session List, or clicking View Session after creating a session, will open the Session details page.
From here, new session may be created by clicking Add Sessions, but it is primarily for session management. You may also click on the Router link to view the Router Details page, or the Peer Name for Peer Details.
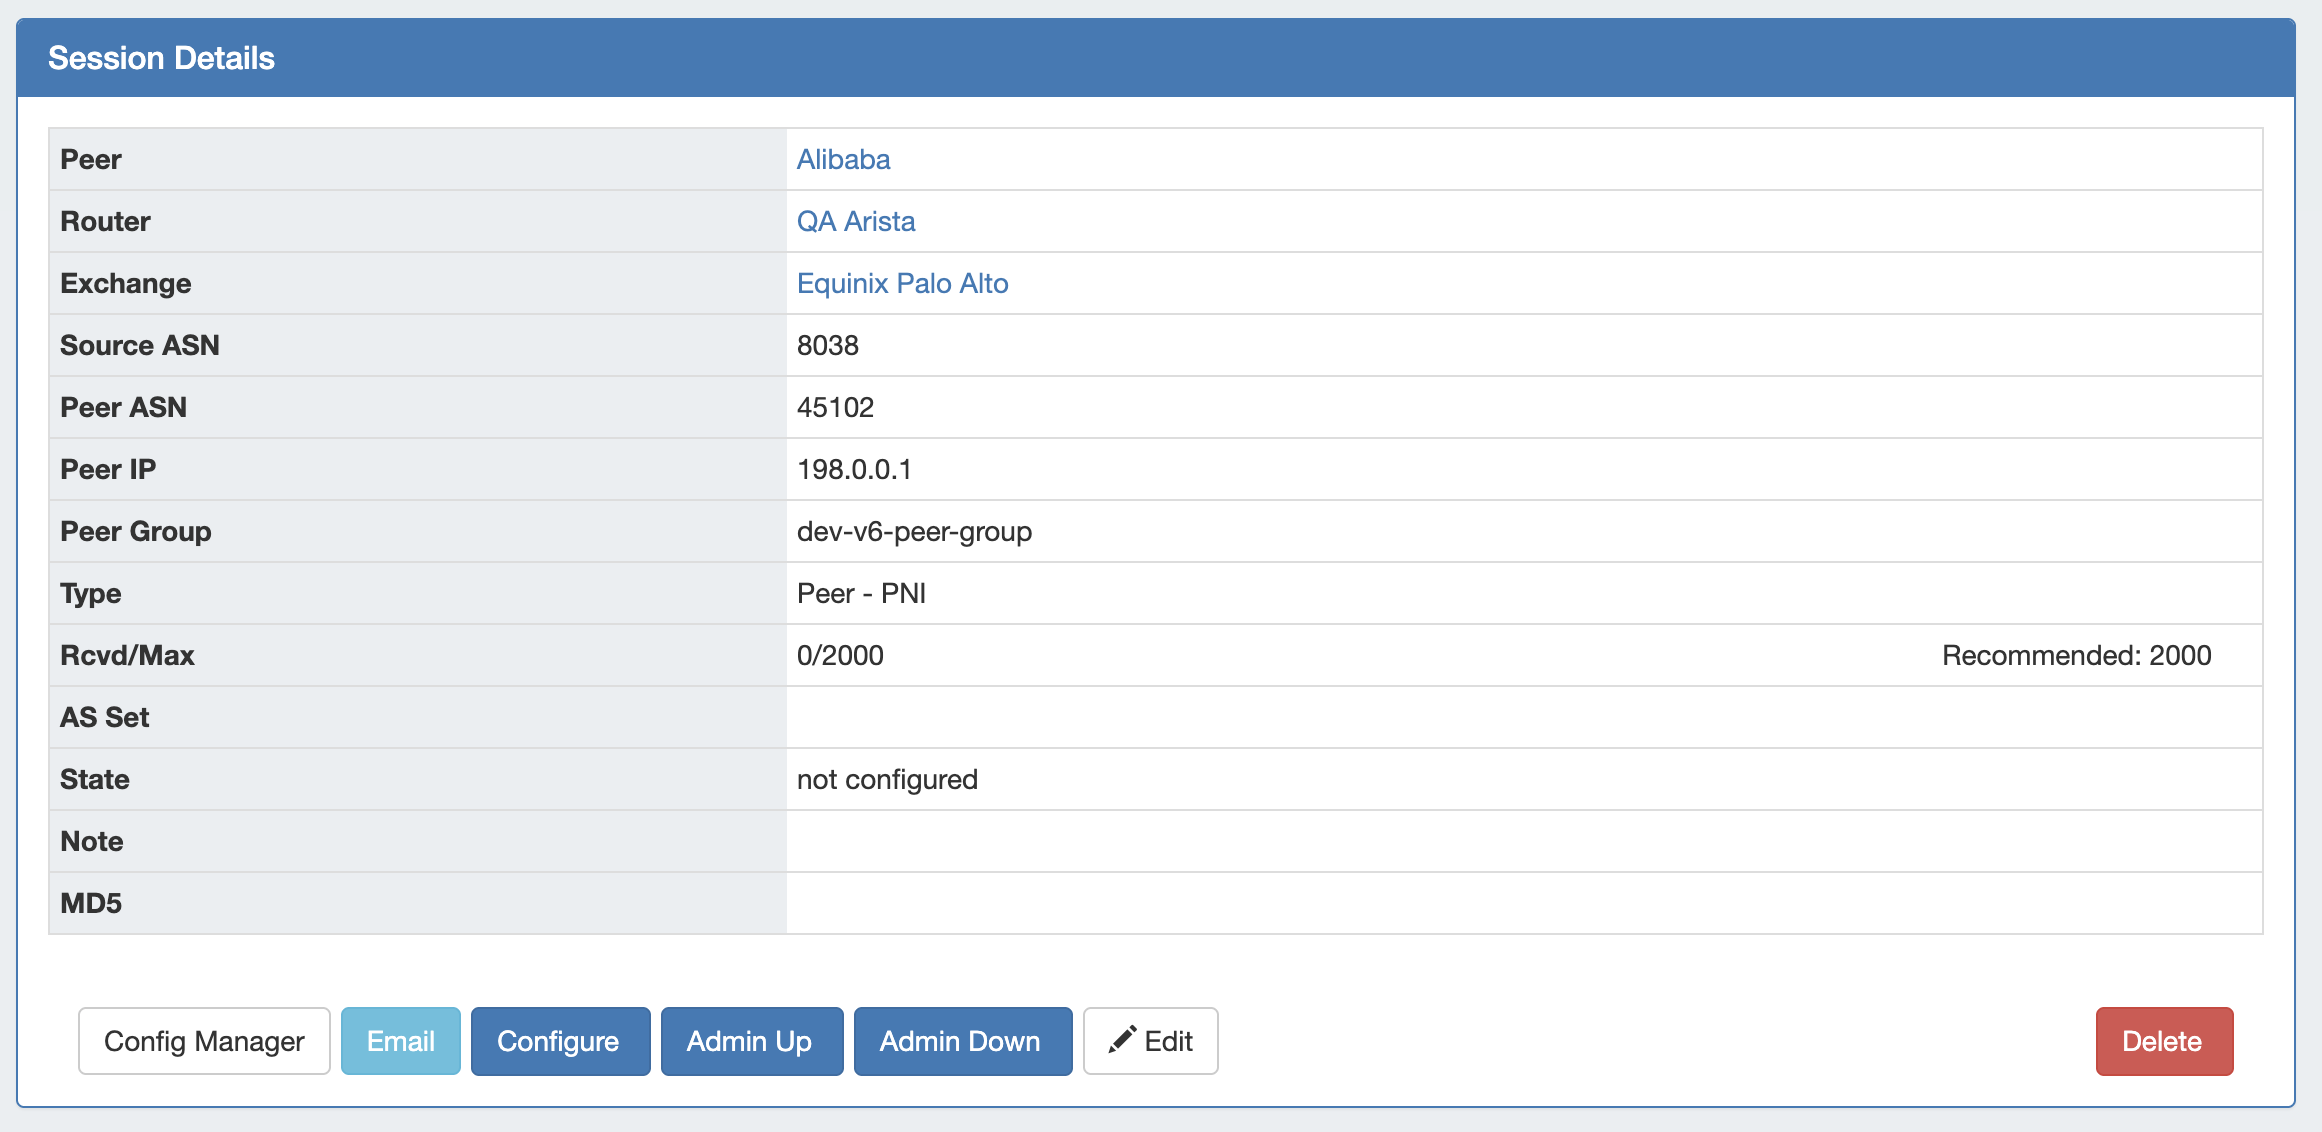
The Session may be manually configured via Config Manager, or automatically via Configure.
Clicking Email opens an email communications form, with data automatically generated from PeeringDB. Other available tasks include Admin Up/Down, Edit, and Delete session.
Session Details Actions
-
Edit: Edit session information such as Type, Prefixes, Notes or MD5.
-
Configure: 1-click configure which uses default router configuration, username, and password settings.
-
Config Manager: The Config Manager allows for custom configuration commands and user-level username/ password to be entered prior to pushing the config. This is a one time use configuration.
-
Email: Brings up the NOC (Network Operations Center), Policy, Technical, or other preset email template. The email template pre-populates data based on peeringdb data (To address, Subject line and Peering exchange information). You have the chance to edit the email prior to sending.
-
Admin Up: Ups a bgp session without removing it or adding it to the config.
-
Admin Down: Downs a bgp session without removing it or adding it to the config. On Cisco, Admin Down moves the session to Idle (Admin) state, on Juniper it deactivates the session.
-
Delete: Sessions of type "Peer" are removed from the router when deleted in ProVision. Other sessions will only be removed from the sessions list in ProVision.
Session List Action Menu
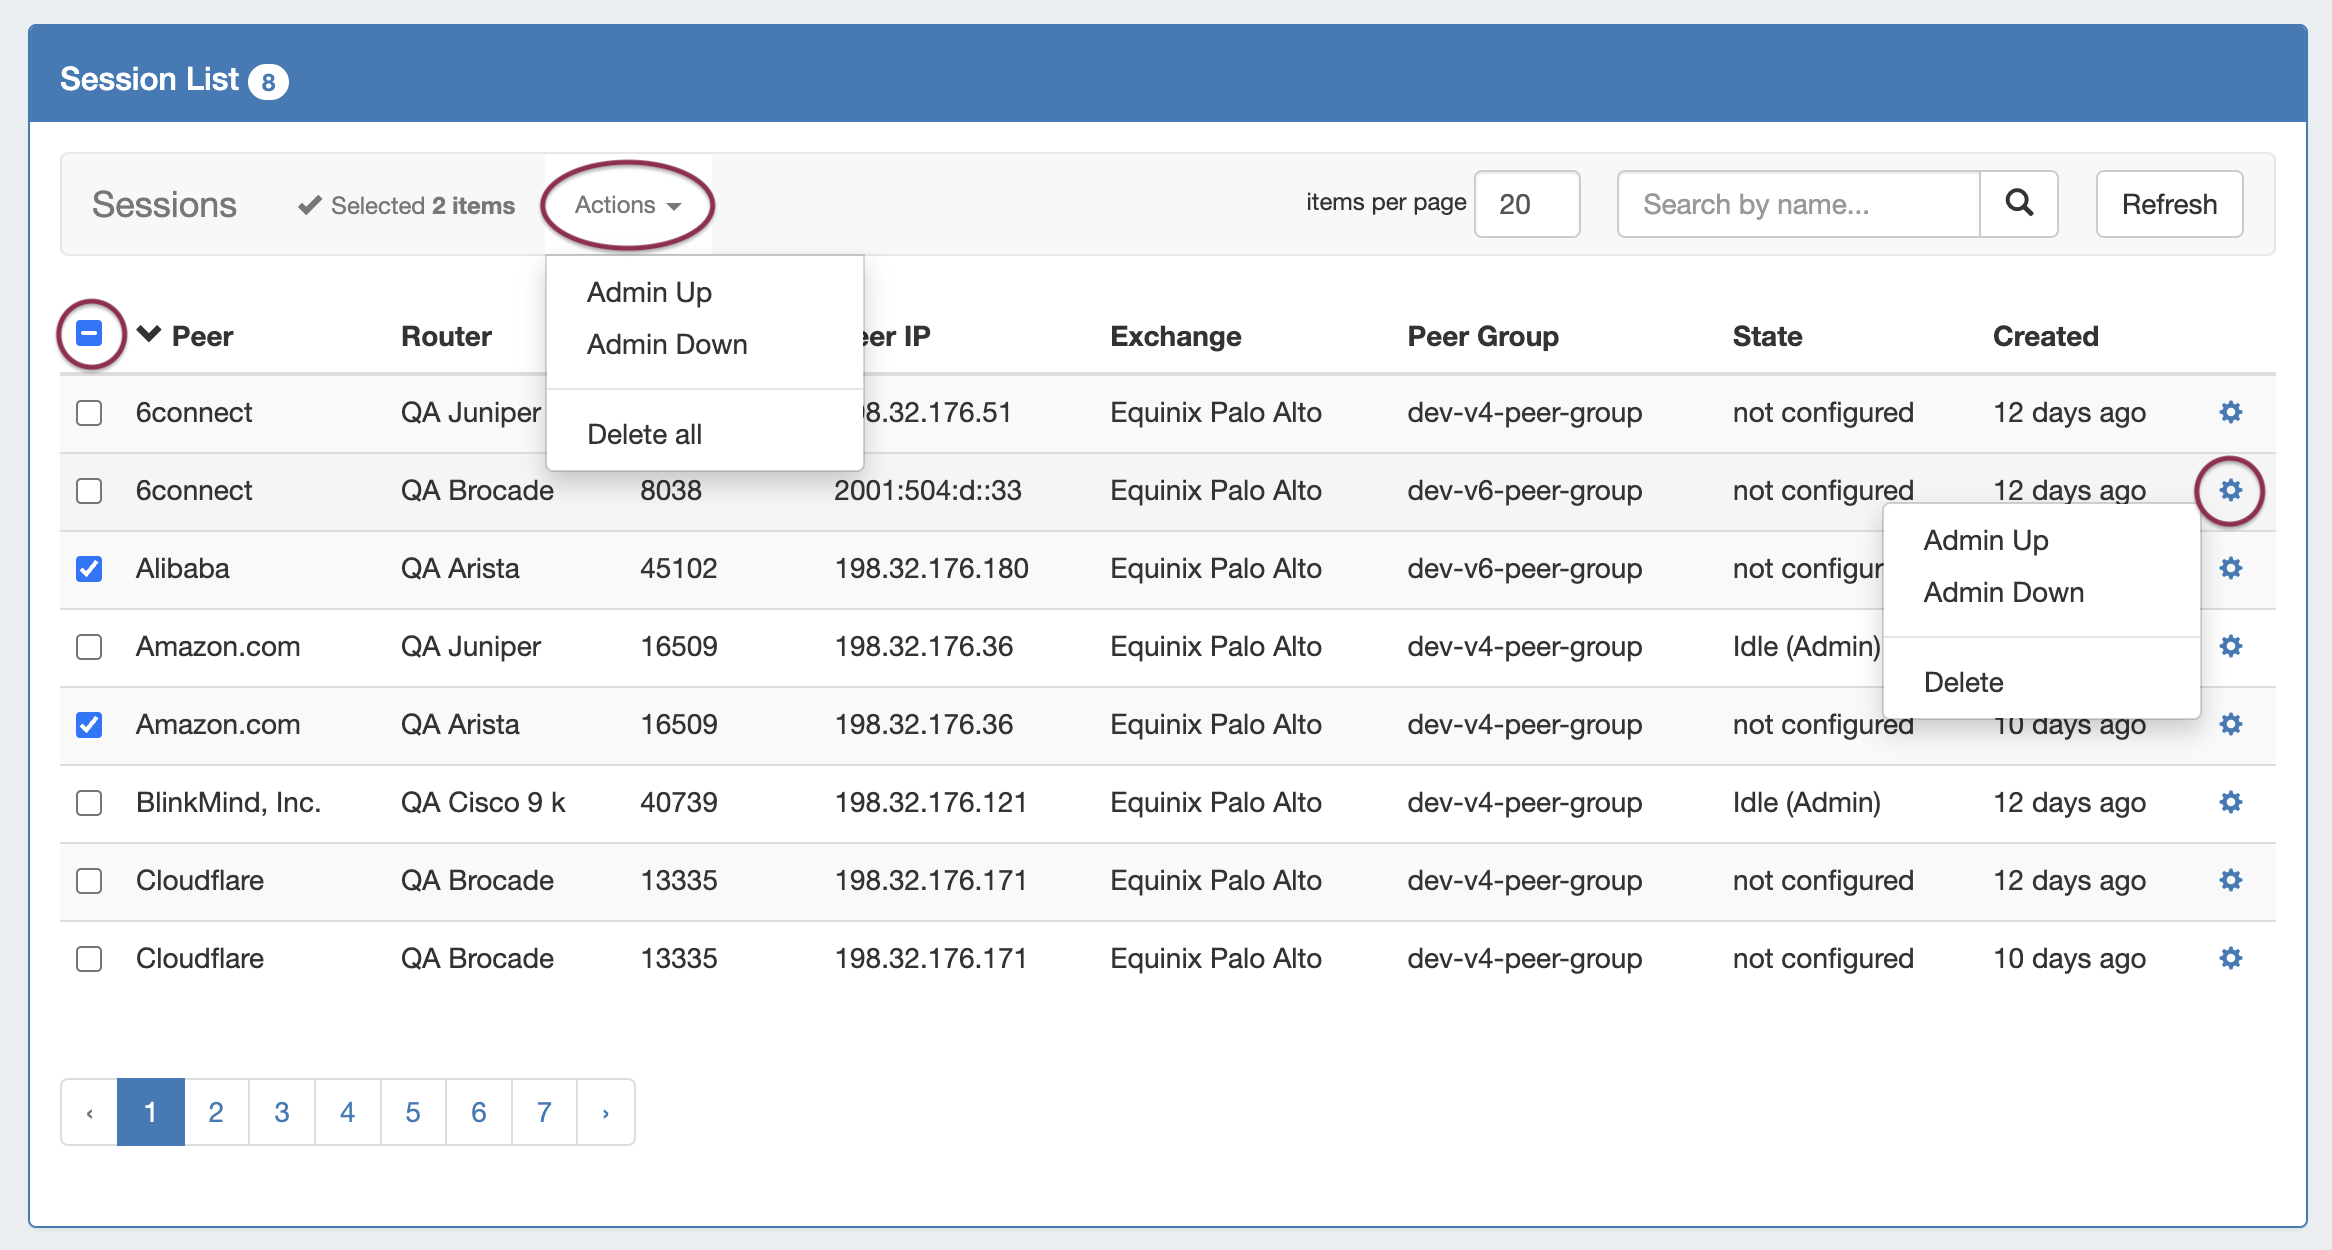
Several actions are available from the Session List for single or multi-session use.
Select the session(s) and choose the desired action from the right-click menu or "Actions" dropdown menu at top. Options include Admin Up, Admin Down, and Delete.