
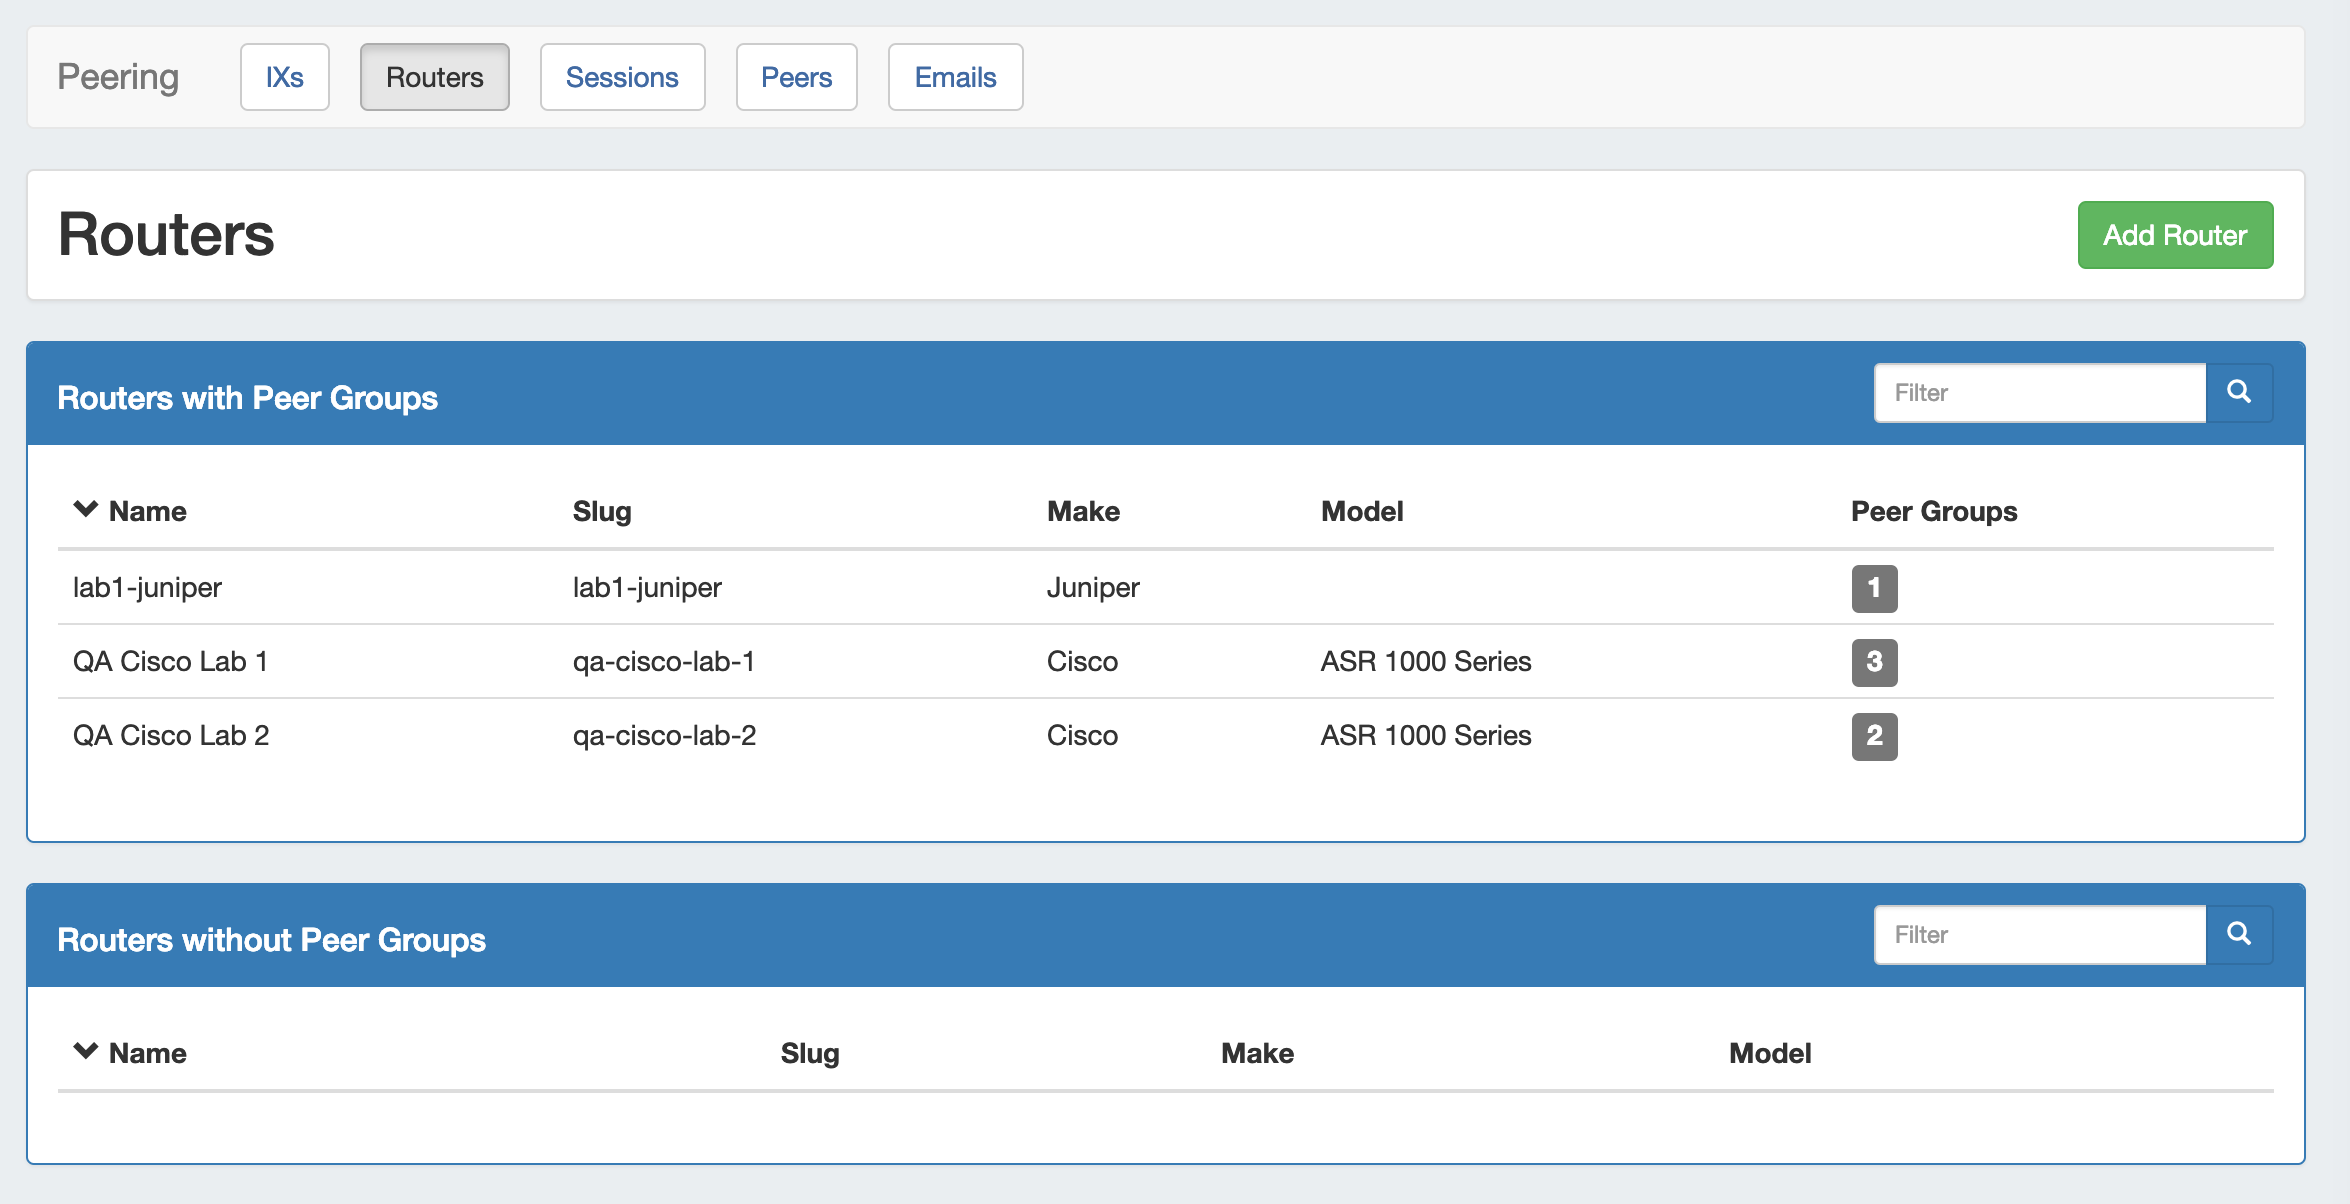
The Routers subtab is where routers may be added and managed. Routers are divided into two lists - those with Peer Groups, and those without.
From here, you can filter the router list, click on any router name to go to the Router Details page, or "Add Router" to add a new router.
Working with Peering Routers
Add a Router
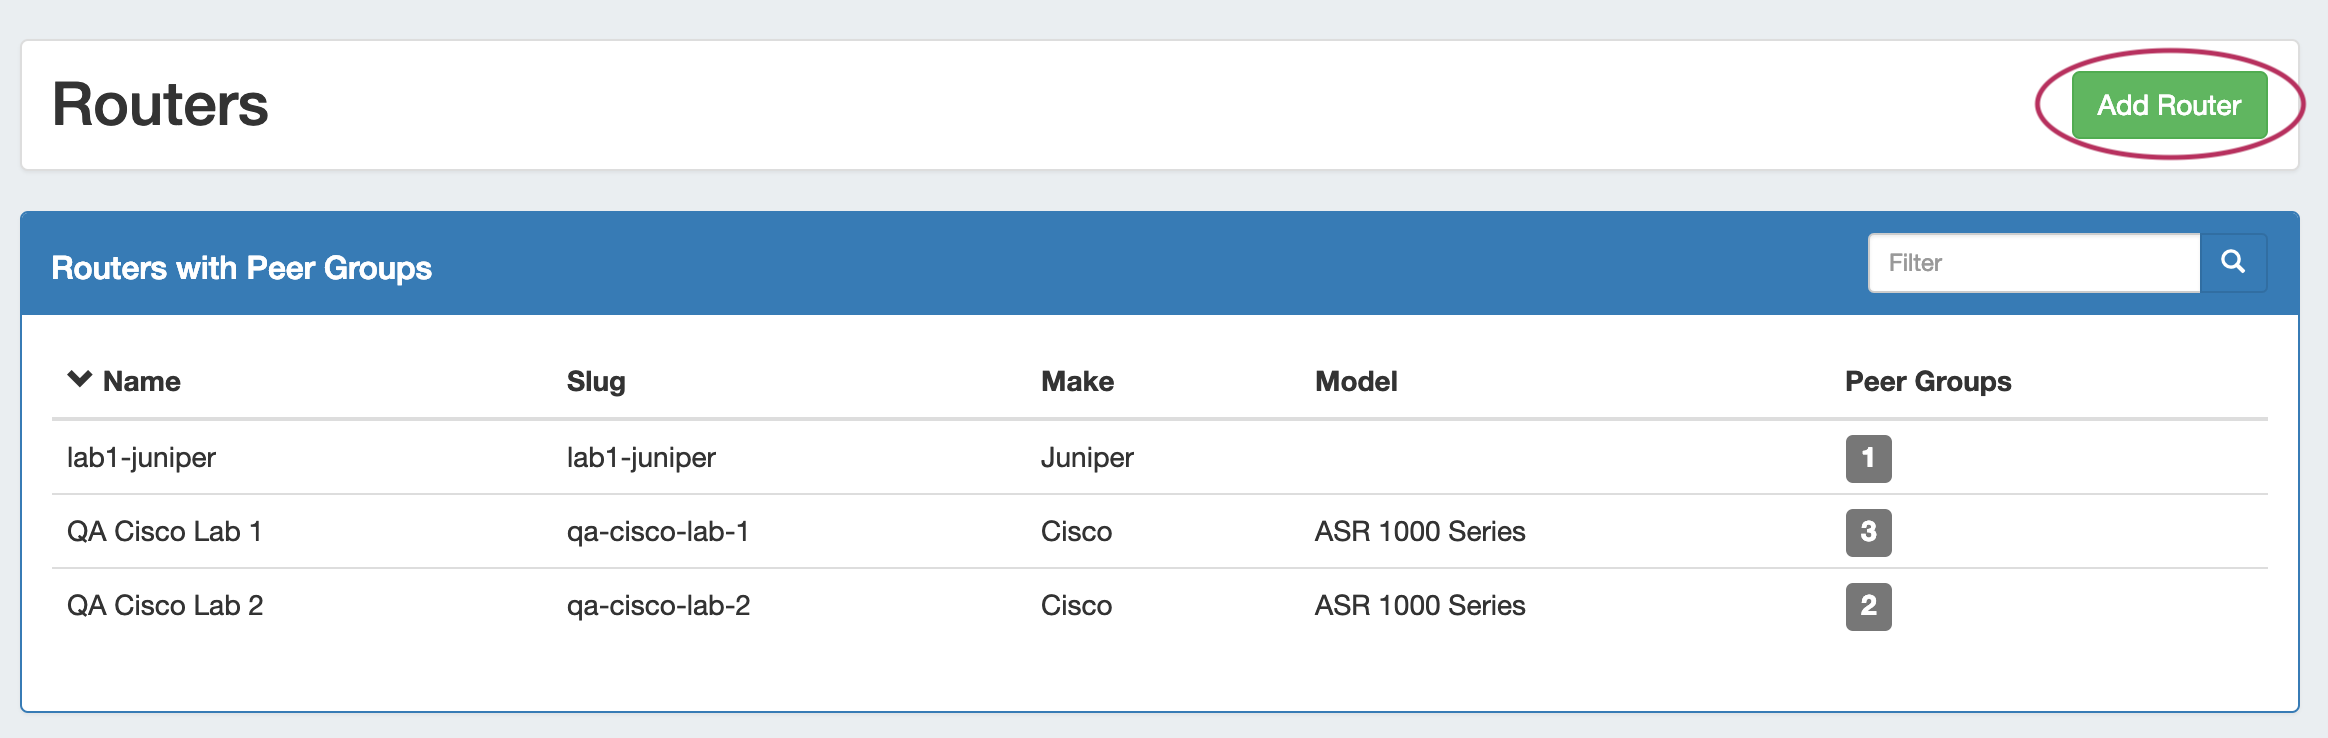
Add a new router by clicking the "Add Router" button, which will direct to a page to input the router details.
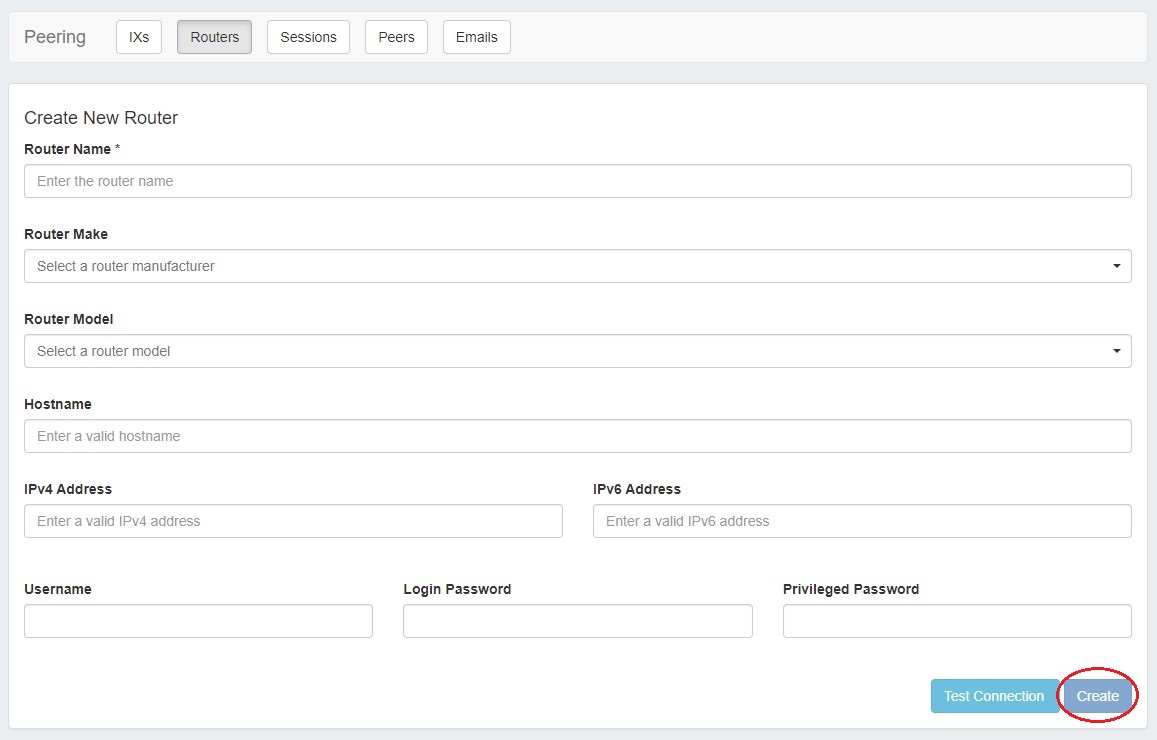
Enter in router details: Name, Make, Model, Hostname, IP address(es), and credentials. If desired, you can confirm the connection by clicking "Test Connection".
When done, click "Create".
The Router will be added to the Router list, and can be managed from the router details page.
Router Details Page
Clicking on a router entry in the router list will open the router details page.
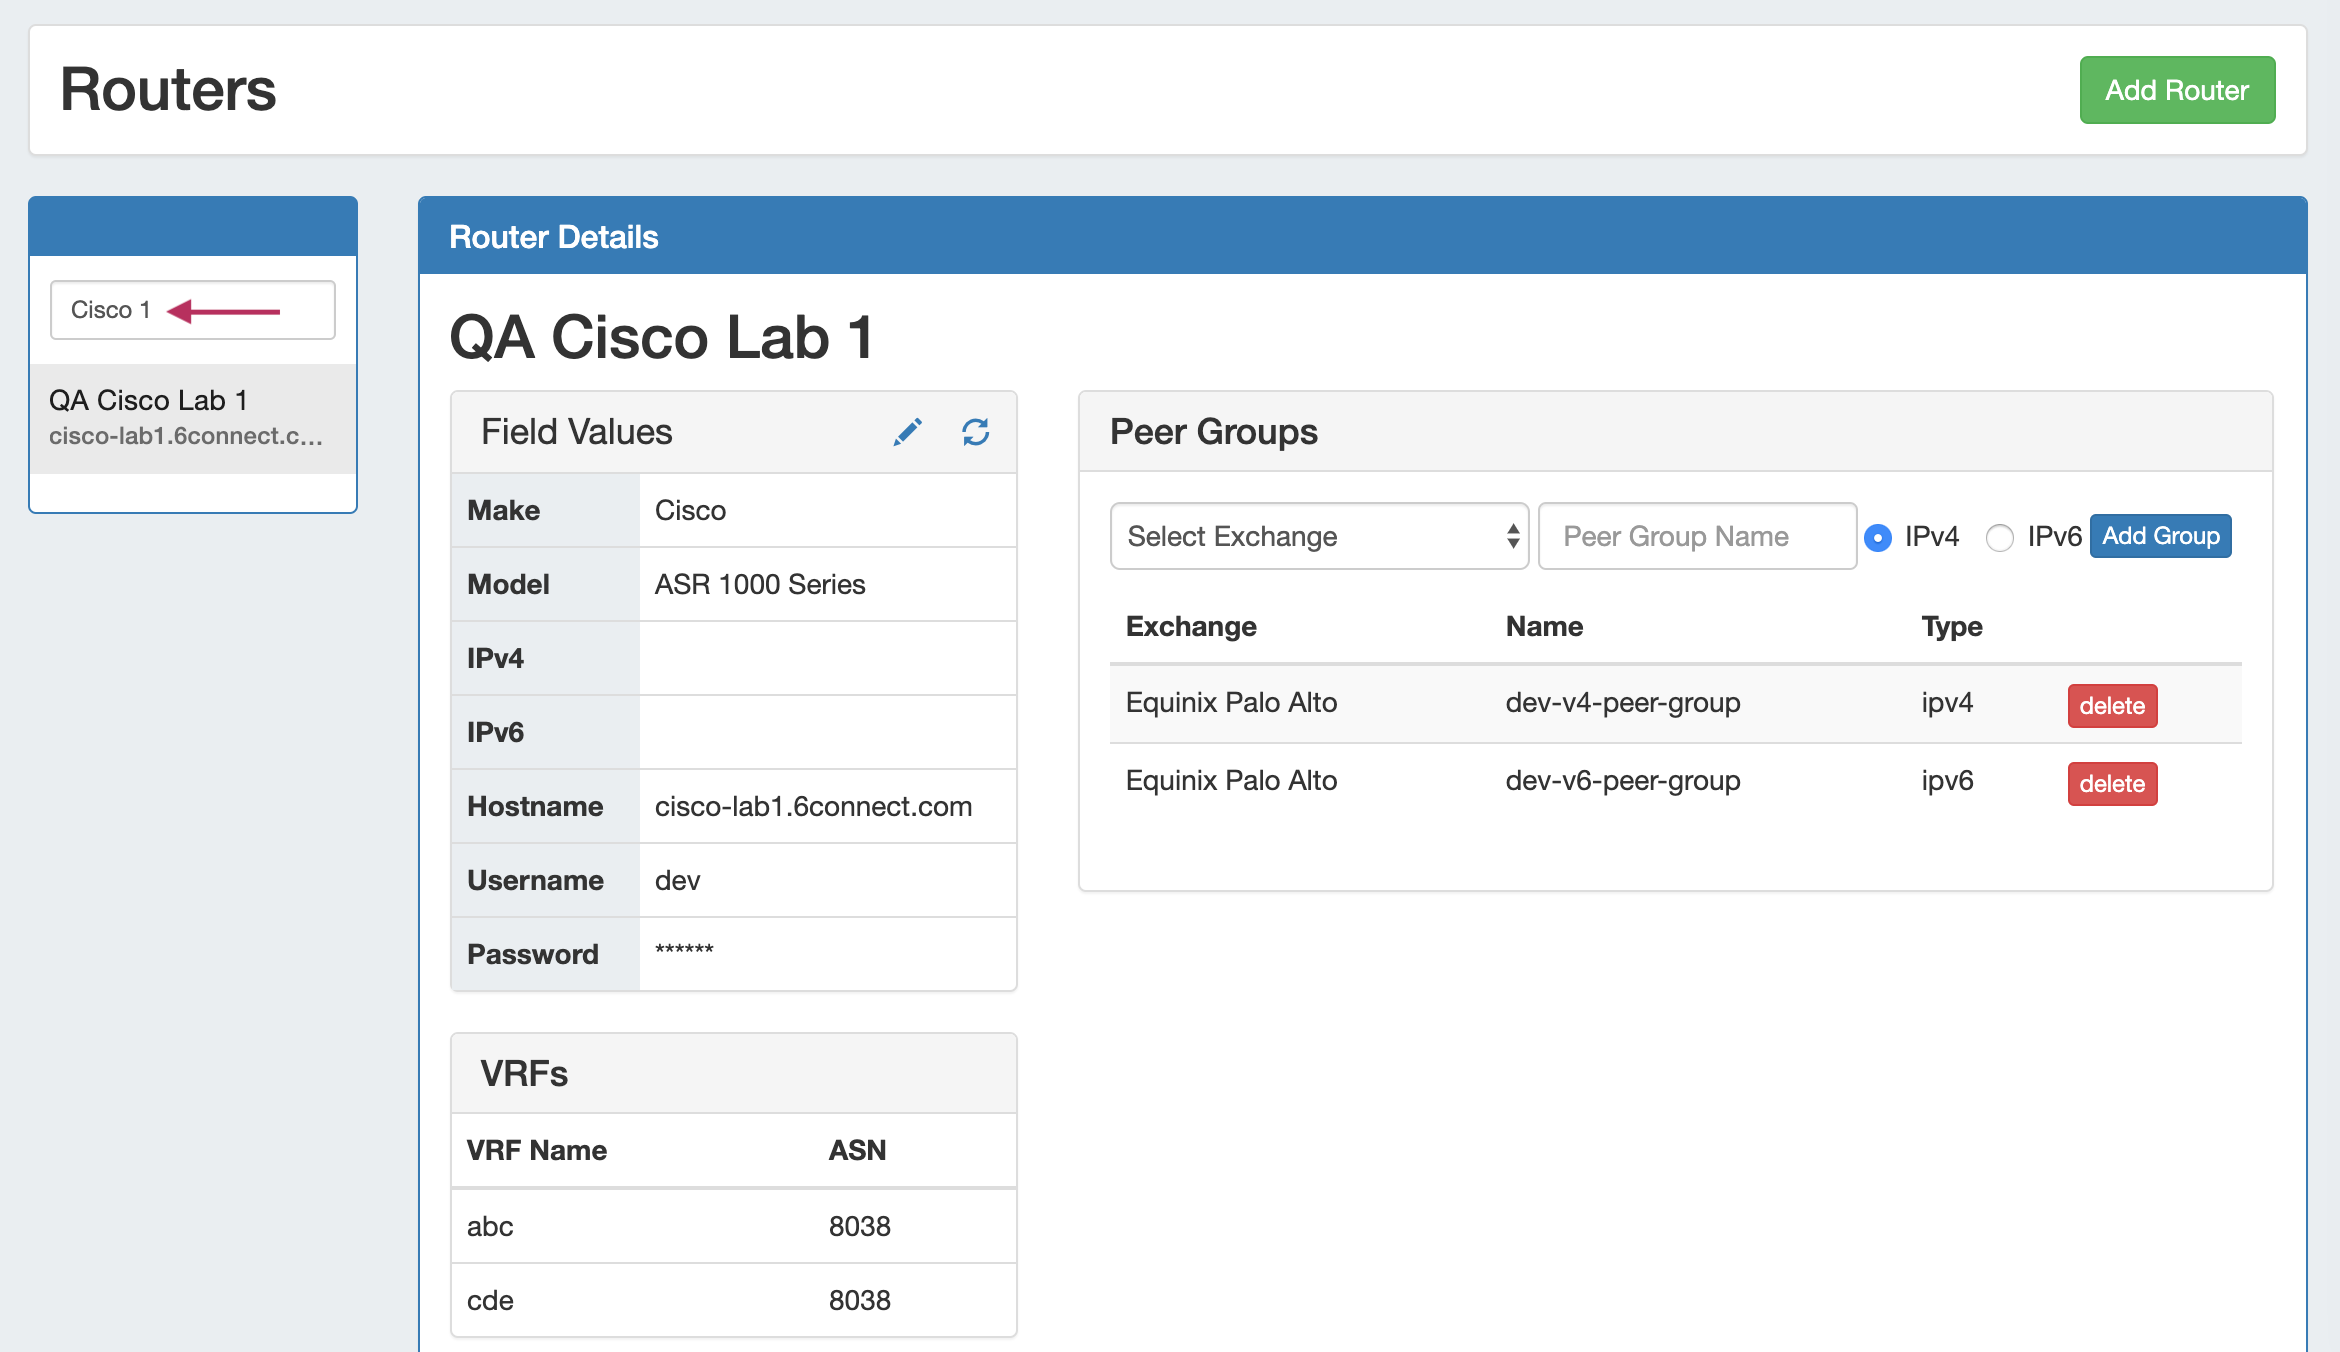
From here, routers may be added as well, or you can use the filterable list in the left sidebar to select a router to view.
The router details area gives the basic router information.
Edit Router
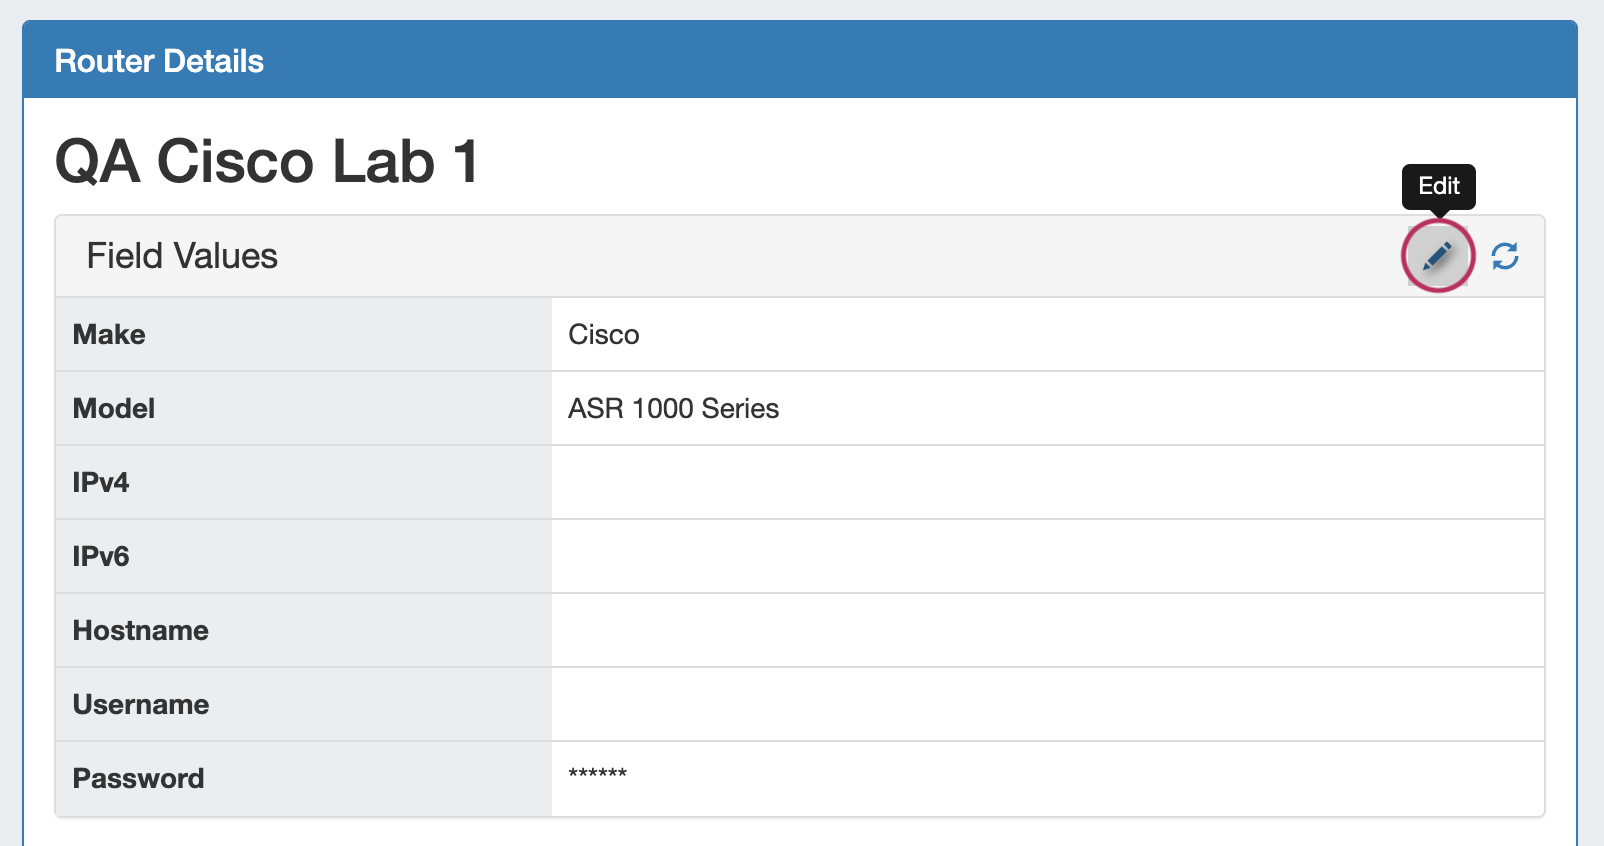
A Router's Make, Model, IP address, Hostname, Username, and Password may be edited from the Peering Router Details page.
To edit a router field, click the "Edit" icon (pencil), and input the desired change.
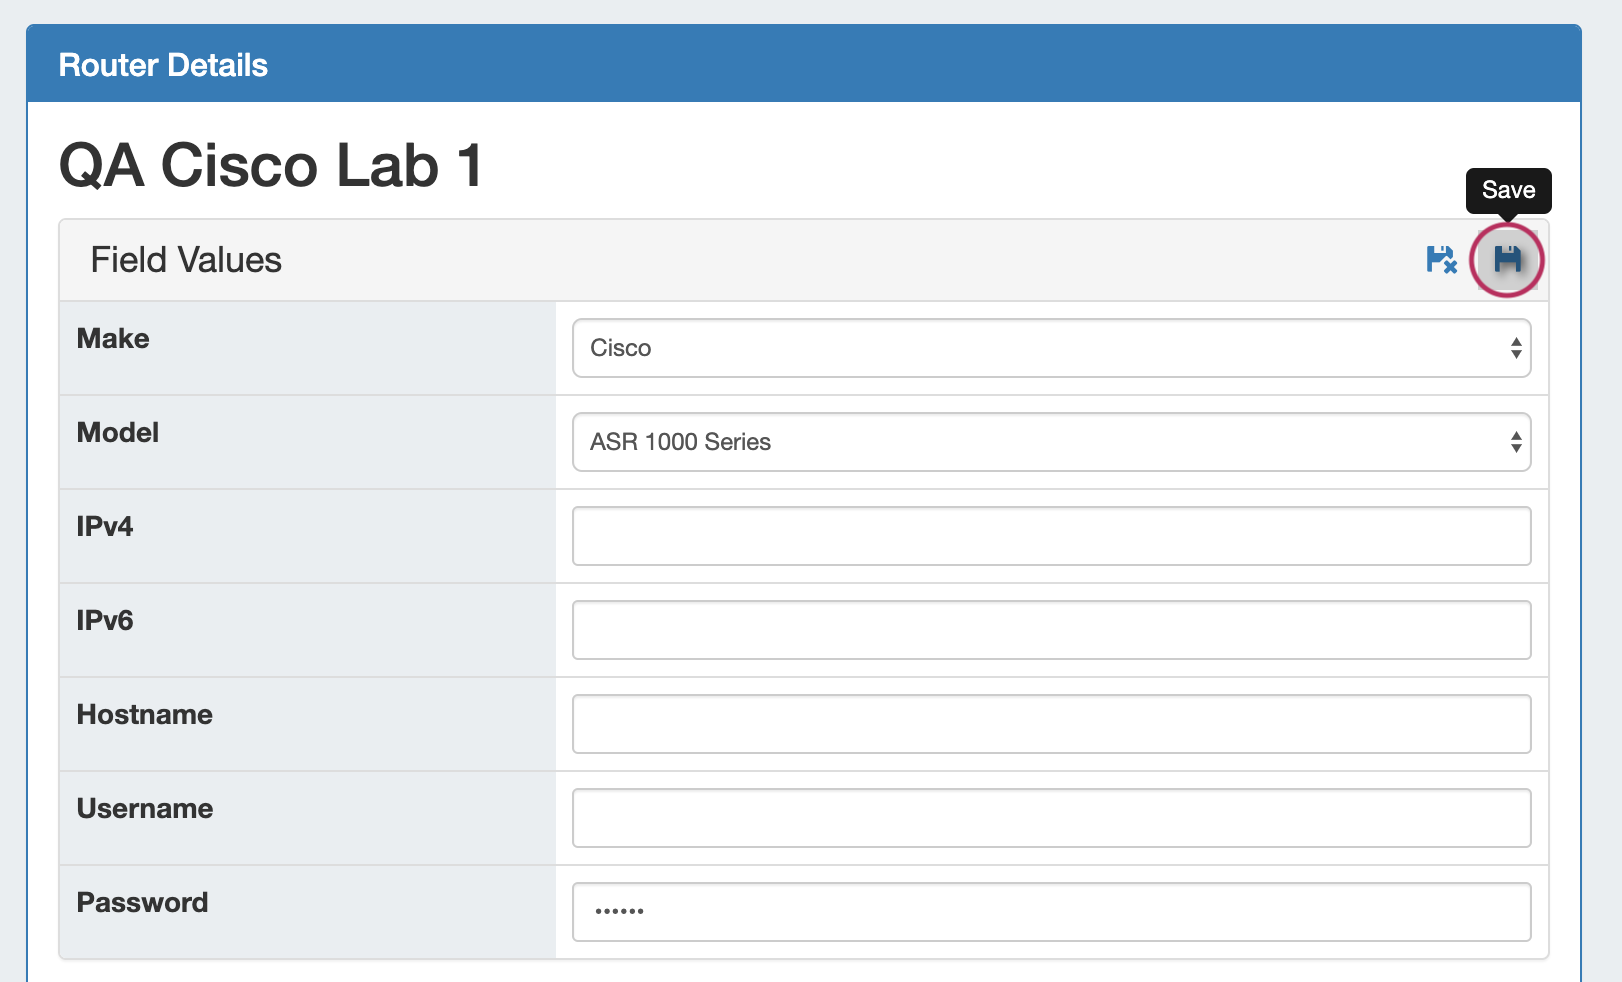
When complete, click the "Save" icon. You may cancel the edit by clicking the "Cancel" icon to the left of "Save".
Router information may also be edited from the Router's Resource Entry page and /or Field Gadget. By default, not all router fields may be visible or editable - this is to prevent editing critical router identification elements while sessions may exist for those routers.
Edit Peer Groups
You may also add and delete and Peer Groups associated with the router - select the Exchange, Add the Peer Group Name, select the IP type, and click "Add Group".
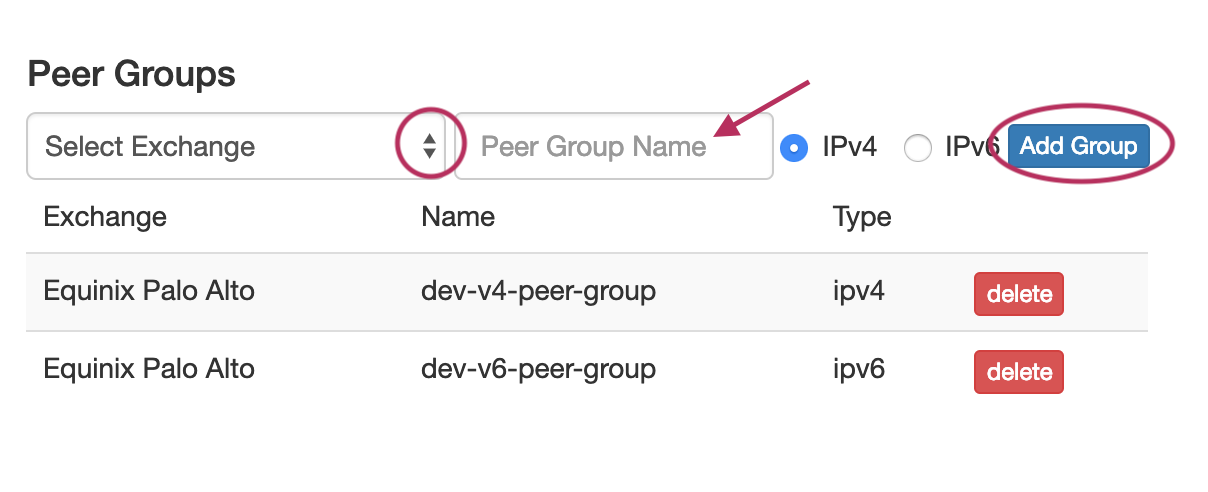
To delete Peer Groups, click "Delete" for the peer group to remove. Peer Groups may also be edited via the Peer Group gadget.
Note: Adding / Deleting Peer Groups only affects ProVision, it does not add or remove from from the router itself.
Router Sessions
View all ProVision sessions associated with a router by going to that router's detail page and scrolling down to the "Router Sessions" section. Clicking on any session will open up the Session Details for that session.
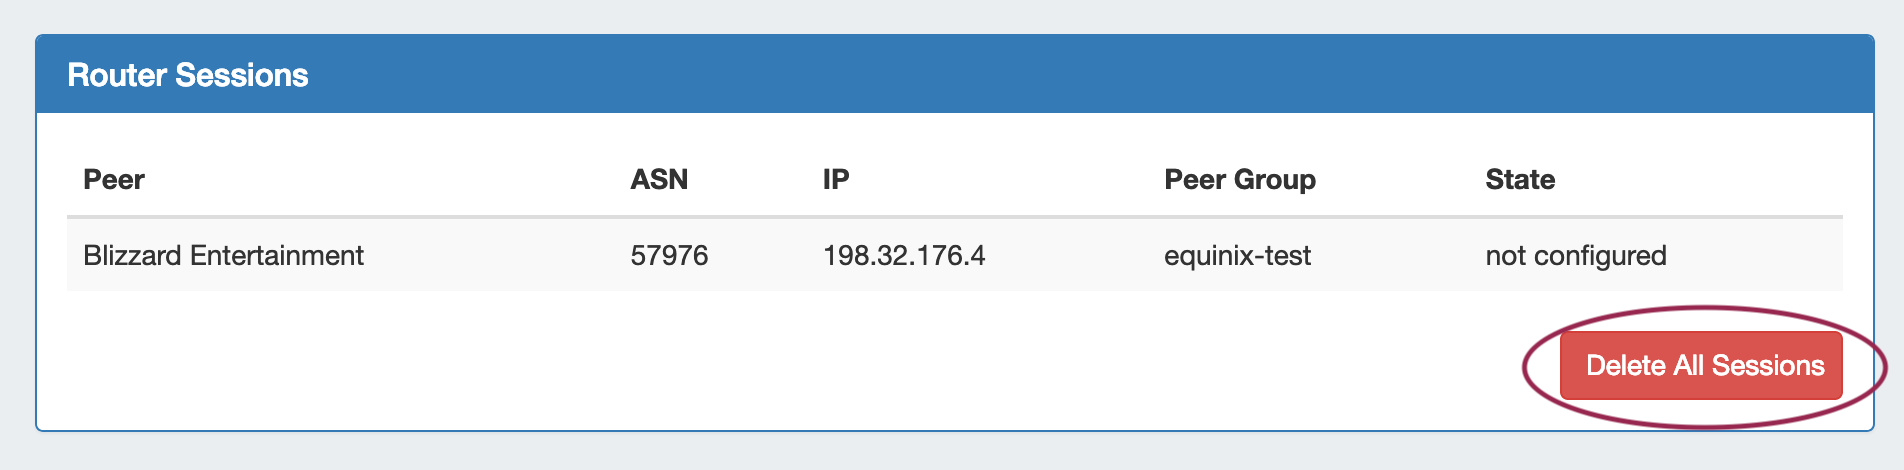
Delete all sessions in ProVision for the router by clicking "Delete All Sessions" under Router Sessions.