
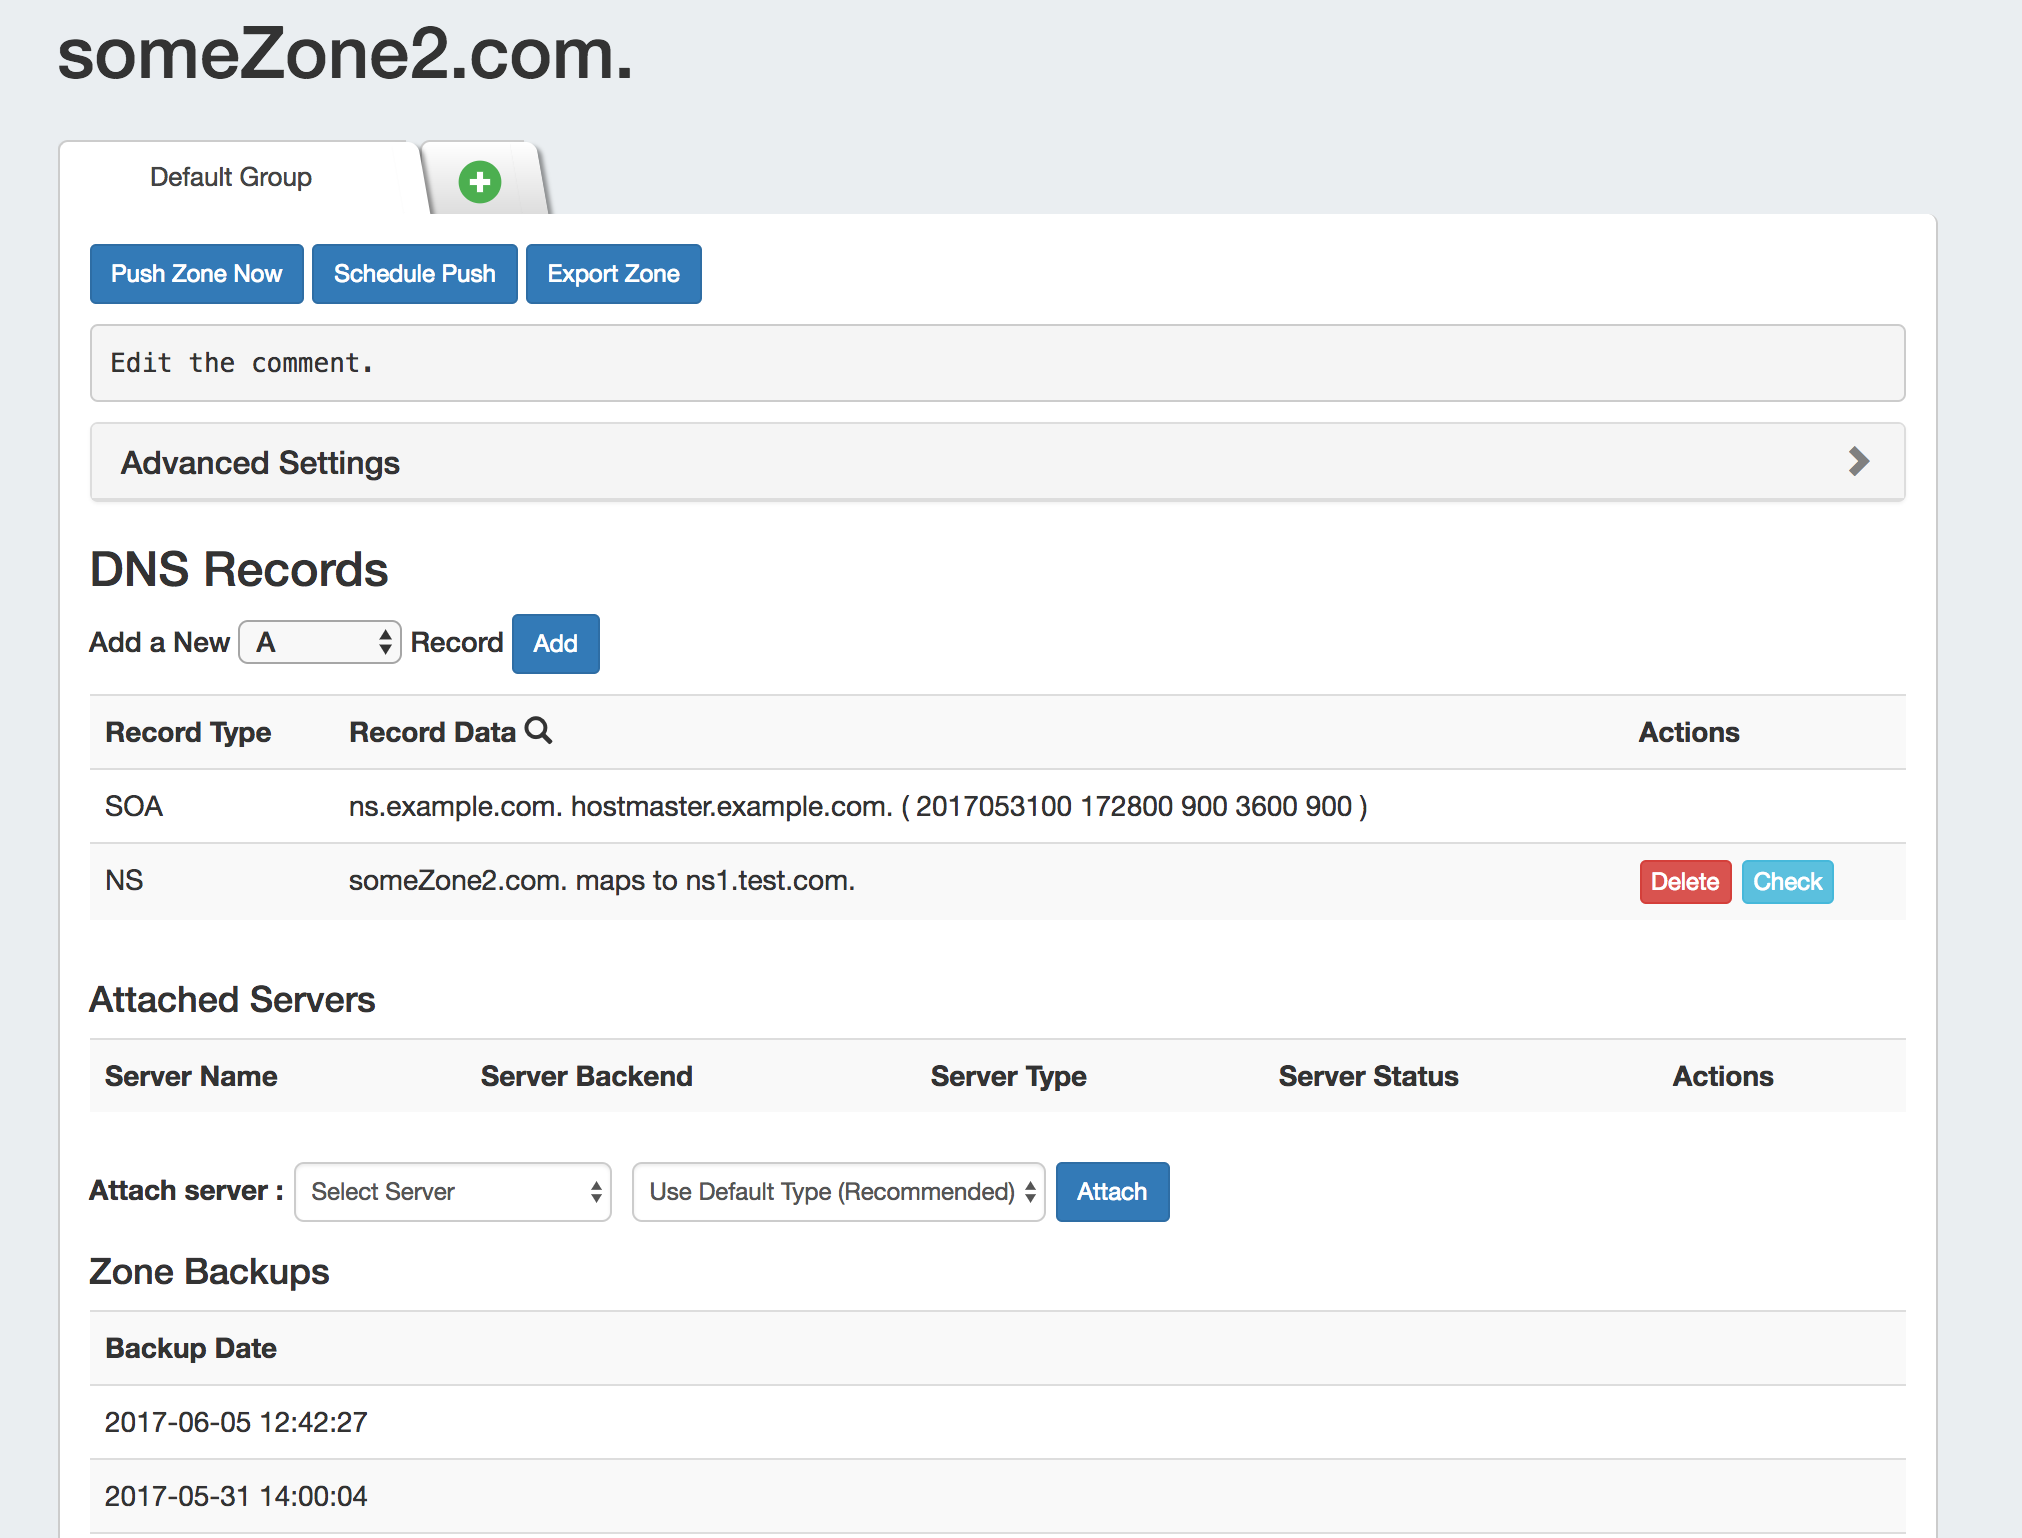
Zones may be editied by clicking on the Zone name in any zone list in which it appears - zones listed under DNS Groups, under DNS Server attached zones list, or from the DNS Gadget.
The View Zone Page
Clicking on the zone name opens up the View Zone page, from where comments may be added, records added or updated, servers attached to the zone, advanced settings edited, backups restored or the zone pushed / exported.
Areas of the Zone View page include:
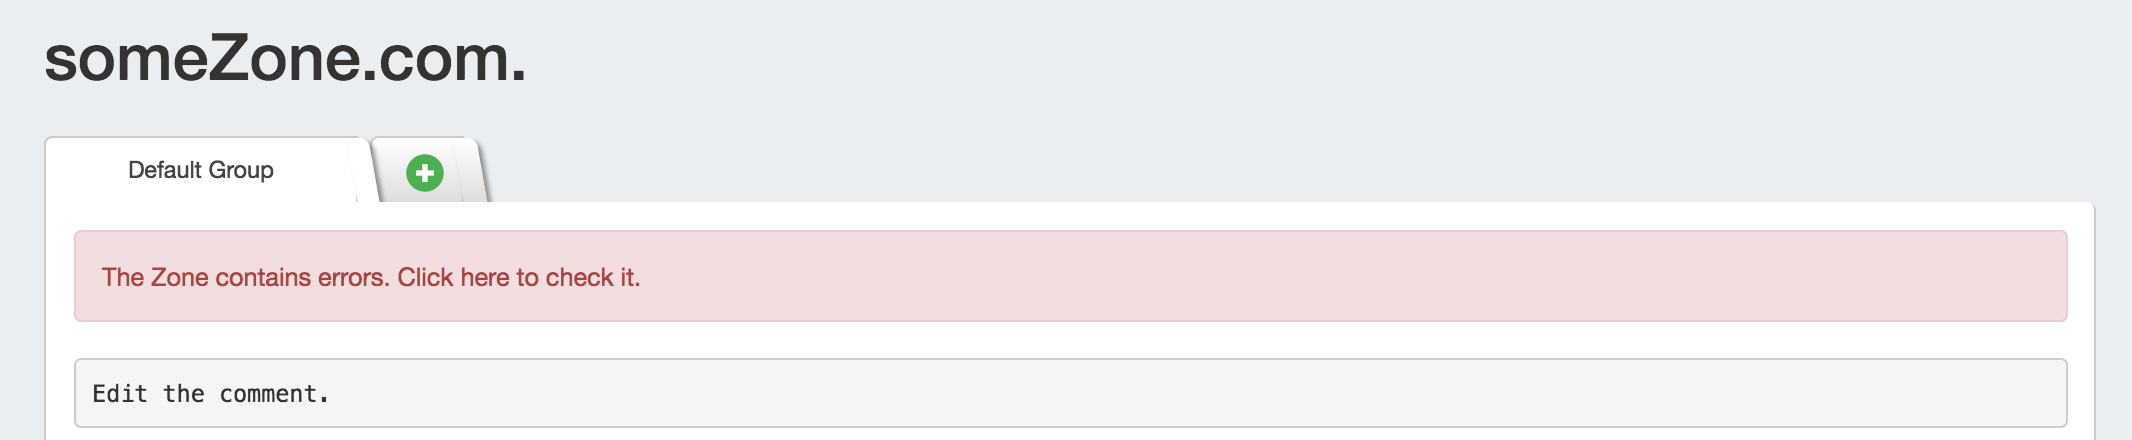
Error Notification
If errors are detected for the zone, an error notice will be given at the top of the group tab for the zone. To review the error, click on the message, and it will list the number of errors present, and details if available.
Records will errors will be highlighted in red in the records list.
Zone Actions
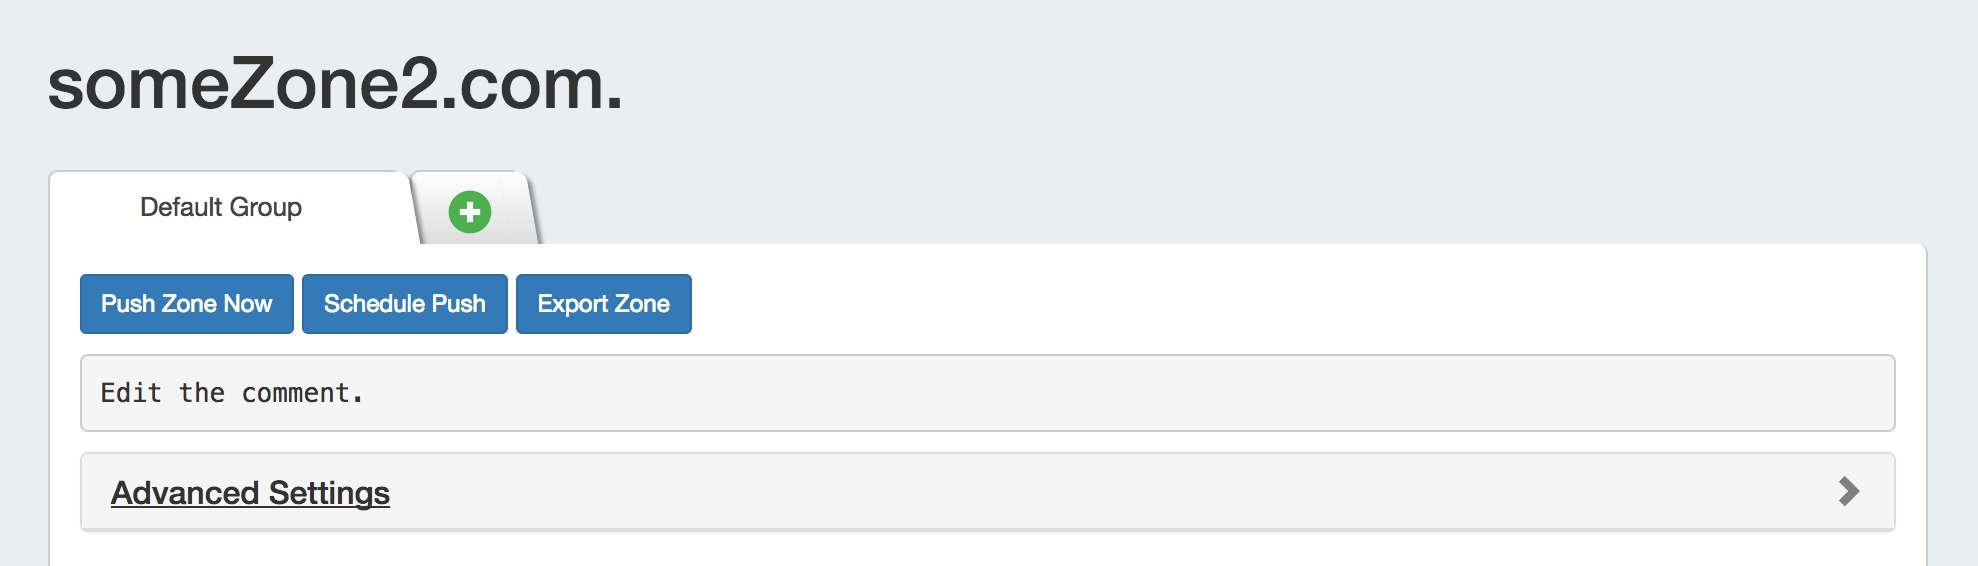
Zone actions that may be taken include pushing the zone ("Push Zone Now"), scheduling a zone push ("Schedule Push") or exporting the zone to a .zone file ("Export Zone").
Comments
To add a comment to a zone, click anywhere inside the comment area and begin typing. The comment will be saved when an area outside of the comment box is clicked, deselecting the comment area.

Advanced Settings
Open the zone "Advanced Settings" section by clicking on the header or the expansion arrow (>).
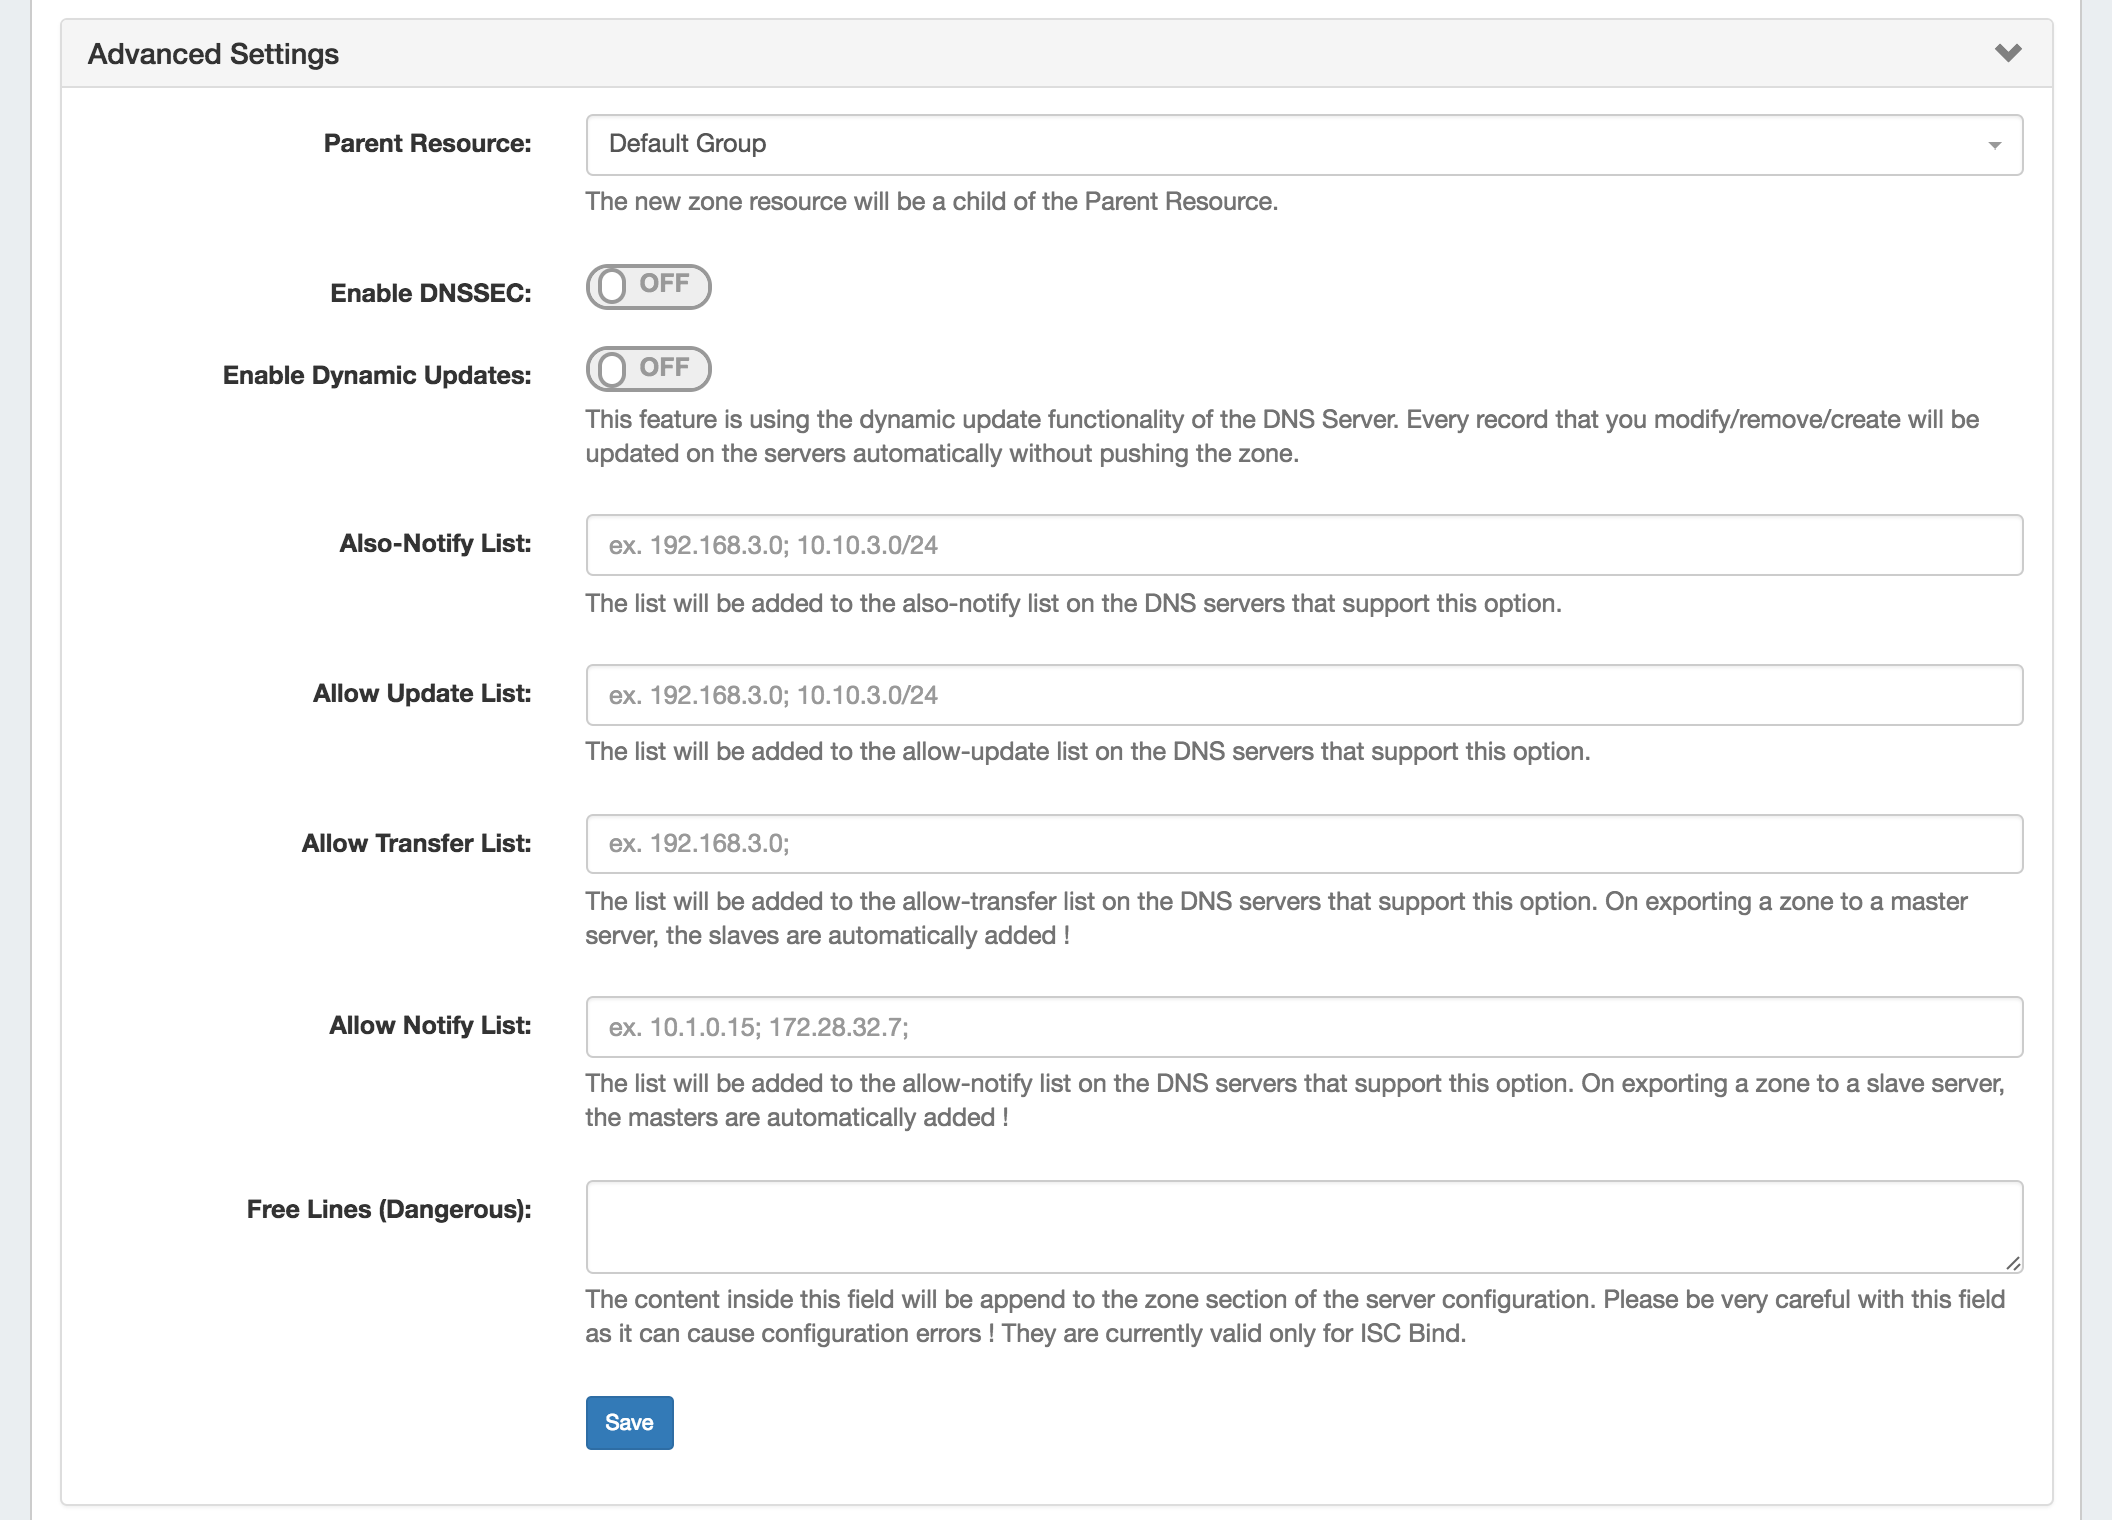
Here, you will find options for:
Parent Resource: Sets the zone's Parent Resource, which affects the permissions access for the zone. By default, the parent is set as the DNS Group the zone is in.
Enable DNSSEC: Toggle "On" or "Off" to enabled DNSSEC for the zone, if supported by the attached server.
Enable Dynamic Updates: Toggle "On" or "Off" to enabled Dynamic Updates for the zone, if supported by the attached server.
Also-notify List: Add IPs to also-notify list of the attached DNS sever, if supported.
Allow Update List: Add IPs to the allow updates list of the attached DNS sever, if supported.
Allow Transfer List: Add IPs to the allow transfer list of the attached DNS sever, if supported. Slaves are automatically added if exporting a zone to a master server.
Allow Notify List: Add IPs to the allow notify list of the attached DNS sever, if supported.
Free Lines: Enter free lines to append to the zone section of the server configuration for the attached server (ISC BIND only). Use with caution - this can cause configuration errors if mistakenly included.
Save Button: Be sure to click "save" when edits are complete, or changes will not be saved.
DNS Records
The DNS Records list contains options to add a new record of the selected type, edit record information, delete a record, or check a record.

Add a Record
From the View Zone page, under DNS Records, look for the line "Add a new ___ Record".
Select the desired record type, then click "Add".

Fill out the record host, value, select TTL, add a comment (optional), and check "Add to All Views" or "Skip Validation" if desired.
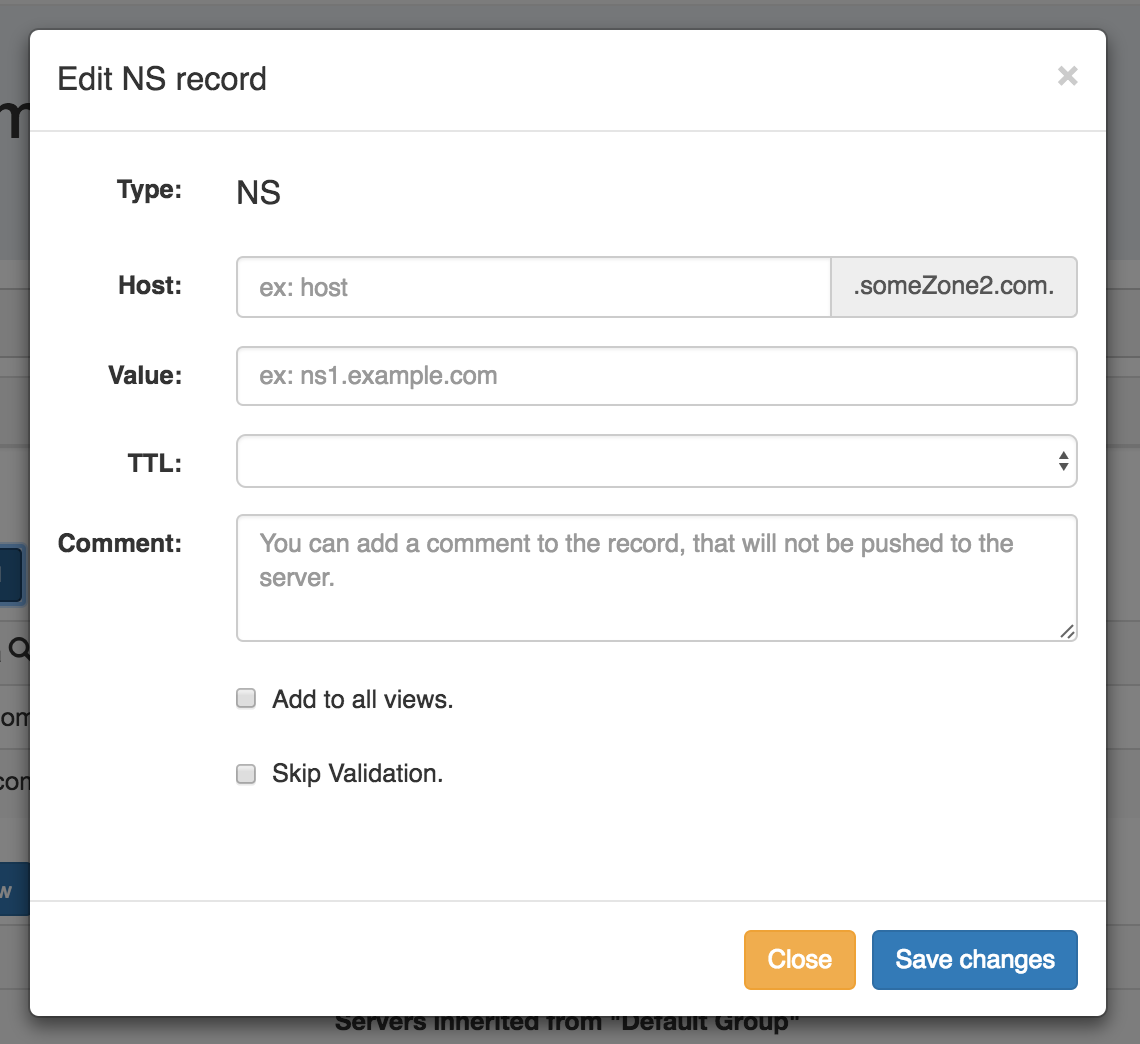
When complete, click "Save changes".
Edit a Record
To edit an existing zone record, click on the record line in the DNS Records list.
The Edit Record dialog will open, allowing you to fill in record details.
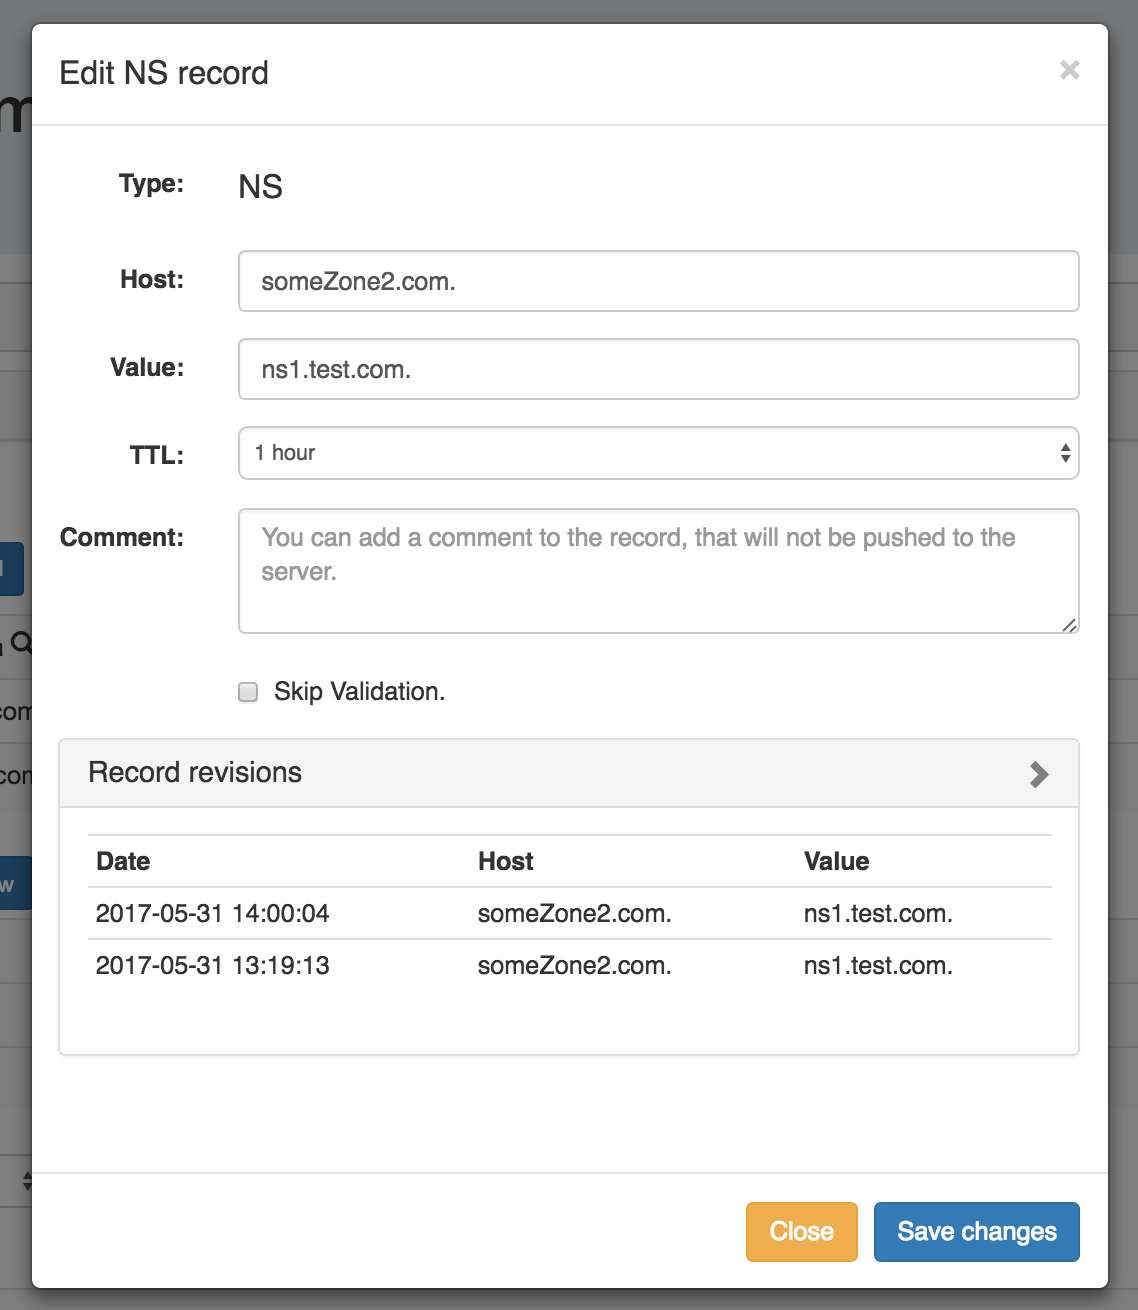
Fill in the Host, Value, TTL, and comment if desired.
An option exists to "Skip Validation" - check to select if you wish to bypass validation for the record.
If previous versions of the record exist, the revision log will be visible under "Record revisions".
When edits or reviewing is complete, click "Save changes", or "Close" to exit without saving.
Delete a Record
Delete a zone record by clicking the "Delete" button under "Actions" for the desired record entry.
Check a Record
Check a record for errors by clicking the "Check" button under "Actions" for the desired record entry.
Scheduled Tasks
If scheduled tasks (zone pushes) have been set up for the zone, they will appear under a "Scheduled Tasks" section.
Tasks here will also show in the Admin Scheduler task list.

The task may be deleted by clicking the "delete" button.
Attached Servers
Servers attached directly to the zone, or inherited from the zone's parent DNS Group will be shown here.
Additional servers may be attached by selecting the server name, type (default, master, slave), and clicking the "Attach" button, as long as the user has permissions on both the zone and the server to attach.

To detach a server from a zone, look for the server under the "Attached Servers" list, then click "Detach" under actions for that server.
Zone Backups
If a zone has had changes sucessfully pushed, a "Zone Backups" section appears near the bottom of the page, showing the date and time of the backup.

To view details, or restore the zone to the previous version, click on the row of the desired date/time backup, and the "Zone Restore" module will open.
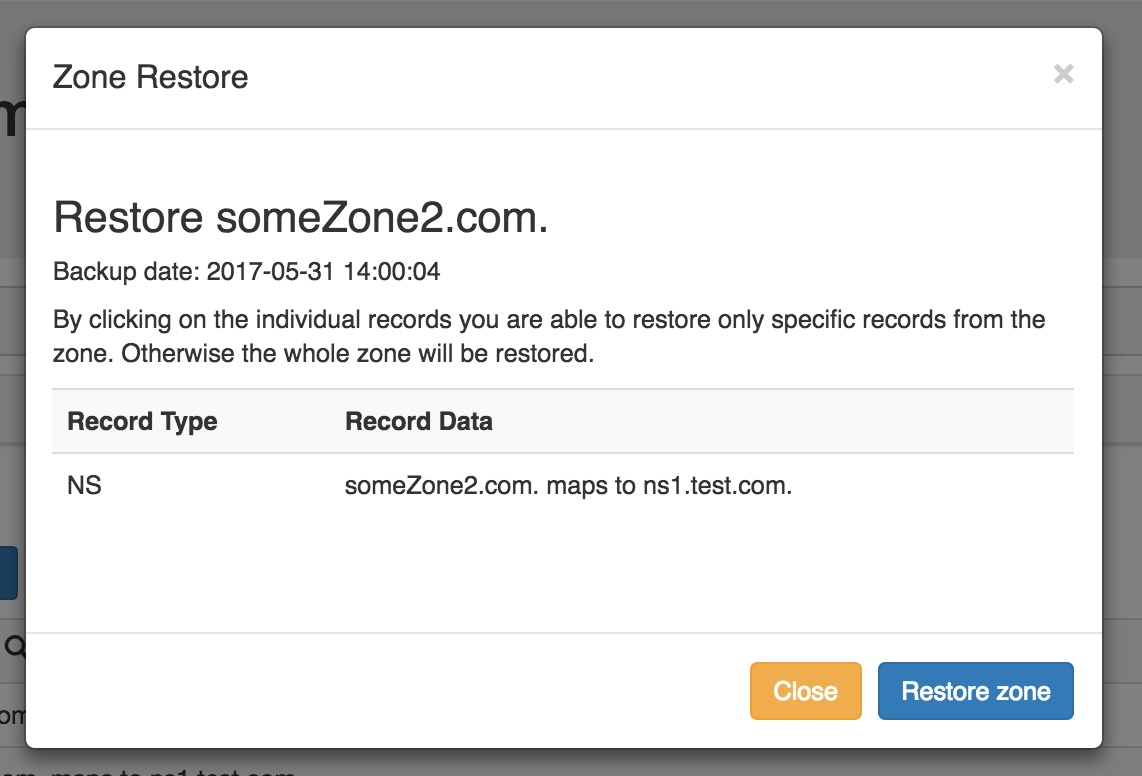
From here, you may restore individual records by clicking on them, or restore the entire zone by clicking the "Restore Zone" button.
To exit without saving, click the "Close" button.