
Configuring Split-Horizon Views
Split-horizon DNS allows for different DNS records to be provided for the same domain, depending on the source of the DNS query. It allows internal and external users to see different IP addresses for the same domain name. For example, if a server has both a private IP address (such as on a local area network) and a public address, using split-horizon DNS the same name can direct to either the private IP address or the public one based on the client sending the query. This may allow for improved network latency for local networks.
Configuring Split-Horizon Views
In ProVision, DNS Groups are used to organize split-horizon views with applied ACLs to determine which DNS records are applied to a zone for a given requestor. One zone may be cloned between two or more DNS groups, ACL(s) applied, and separate zone records customized for each cloned zone.
1 ) Create DNS Group(s)
Create DNS Groups, or verify that DNS Groups already exist, for both the default response and each split zone view that is needed.
In this example, we will use ProVision's Default Group for the default response, and "Another Group" for an additional split zone view.
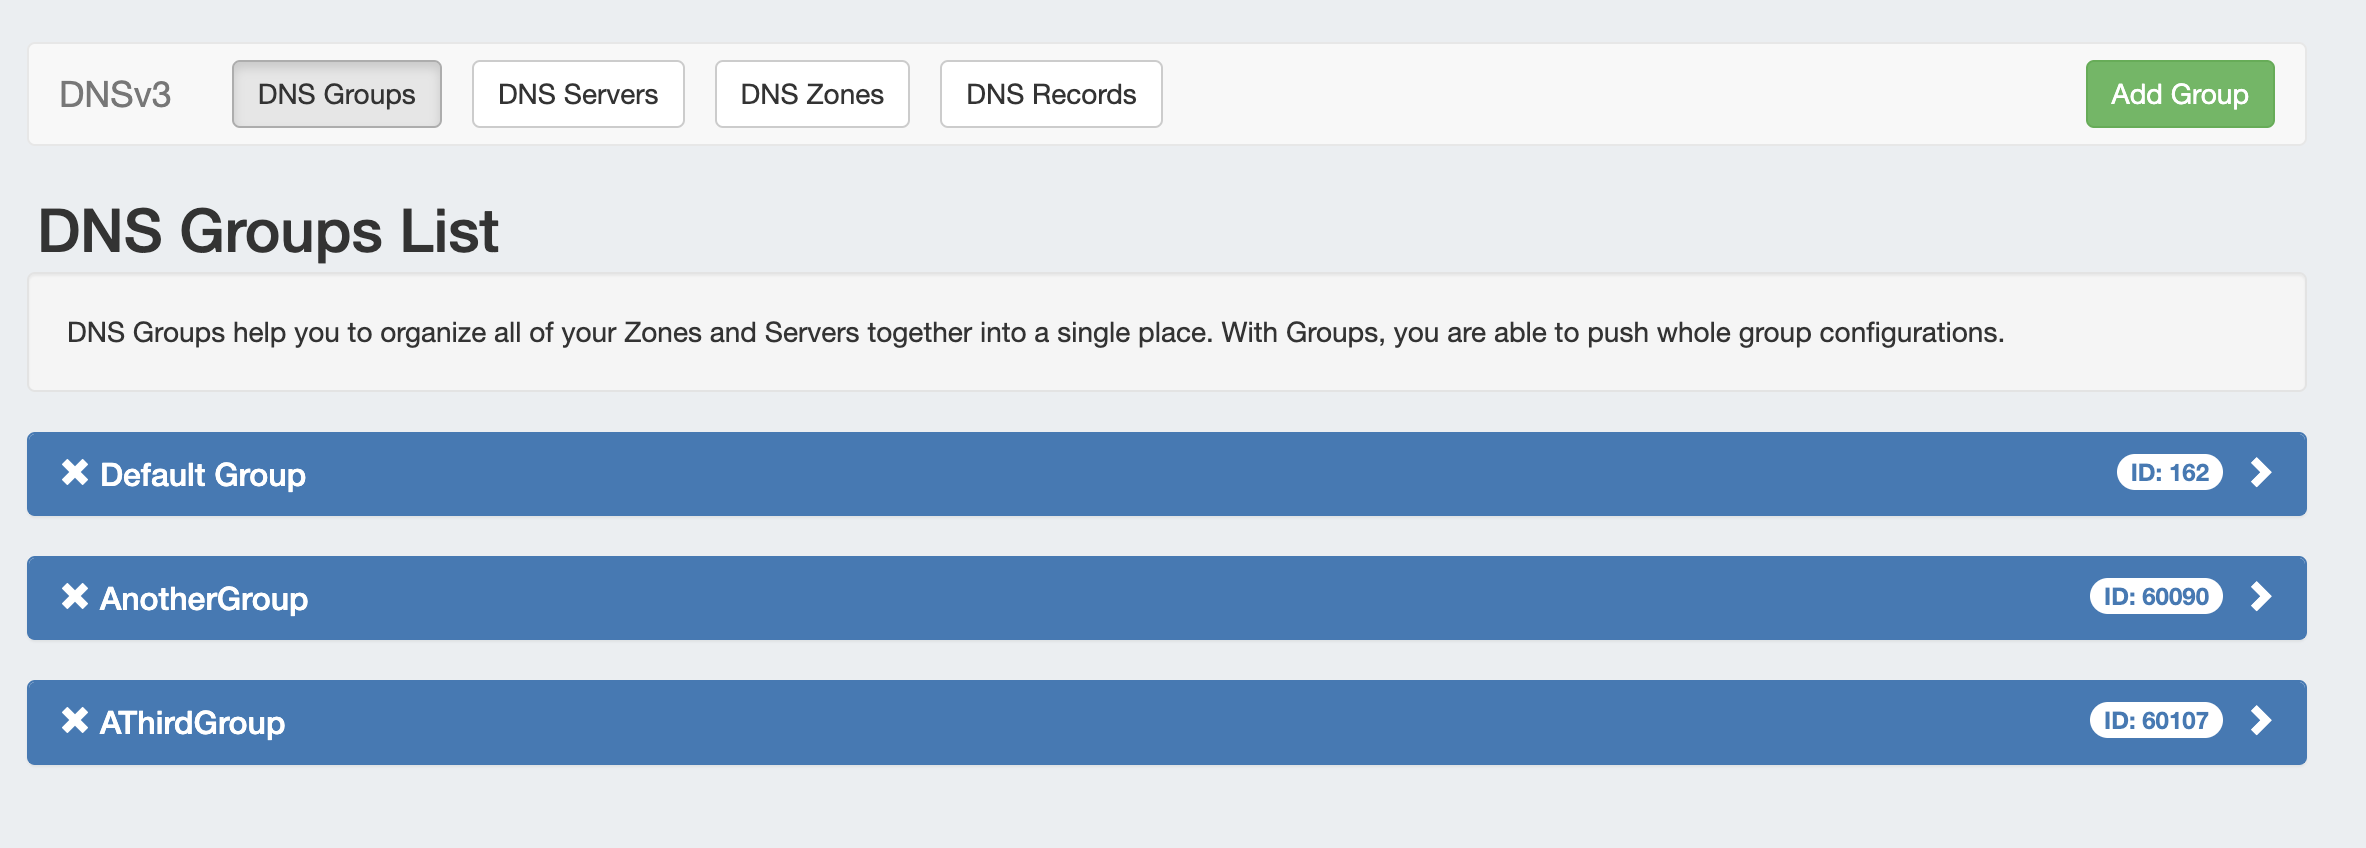
2) Add Zone to Groups
Create or add the DNS Zone to both the Default response group and the additional group(s) intended for the split zone view(s).
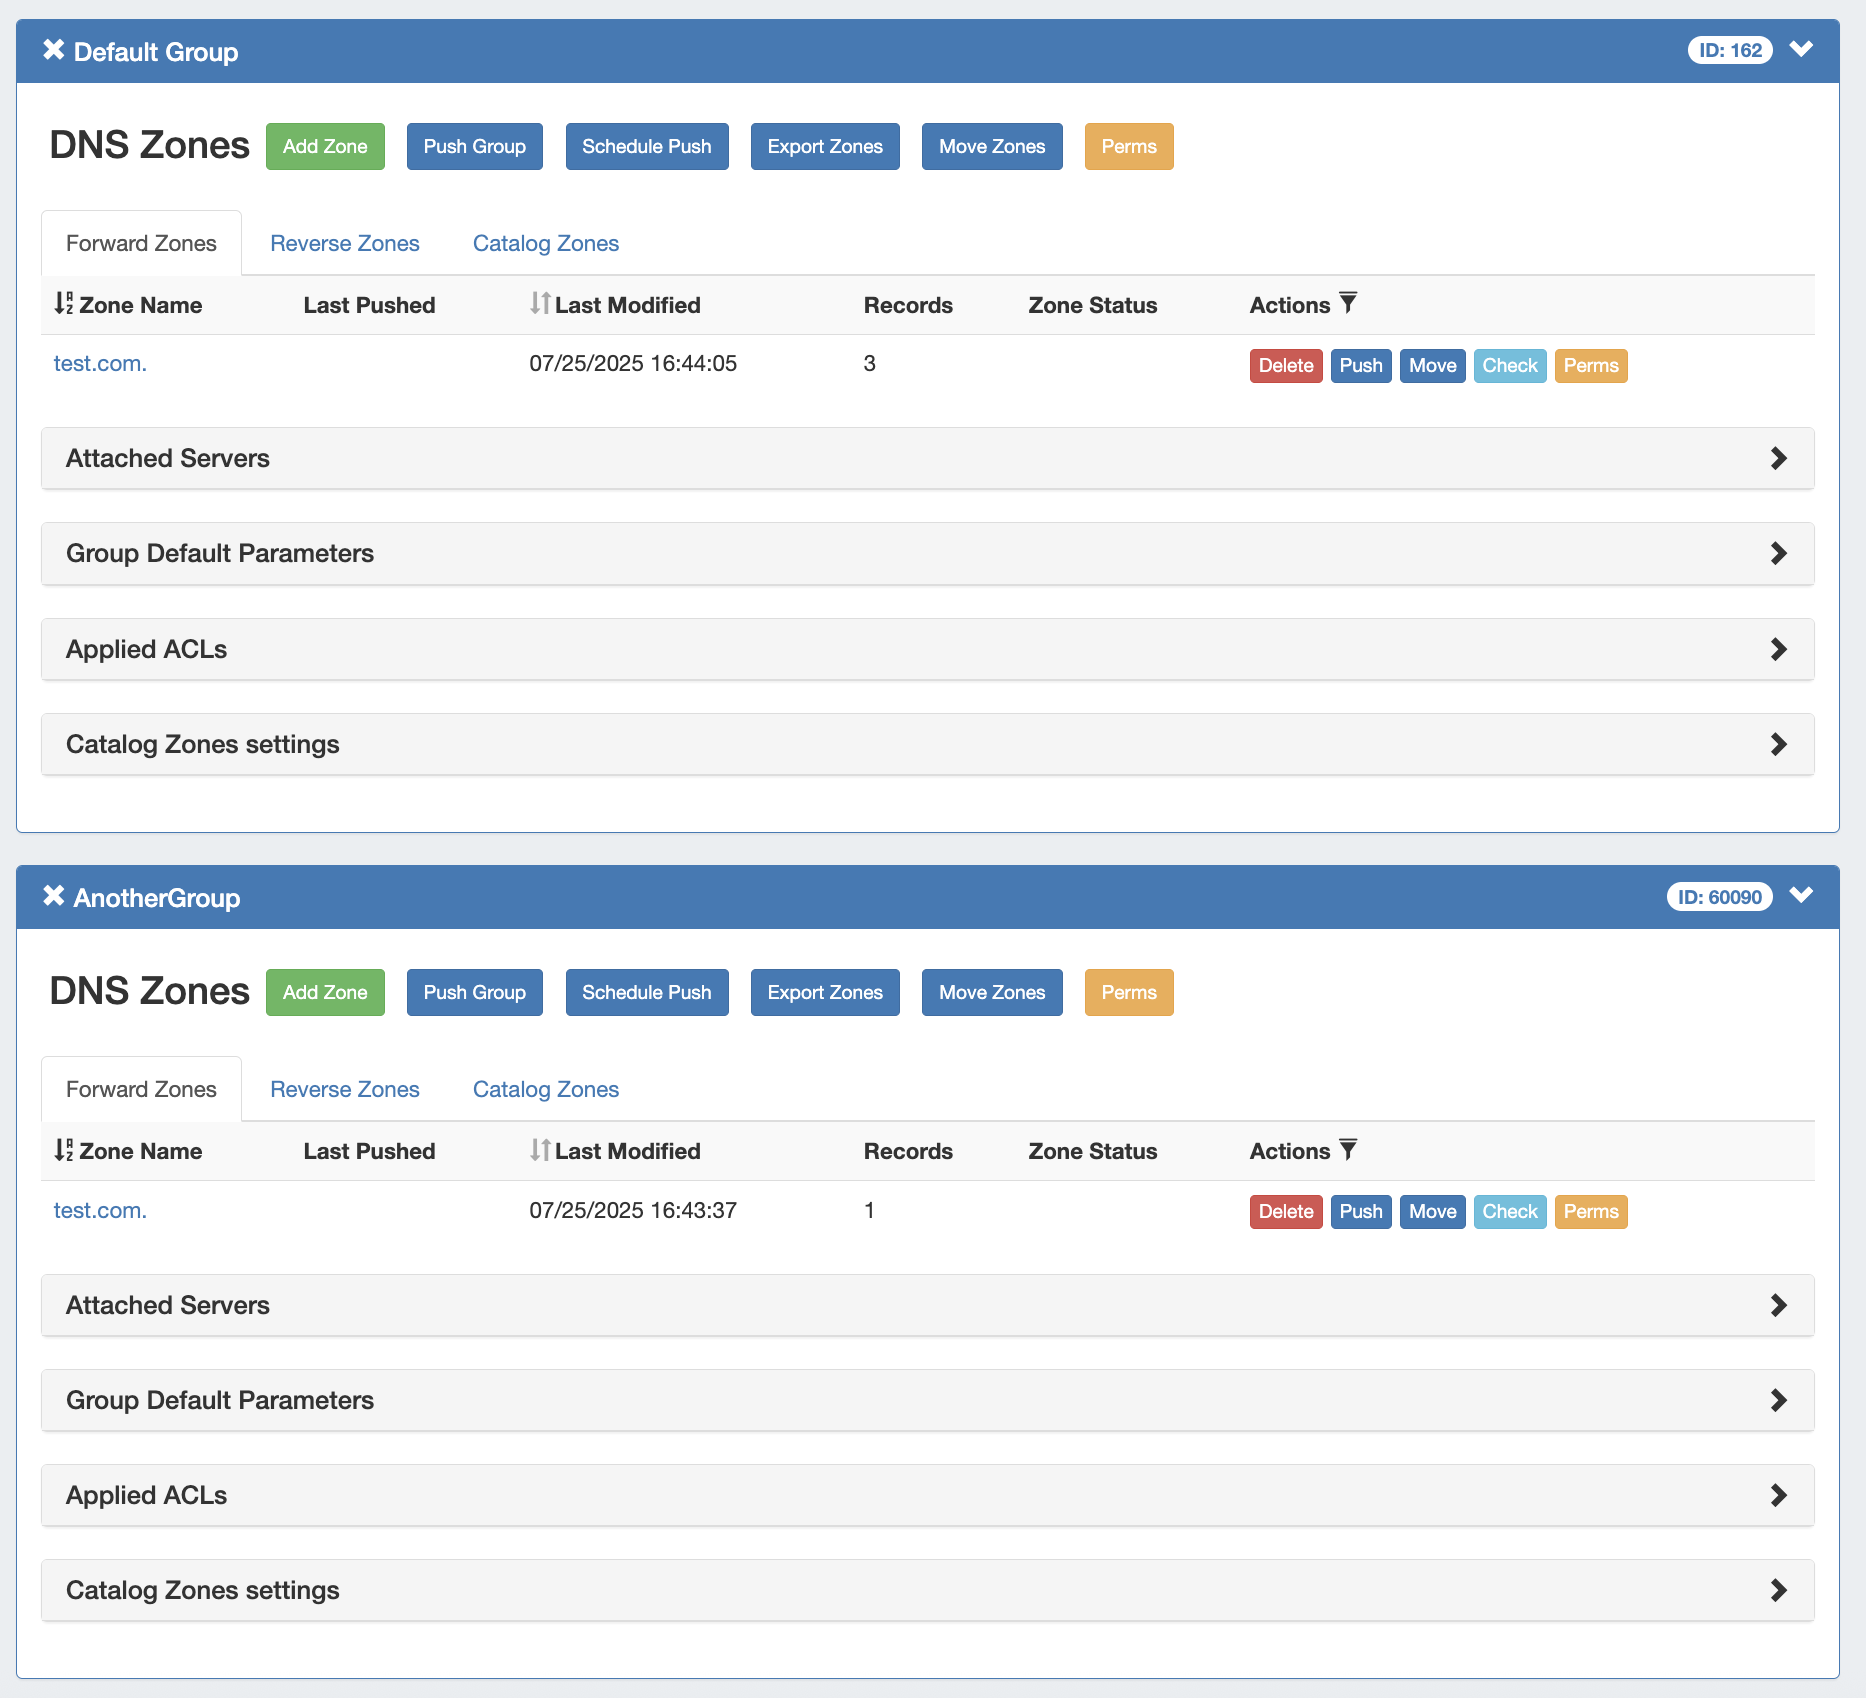
Clone Existing Zone
You can quickly add the same zone to multiple groups by using "Clone Existing Zone" in the Add Zone modal, or the "Add to Group" button from the Zone View page!
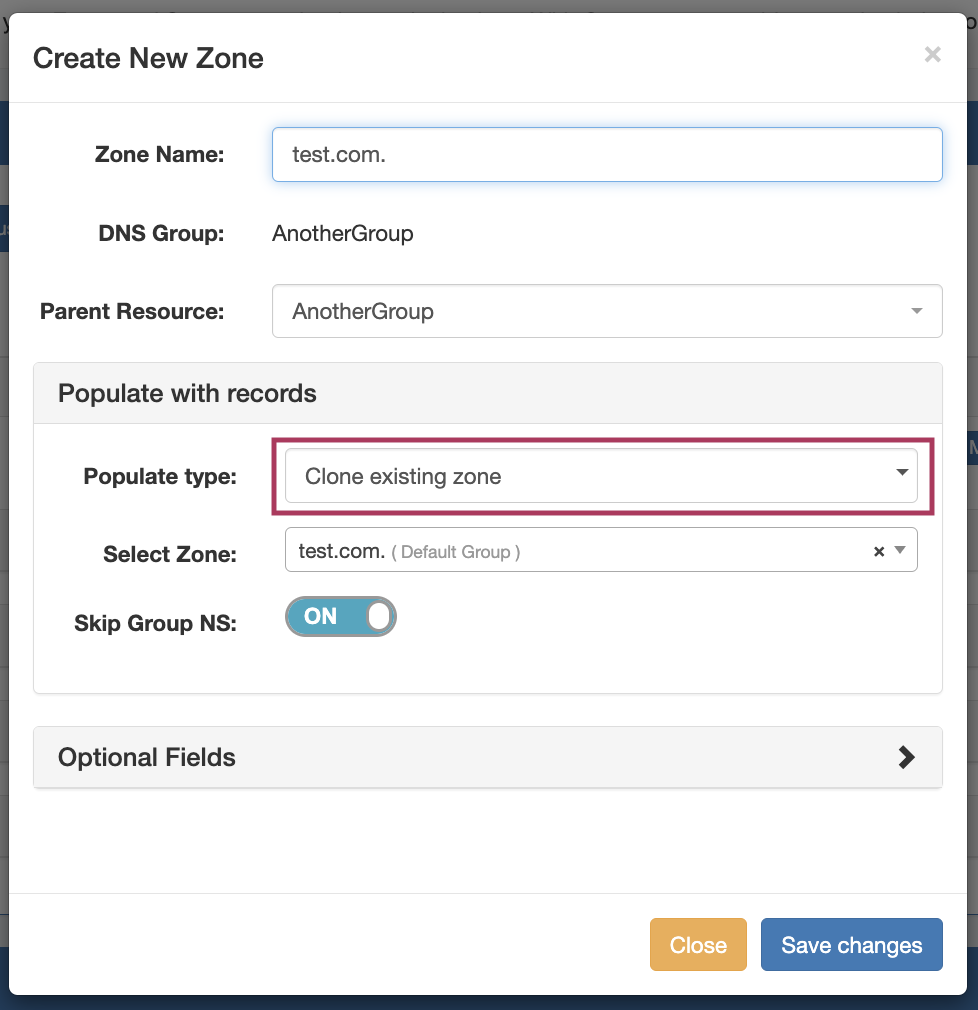
Clone Existing:
From the DNS Group container, click "Add Zone", then select "Clone Existing Zone" under "Populate type".
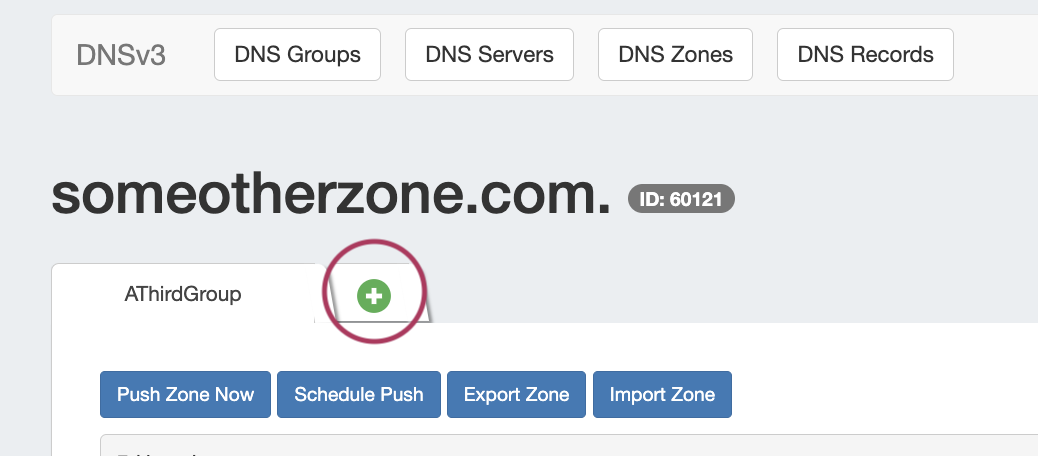
Add from Zone View Page:
Click the green + to create the zone under another DNS Group.
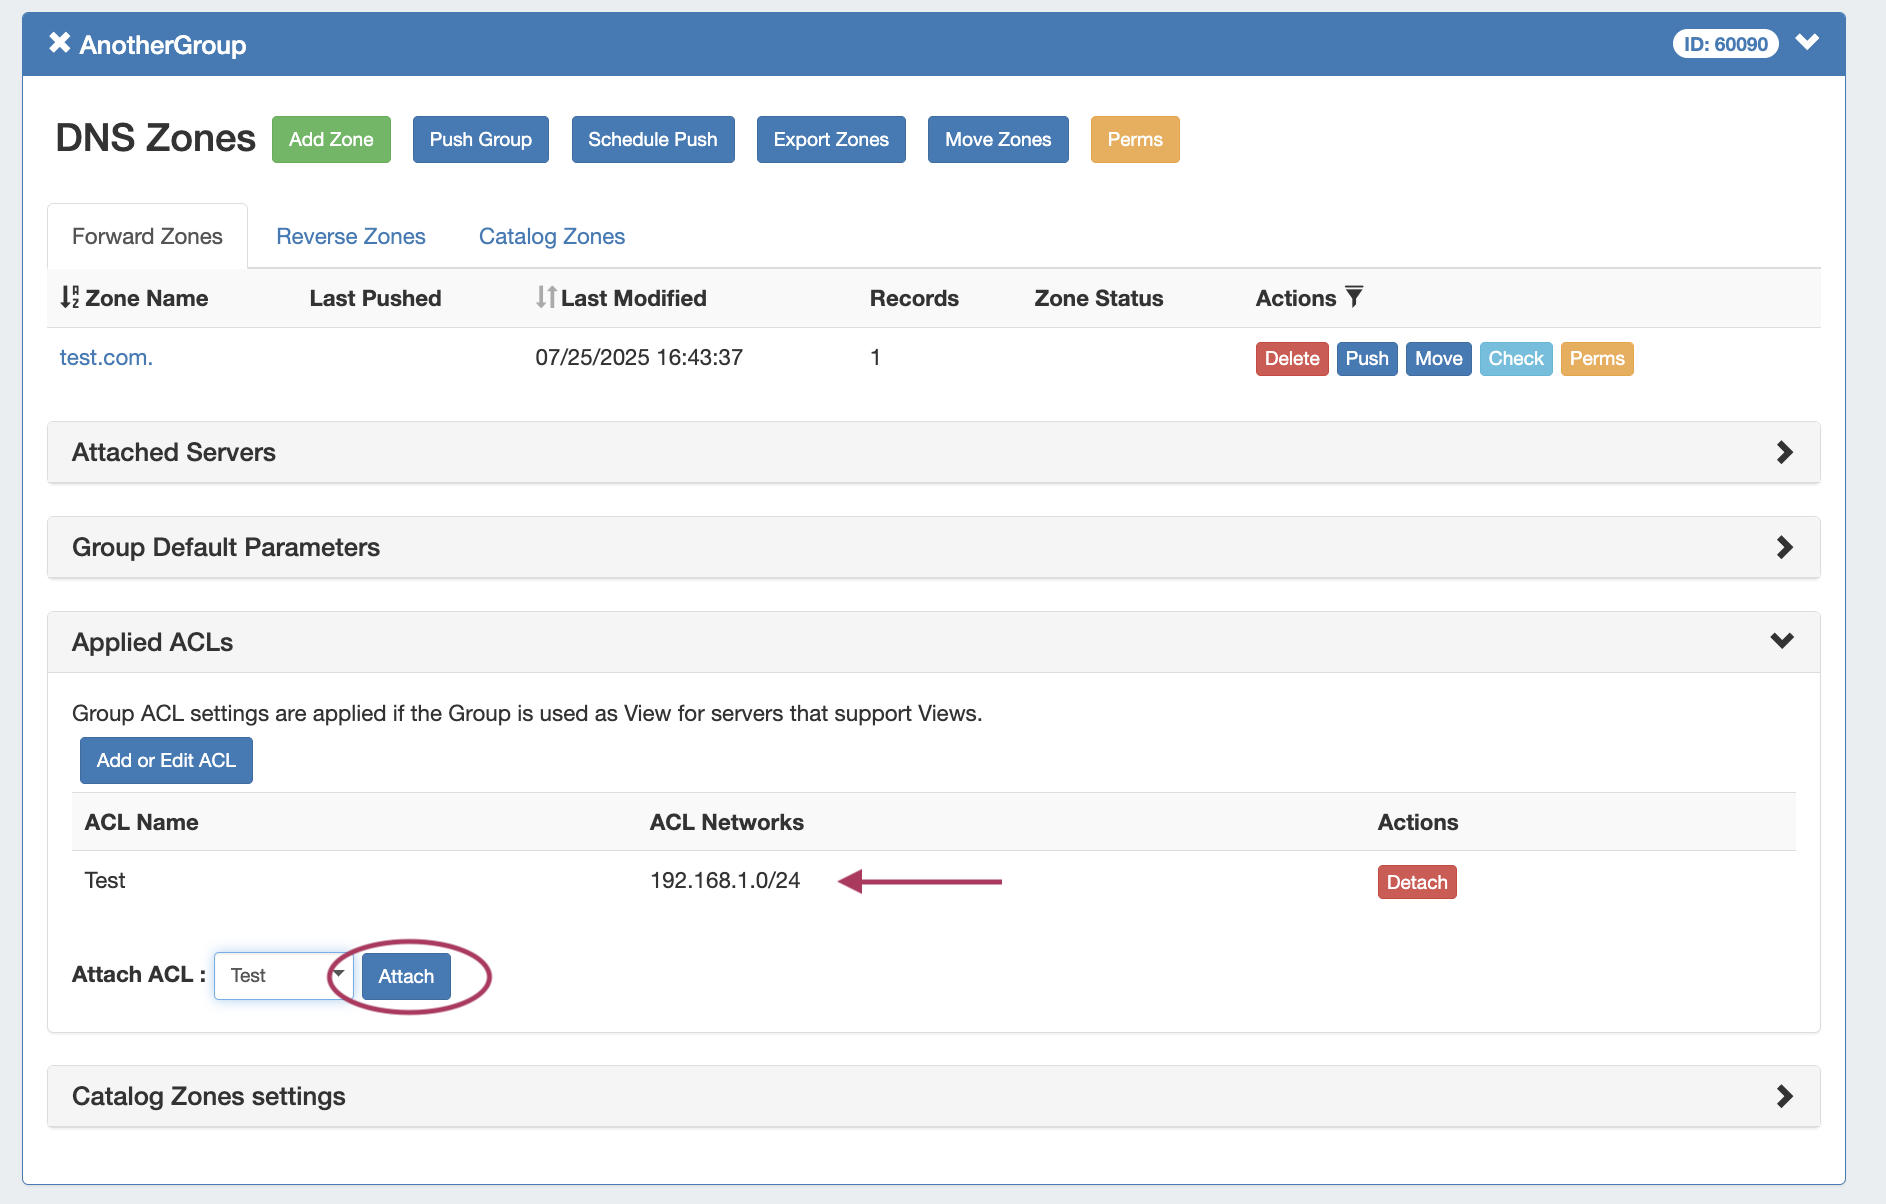
3) Add ACL(s) to the Group(s)
Create and/or add the ACL to the group(s) that will route to the alternate DNS records.
4) Add or Edit DNS Zone Records
Click the zone name from either DNS Group to open the Zone View page and verify that the desired DNS Group tab is selected at the top of the module.
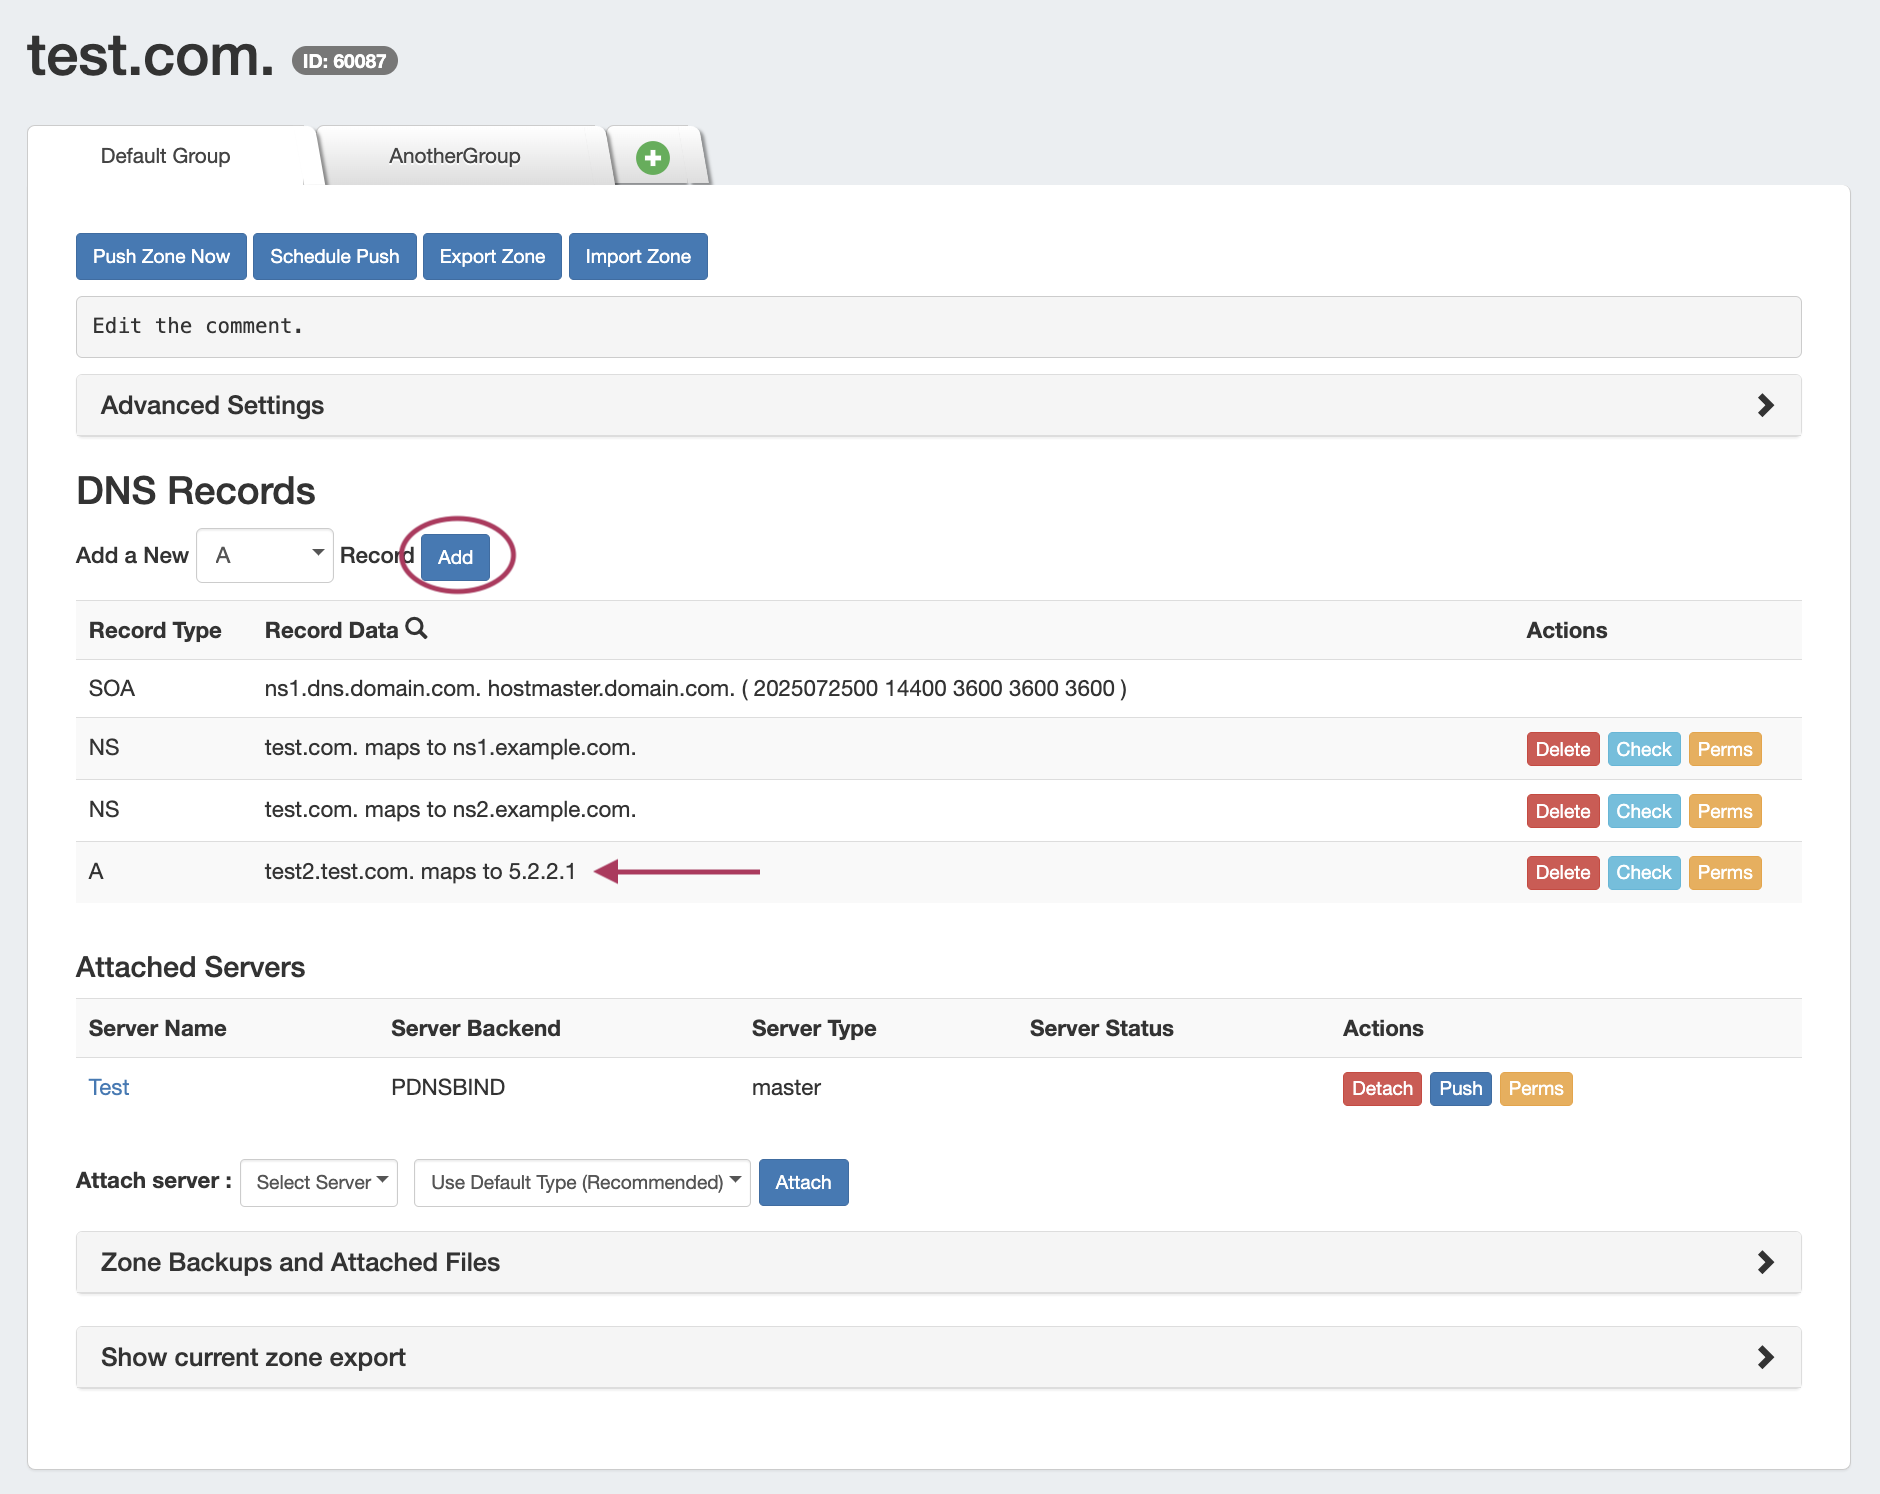
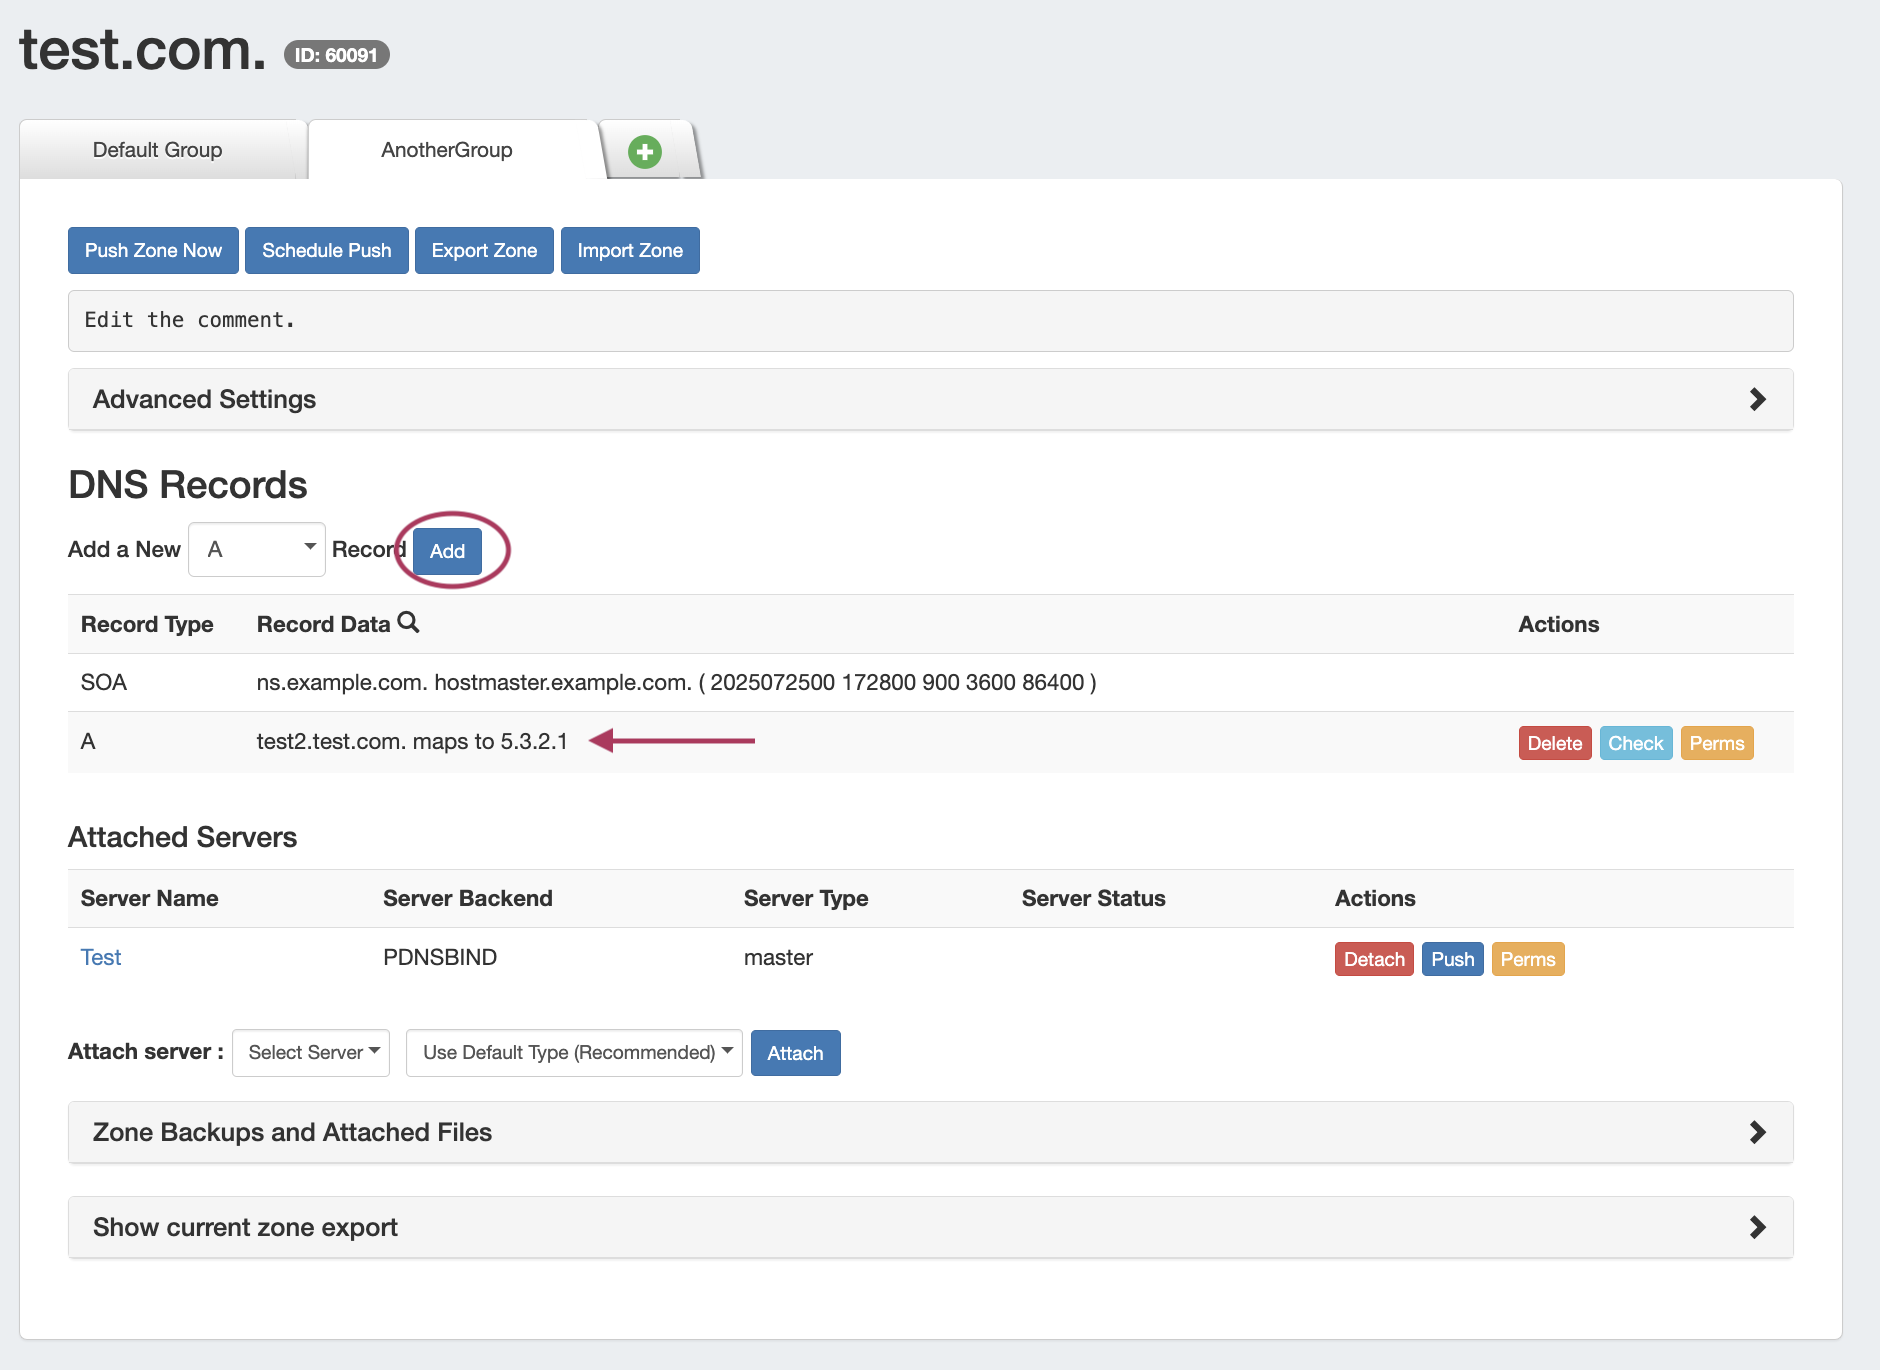
Under the DNS Records Section, click "Add" to create a new zone record, or click on an existing record to edit its values according to the split view needs.
Example A Records...
In our example, the zone test.com. has an A record applied that maps to 5.2.2.1 under the Default Group:
Under Another Group, test.com. has an A record that maps to 5.3.2.1.
At this point, the split-horizon view set up is complete, and you may further adjust DNS Group or Zone / Record details as needed.
Additional Information
For additional information on working in DNS, see the following sections: