Setting up an RIPE LIR in ProVision has three steps:
-
Add the LIR information to ProVision via the LIR Manager
-
Assign a block in ProVision (via IPAM Manage or IPAM Gadget)
-
Update RPSL information for the block (IPAM → RIR Integration)
For a detailed walkthrough, expand the areas below.
Before You Begin:
Warning: Deprecation of RIPE MD5 Hashed Passwords
All ProVision RIPE LIR connectors must be created (or recreated) using RIPE API key credentials.
RIPE MD5 hashed passwords (used in ProVision v8.3.0 and earlier) are deprecated and have been removed as of January 2026, and replaced with API Key based authentication.
Users must generate a RIPE API key associated with their NCC account as described at Using the Authorisation Methods - API Keys:
To create an API key, login to Webupdates using RIPE NCC Access and choose API keys from the left-hand menu. Then click Create an API Key. When the key is created you will see a popup. You must copy the API key details as they will only be shown once. Store the copied credential securely. Before using an API key, you must add your RIPE NCC Access account to a maintainer using an auth: SSO attribute.
Before you add a new LIR, be sure that you have your LIR / RIPE ORG information available:
-
LIR Name
-
ASN
-
Maintainer
-
Contact information (Admin / Tech)
-
RIPE API Username
-
RIPE API Password
If you need to create a RIPE API Key, please expand the area below.
Create a RIPE API Key
Create a RIPE API Key
RIPE API Key credentials are needed to create RIPE LIRs in ProVision.
If you do not already have a RIPE API Database Key, create one by following the instructions provided by RIPE under Create a New Database Key:
Before authenticating with an API key, your RIPE NCC Access account must already be associated with the object mntner using an "auth:" SSO attribute.
To start using API keys, go to the Web query page, login to RIPE NCC Access, and go to the API keys page on the left-hand menu. https://apps.db.ripe.net/db-web-ui/api-keys
Create a New Database Key
On the API keys page, click on "Create a new Database key".
Enter a key name (required) : a short description of how the key will be used.
Enter an expiration date (required) : when does the API key stop working. Keys are time-limited for security reasons and are valid up to a year in the future.
Enter a maintainer (optional) : if you have added your RIPE NCC Access account to more than one maintainer, you can restrict the API key to only work with one specified maintainer.
Then click on "Create a key".
When the key is created you'll see a popup.
The API key is composed of two parts. You can either use it combined in a single HTTP Authorization header, or separately as a username and password using your HTTP client.
Make sure to copy down either the combined header value or the username and password. The password will only be shown to you once. The username will be used subsequently as the key id.
ProVision users should copy the "Username" and "Password" generated for the API Database Key, and save them in a secure location.
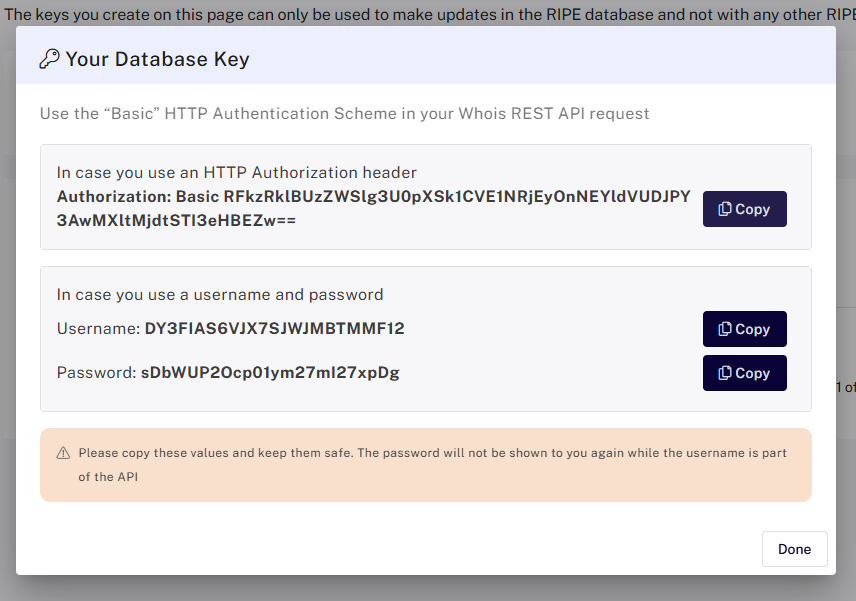
The RIPE API Username and API Password are required when creating or editing a RIPE LIR.
Walkthrough - RIPE LIR Setup
Once you have your RIPE API Key and information gathered, proceed with the steps below to set up a RIPE LIR in ProVision.
Step 1 - Add LIR to ProVision (LIR Manager)
Step 1 - Add LIR to ProVision (LIR Manager)
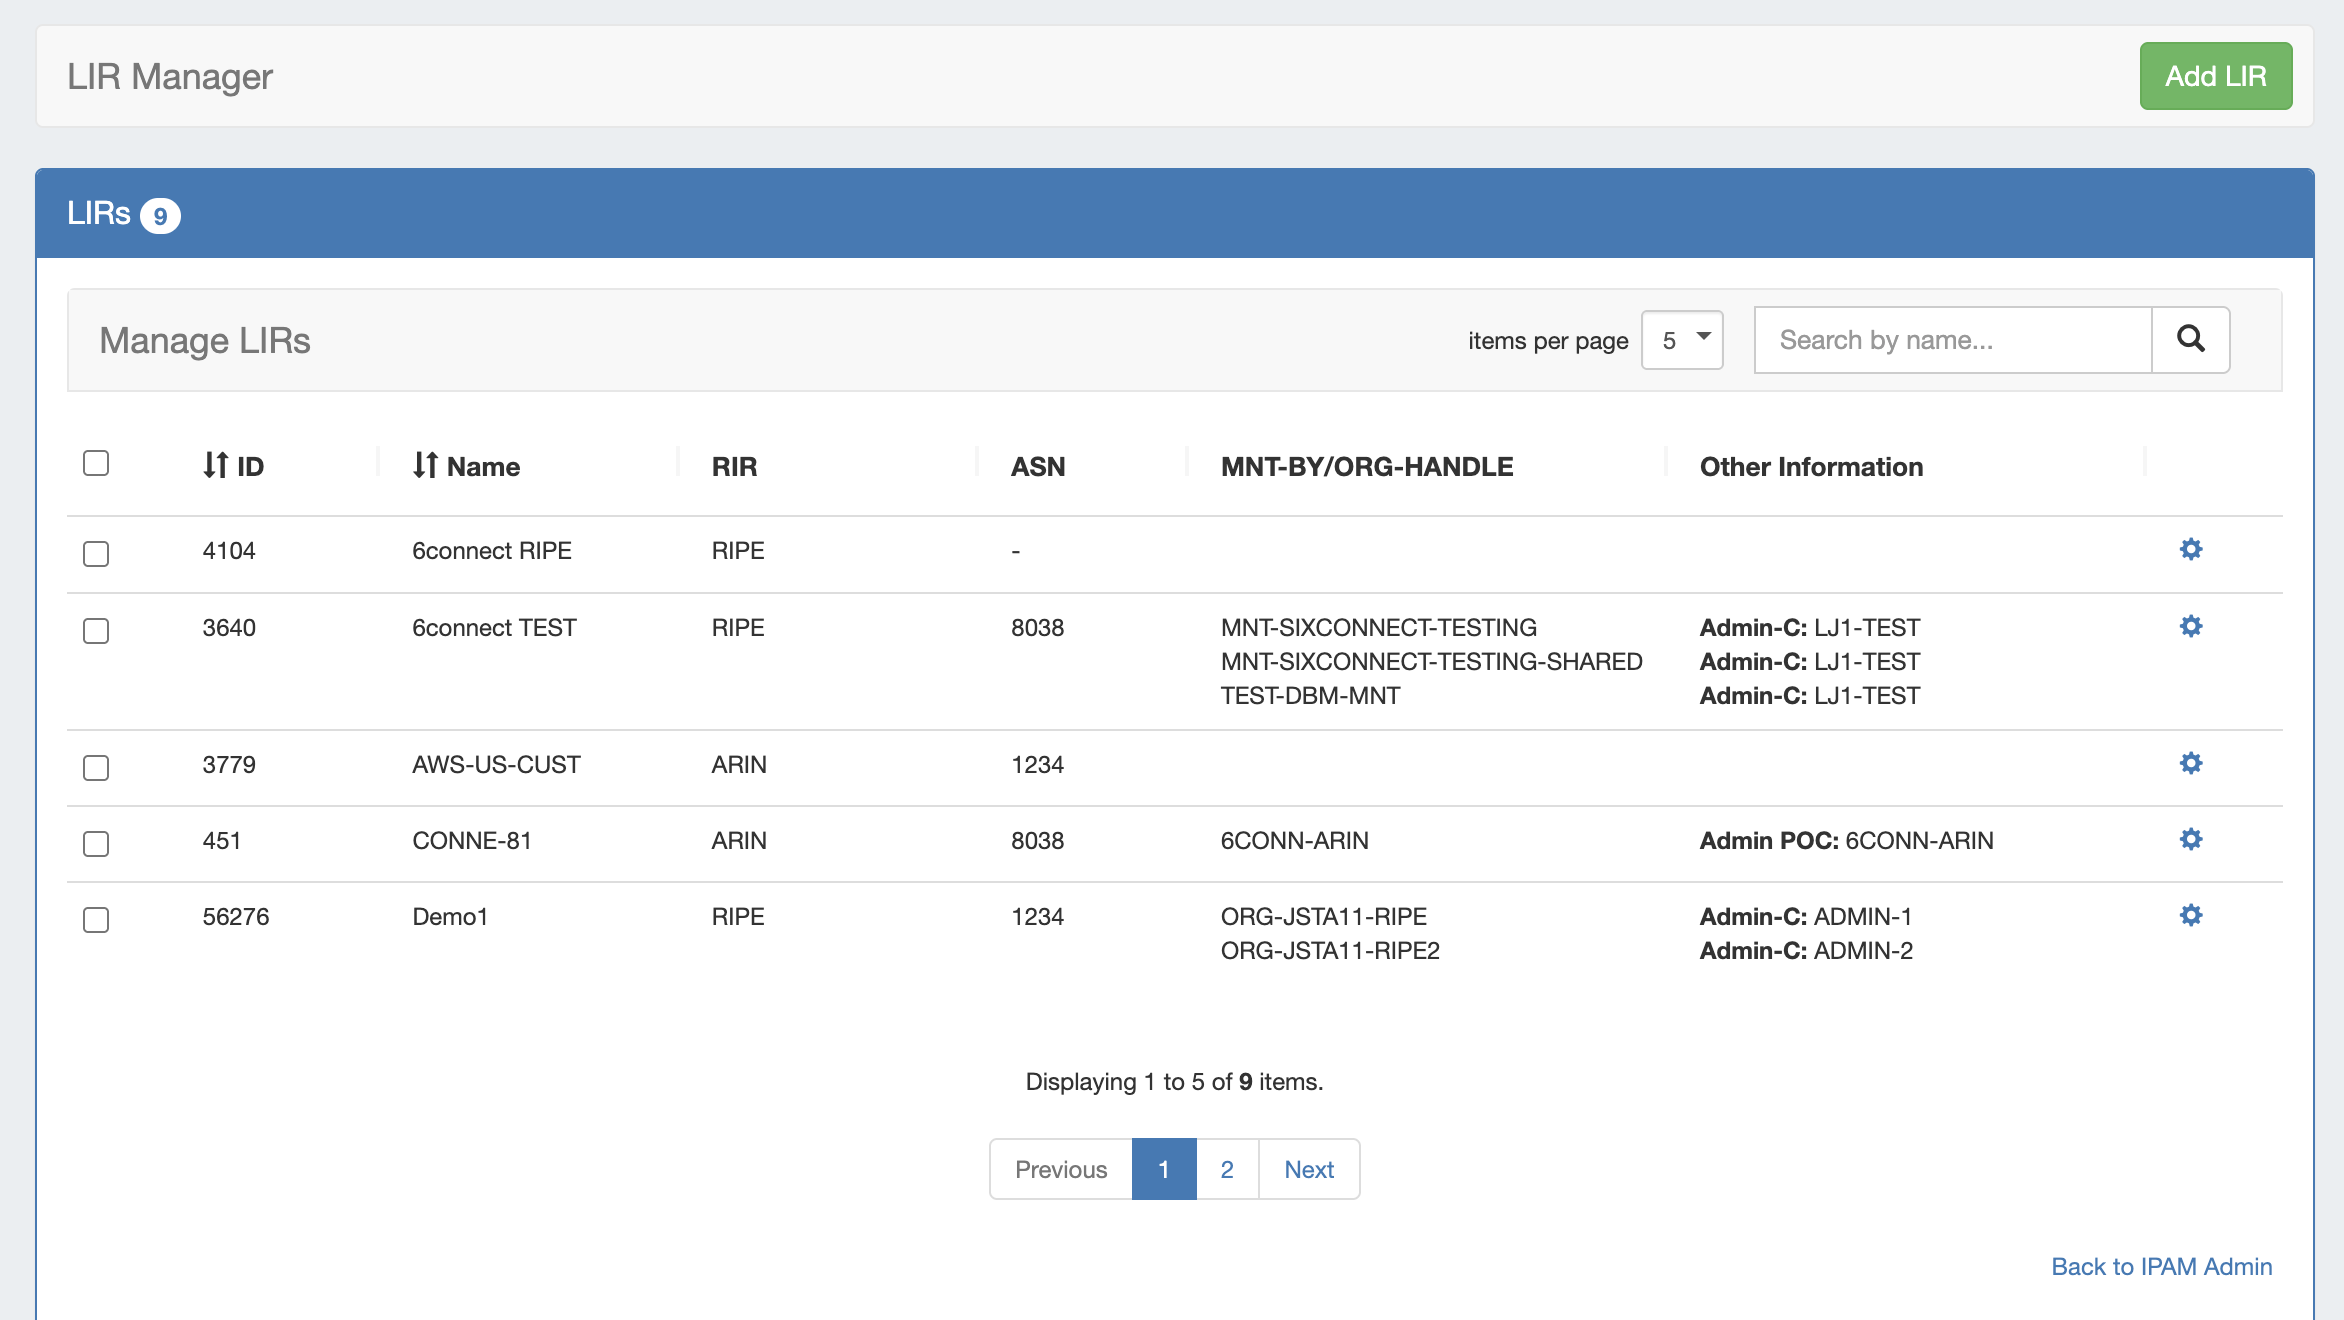
The LIR Manager is accessed from the Admin area of ProVision → IPAM Admin (dropdown menu) → Manage LIRs link.
Add a New LIR by clicking "Add LIR" at the top right of the LIR Manager page.
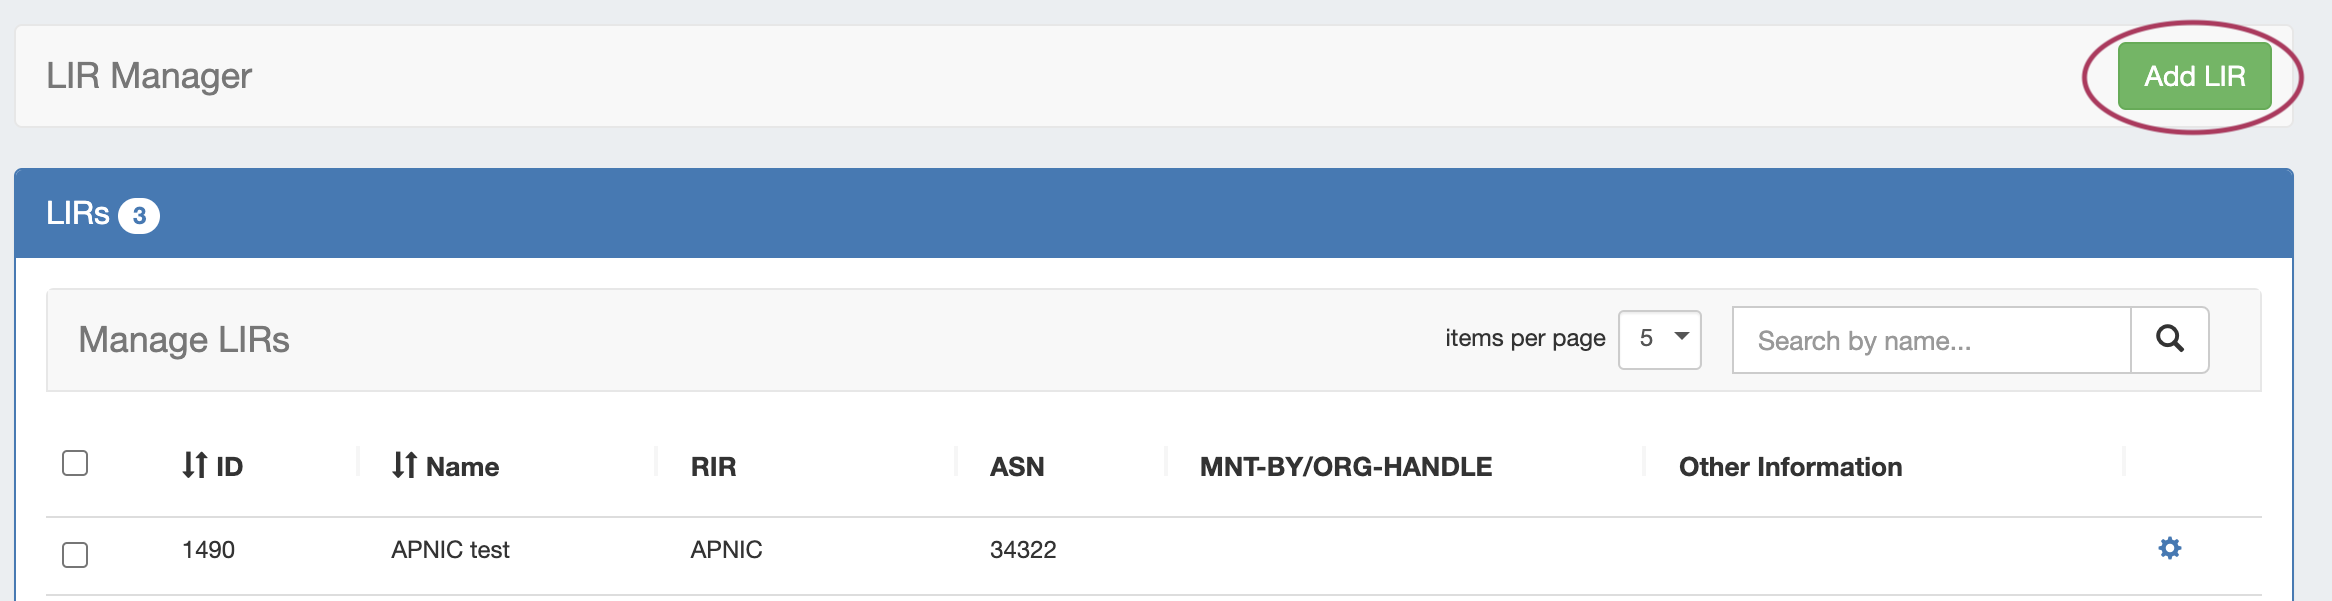
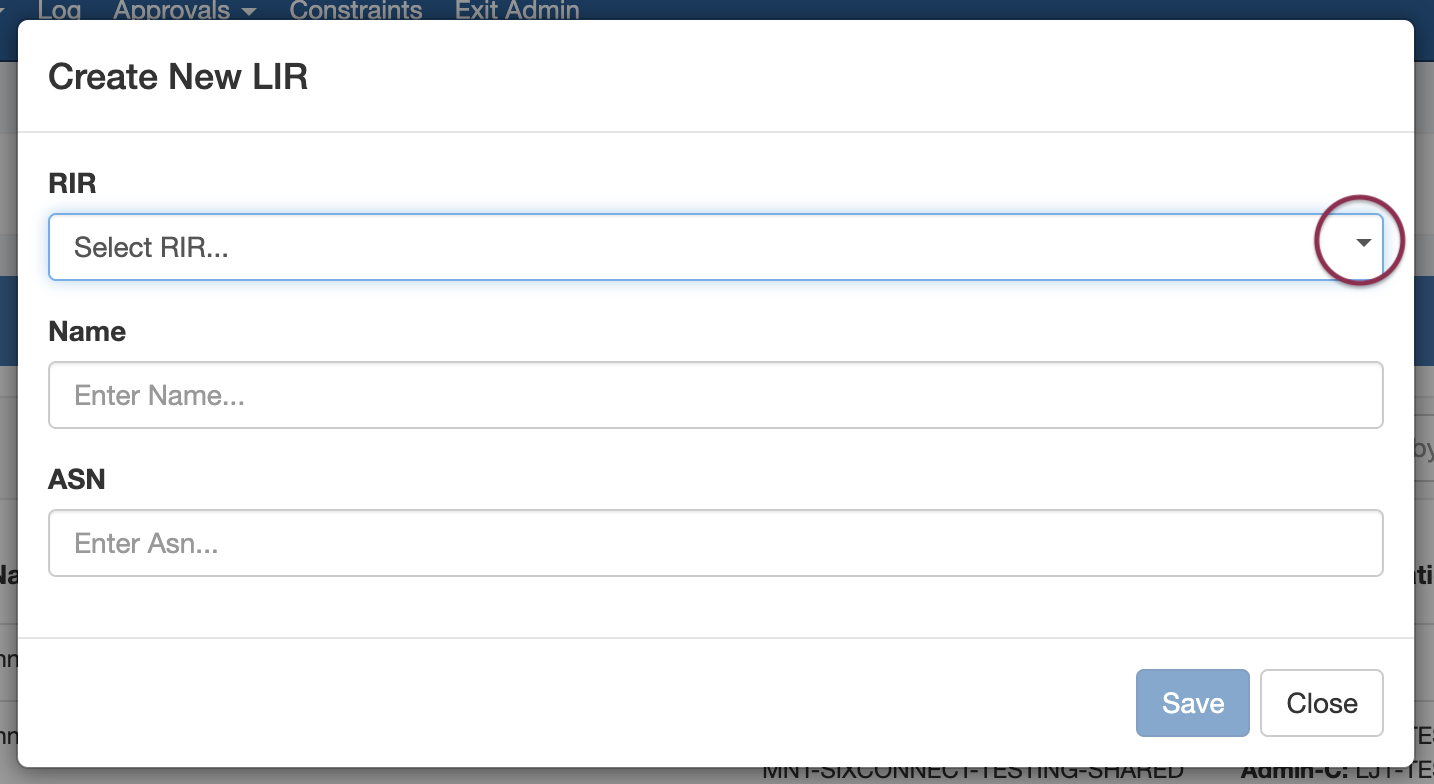
The "Create New LIR" screen opens. Select "RIPE" for the RIR, and enter the LIR Name and ASN.
Then add in the requisite Maintainer Object related information:
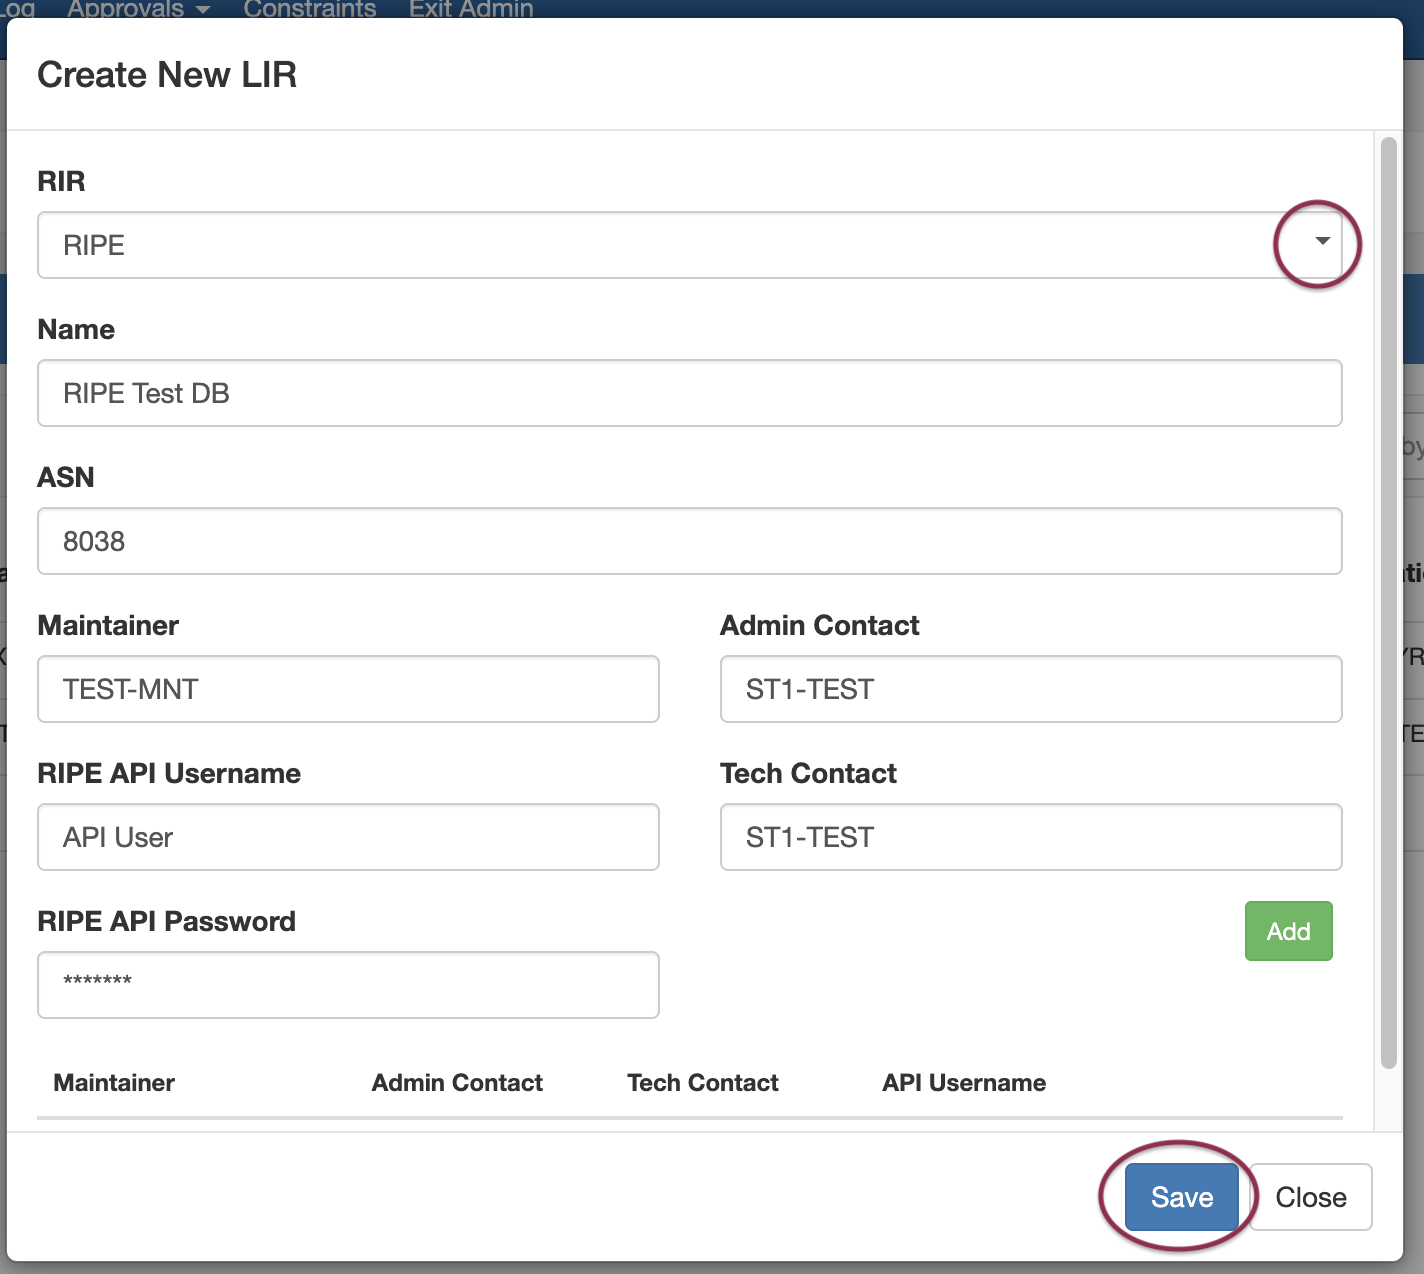
Enter the Name, ASN, Maintainer, RIPE API Username/Password, and Contact information.
Additional Maintainer objects may be added by selecting the Add button.
Be sure to click Save when done to save your changes.
Multiple Maintainer Object Support
Note that we support multiple maintainer objects per LIR entry. Simply complete the maintainer fields and click "Add" after each addition. A list will display at the bottom of the Add LIR dialog box.
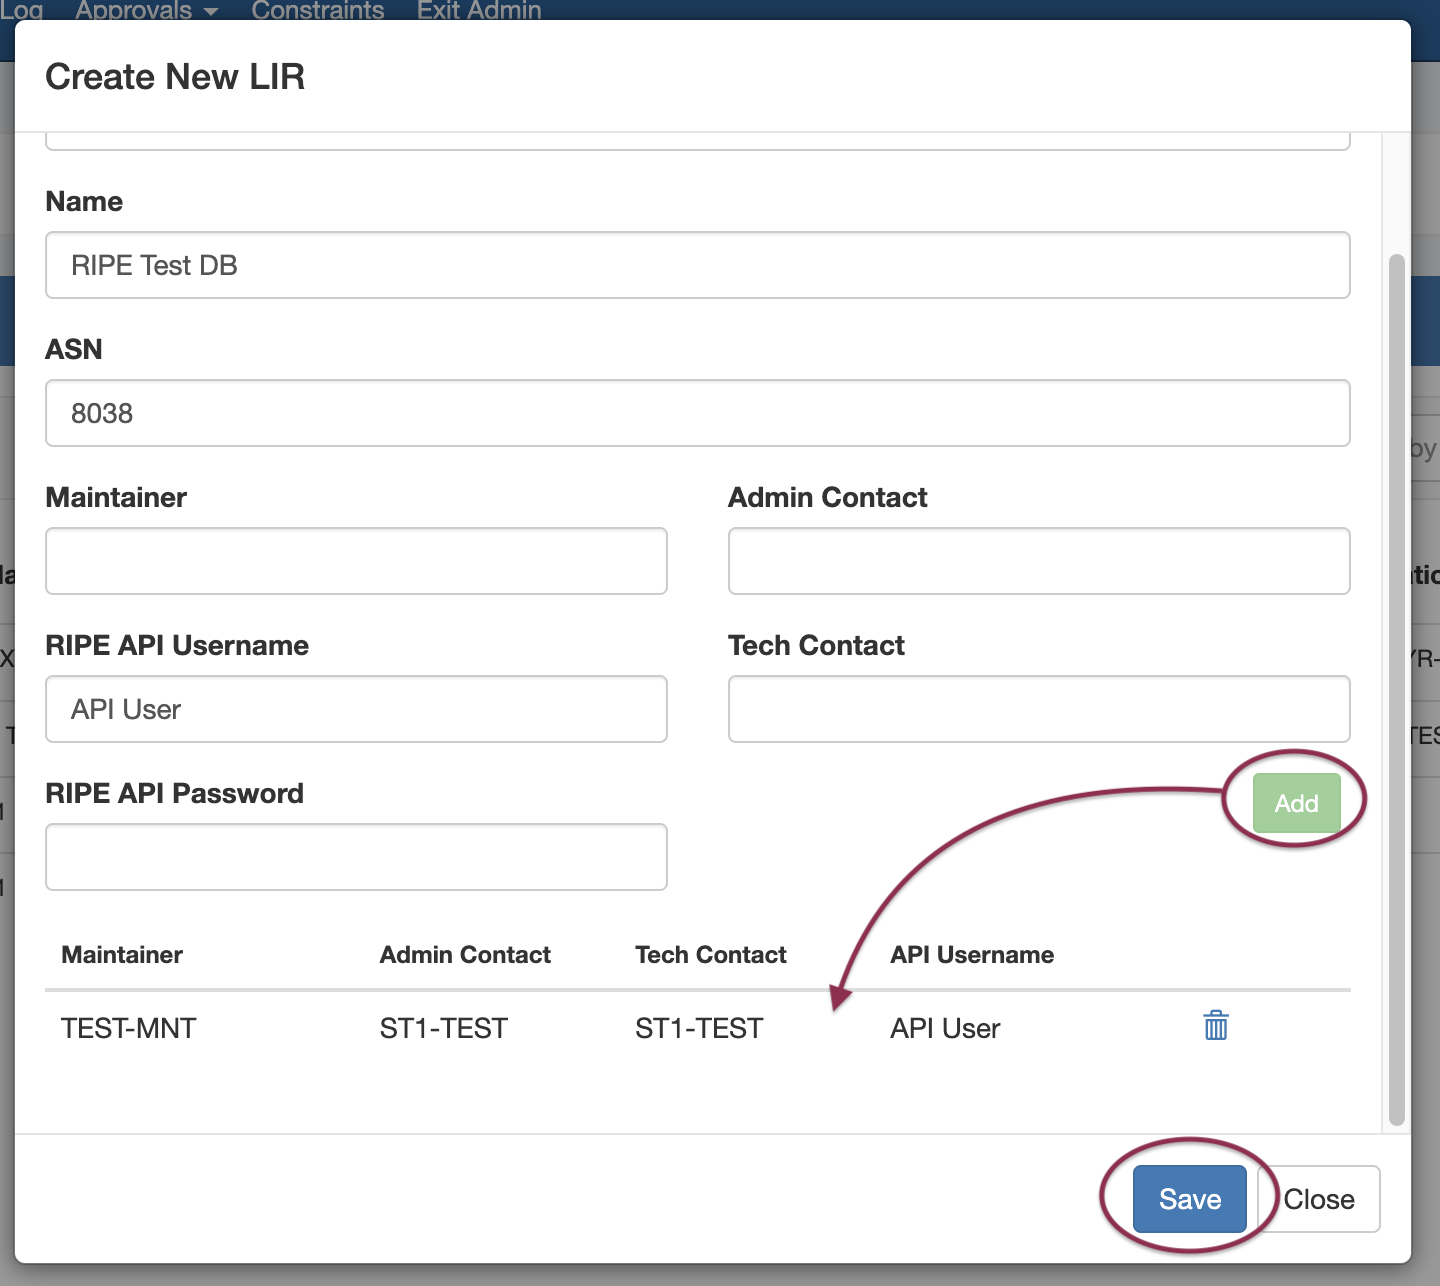
Make sure to click the Save button after all maintainer objects are saved, or else the LIR data will not save.
Step 2 - Assign an IP block in ProVision (IPAM Manage / IPAM Gadget)
Step 2 - Assign an IP block in ProVision (IPAM Manage / IPAM Gadget)
Next, go to the IPAM Tab → IPAM Manage for an aggregate (or into the IPAM Gadget for a resource) to assign a block to a RIPE LIR.
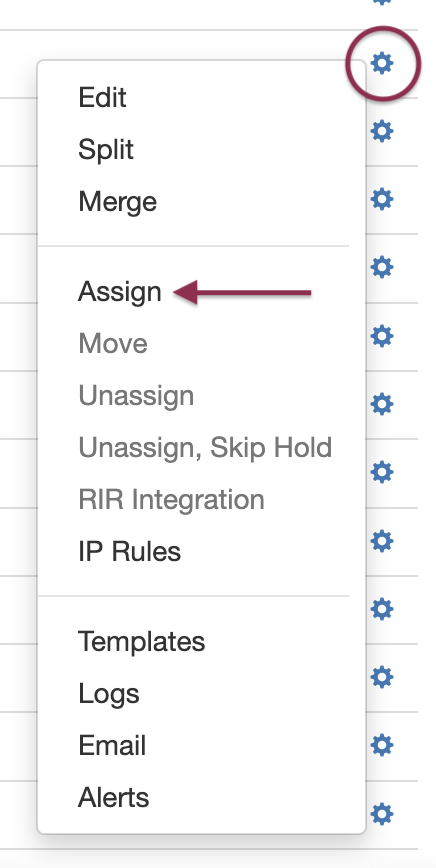
Right click on the Action Menu (gear icon) for the block, and select Assign. If prompted, select the resource to assign to the block. See Working with IP Blocks for additional detail.
Step 3 - Update RPSL information (RIR Integration)
Step 3 - Update RPSL information (RIR Information
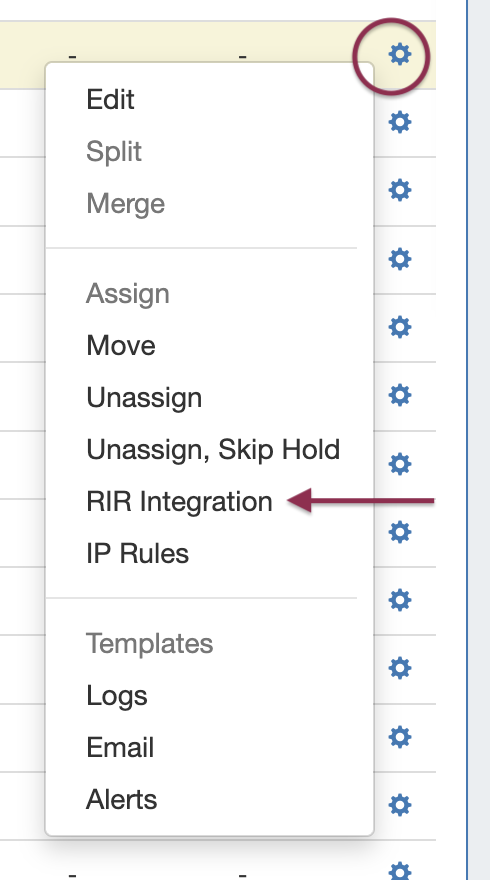
While still in IPAM Manage / IPAM Gadget, open the Action Menu for the for the block that you assigned in the prior step. Select RIR Integration from the menu.
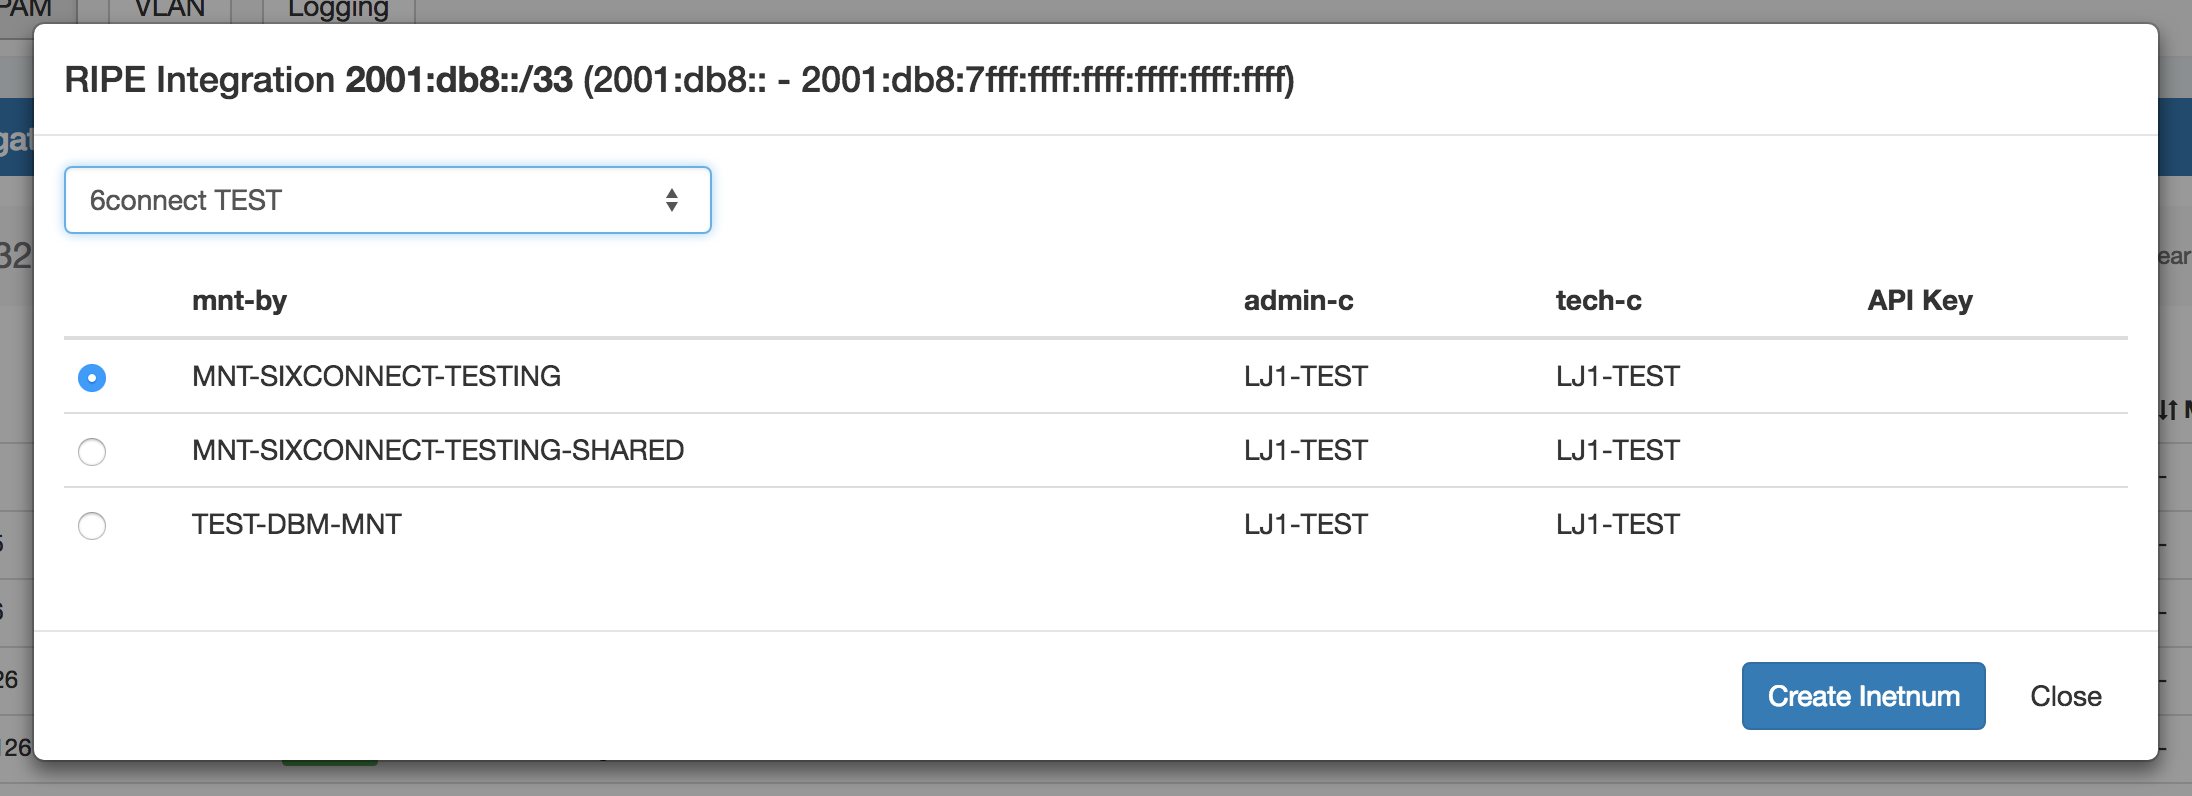
Identify which LIR data you want to use for the netnum update, and select either Create Inetnum or Cancel to exit.