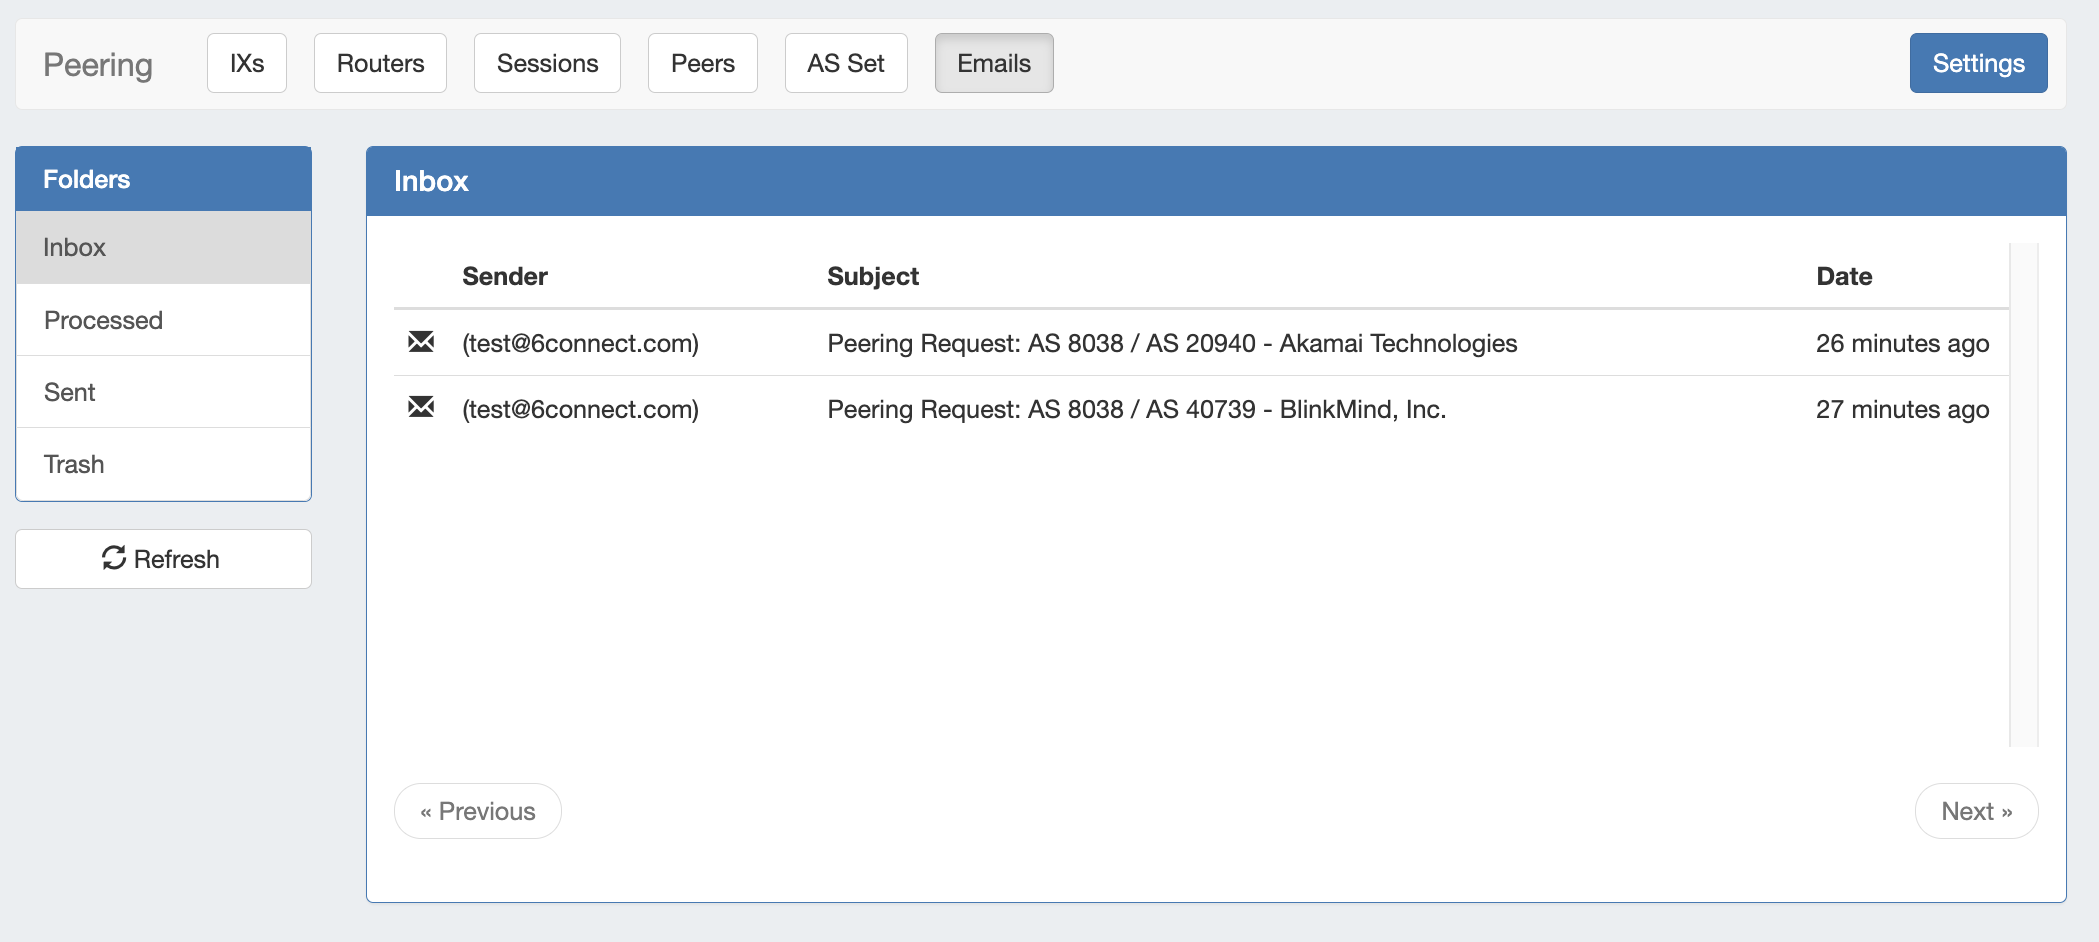
The Peering Emails subtab is an Admin-only page from which a company peering account can view and manage recent emails.
The Peering→ Emails page is only accessible to Administrative users in the primary "Global Admins" User Group.
Ensure that Peering Administrators using ProVision's Peering Emails area are included as members of that group for full access.
Peering Email Page Overview
The Peering Emails subtab associates a single company peering email account (such as peering@company.com) with your ProVision instance, creating a 'shortcut' email system to keep on top of the most recent peering requests while in ProVision.
Here, you can load, view, and reply to emails received at that address, view requests sent from ProVision's Exchange Communications page, and process emails to associate the message with ProVision Peers.
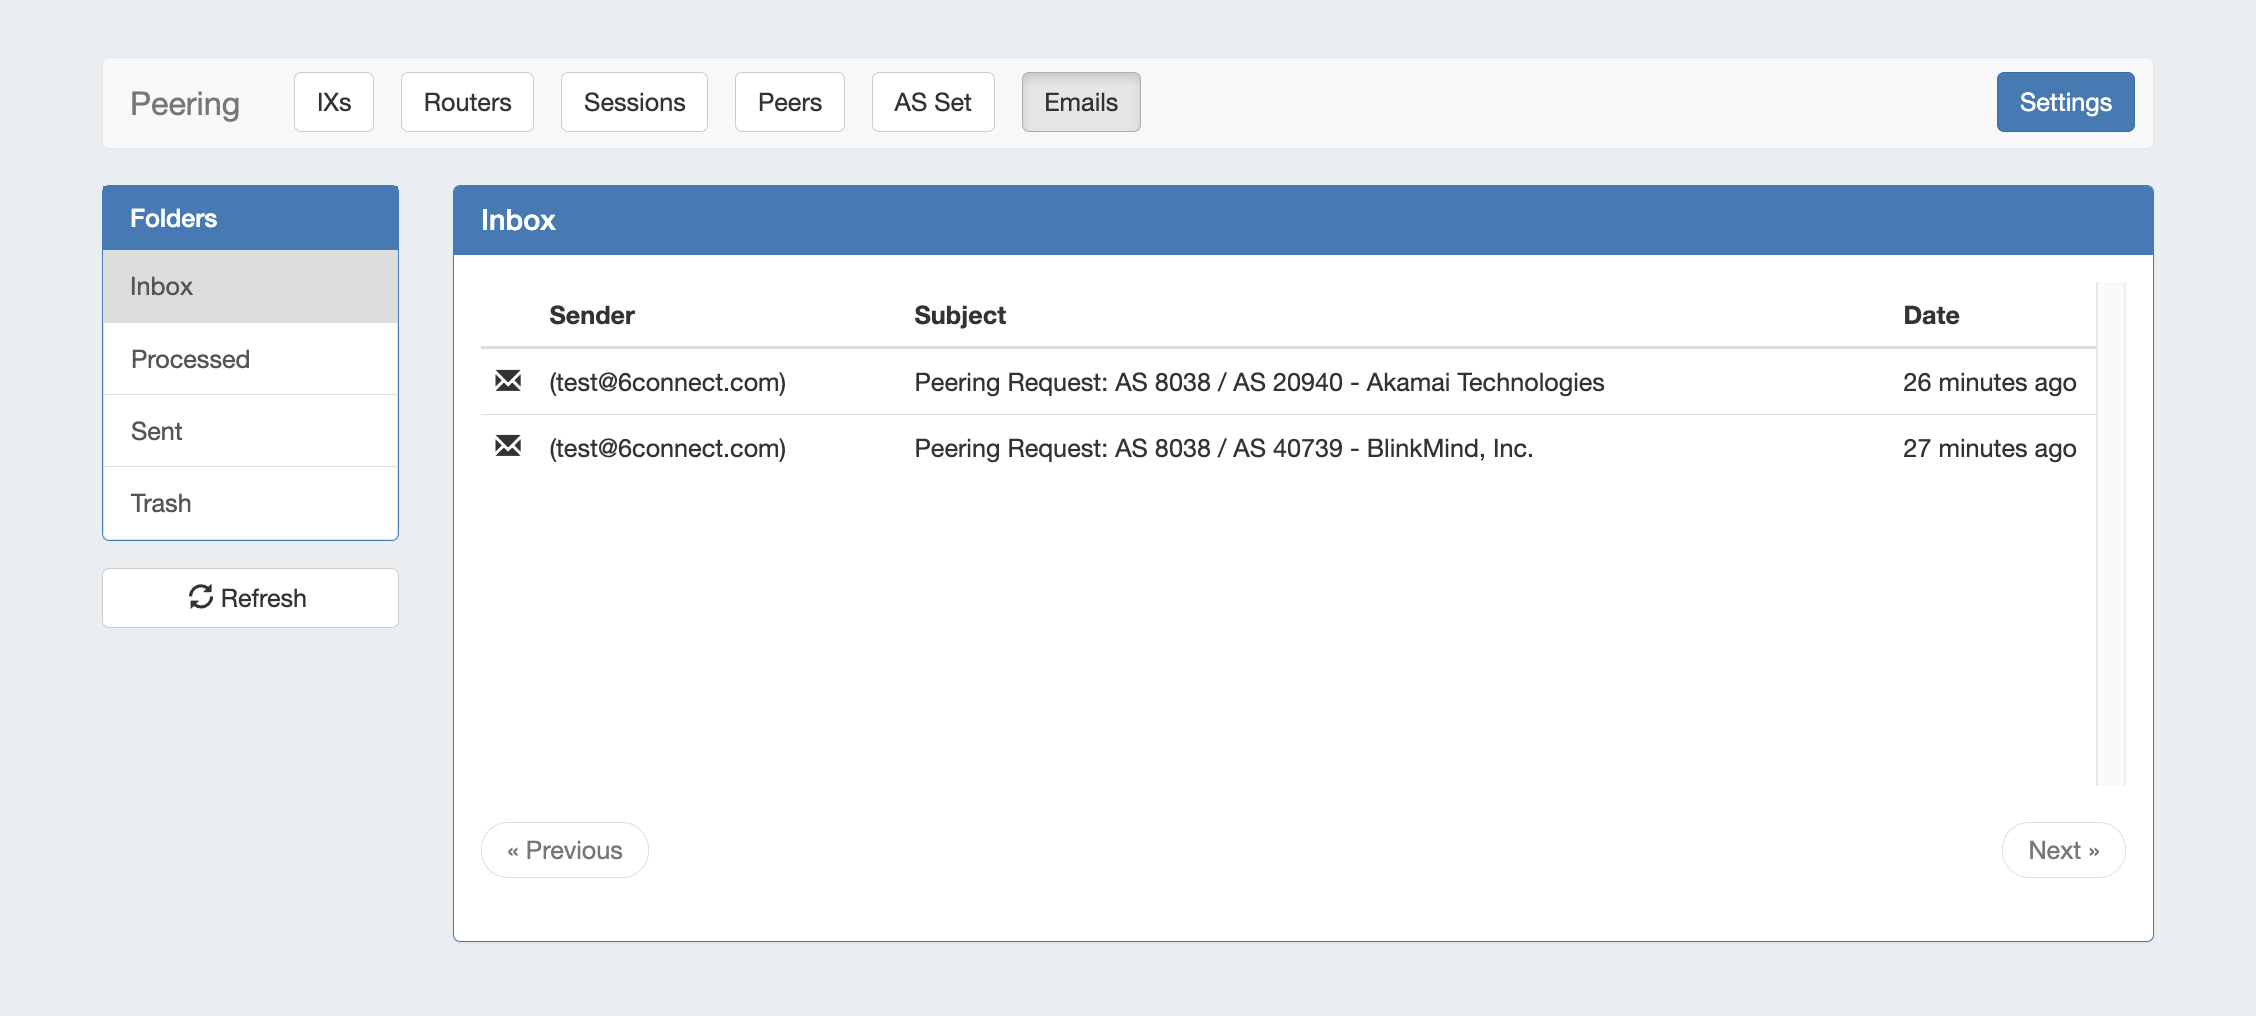
Four email folders are available to view, displayed on the left sidebar:
-
Inbox: Displays emails received at that address, barring any messages deleted from ProVision
-
Processed: Emails which have been associated ("Processed") with a ProVision Peer.
-
Sent: Emails sent from the set address from ProVision, either via "Reply" or from sending a peering request under "Exchange Details" → Communications
-
Trash: Emails removed from ProVision folders - 'deleting' ProVision emails only affects what messages are loaded into the ProVision instance - your original messages remain intact on your original email server. So feel free to only keep only the emails relevant to peeringTo-Do list! The Trash may be emptied from the trash folder by clicking Clear Trash at the bottom of the email list.
Messages are automatically checked for after 10 minutes, and refreshed when loading the page. When staying on the page for a period of time, you can manually check for and load new messages by clicking the Refresh button under the folder list.
Messages
From any email folder on the sidebar, click on the email to view message details.
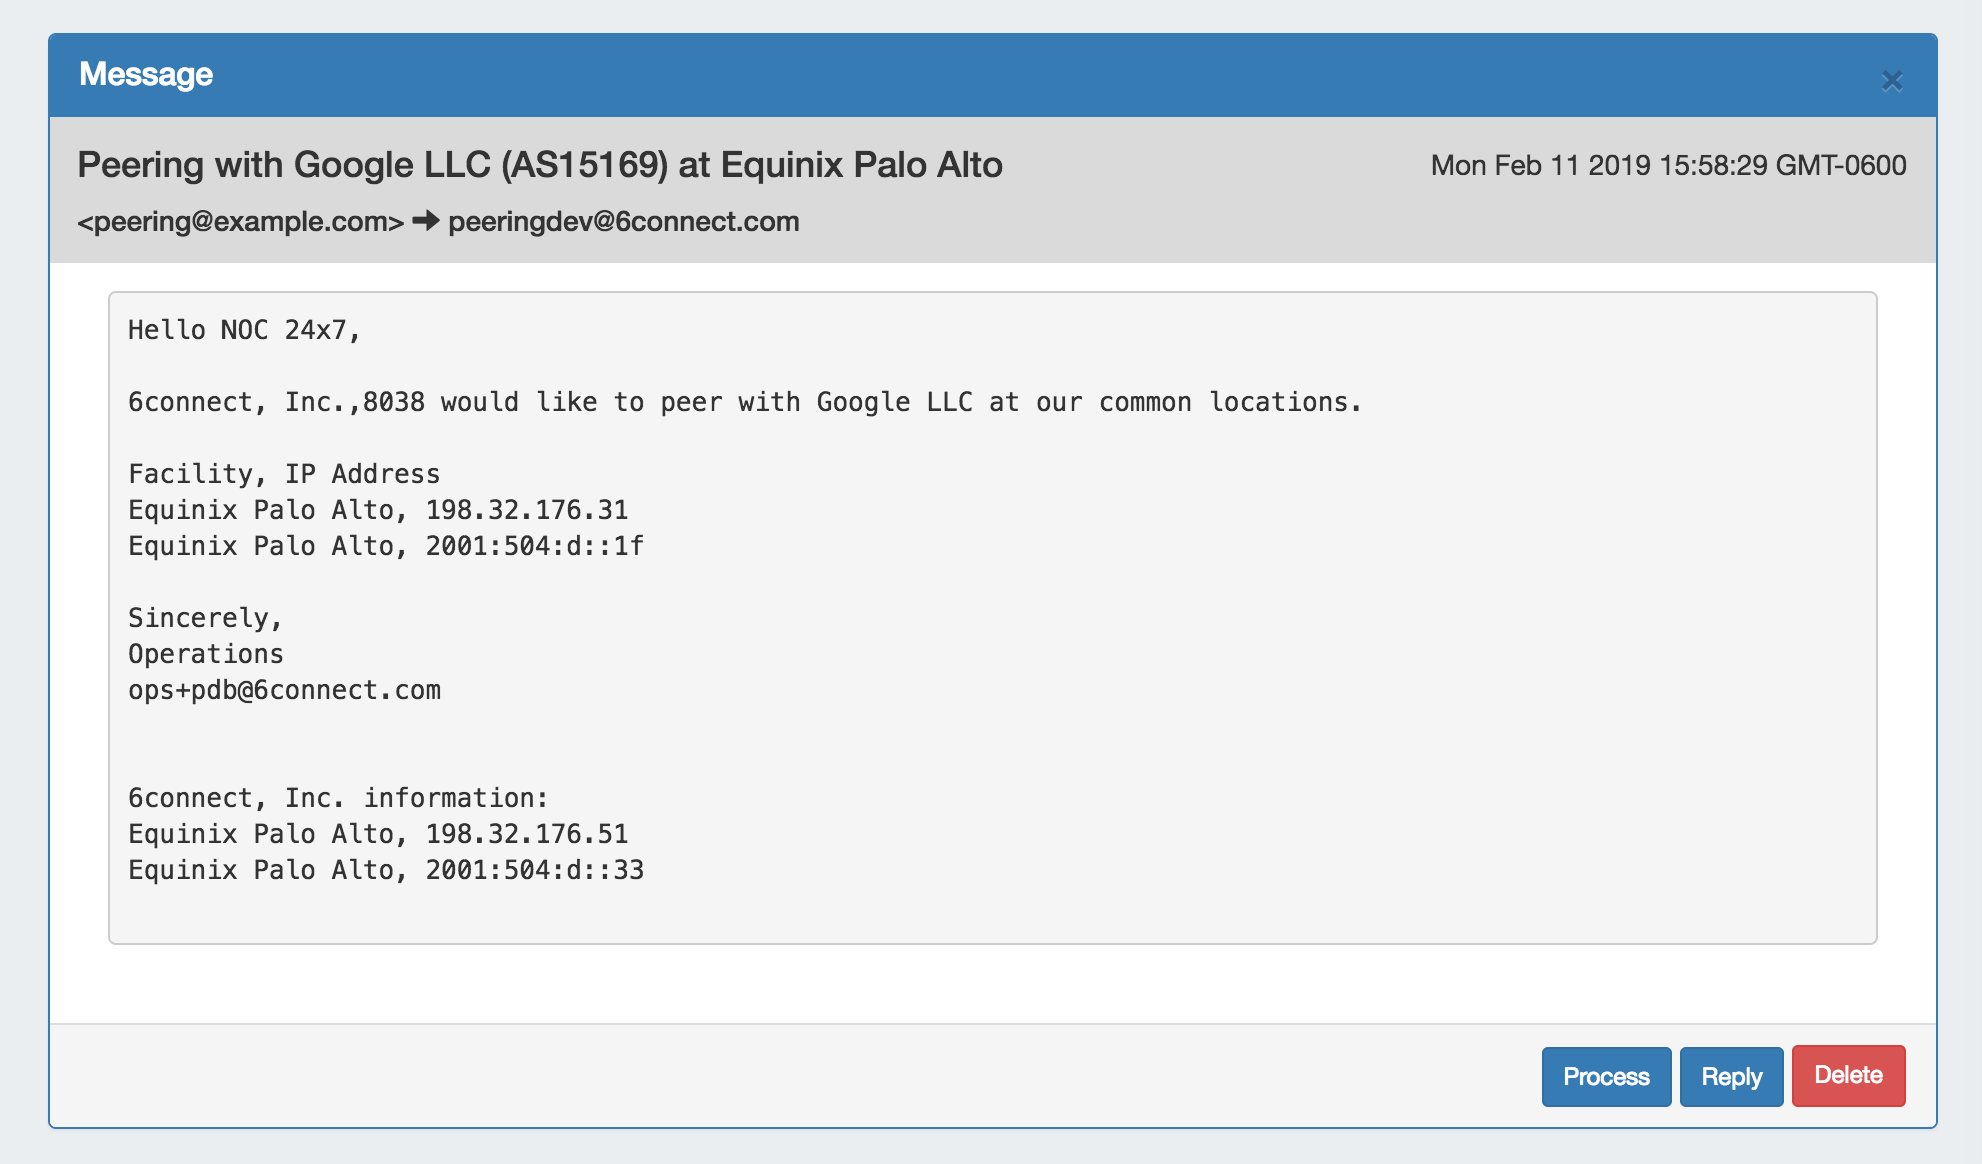
Three actions can be performed on messages: Process, Reply, or Delete.
Process a Message
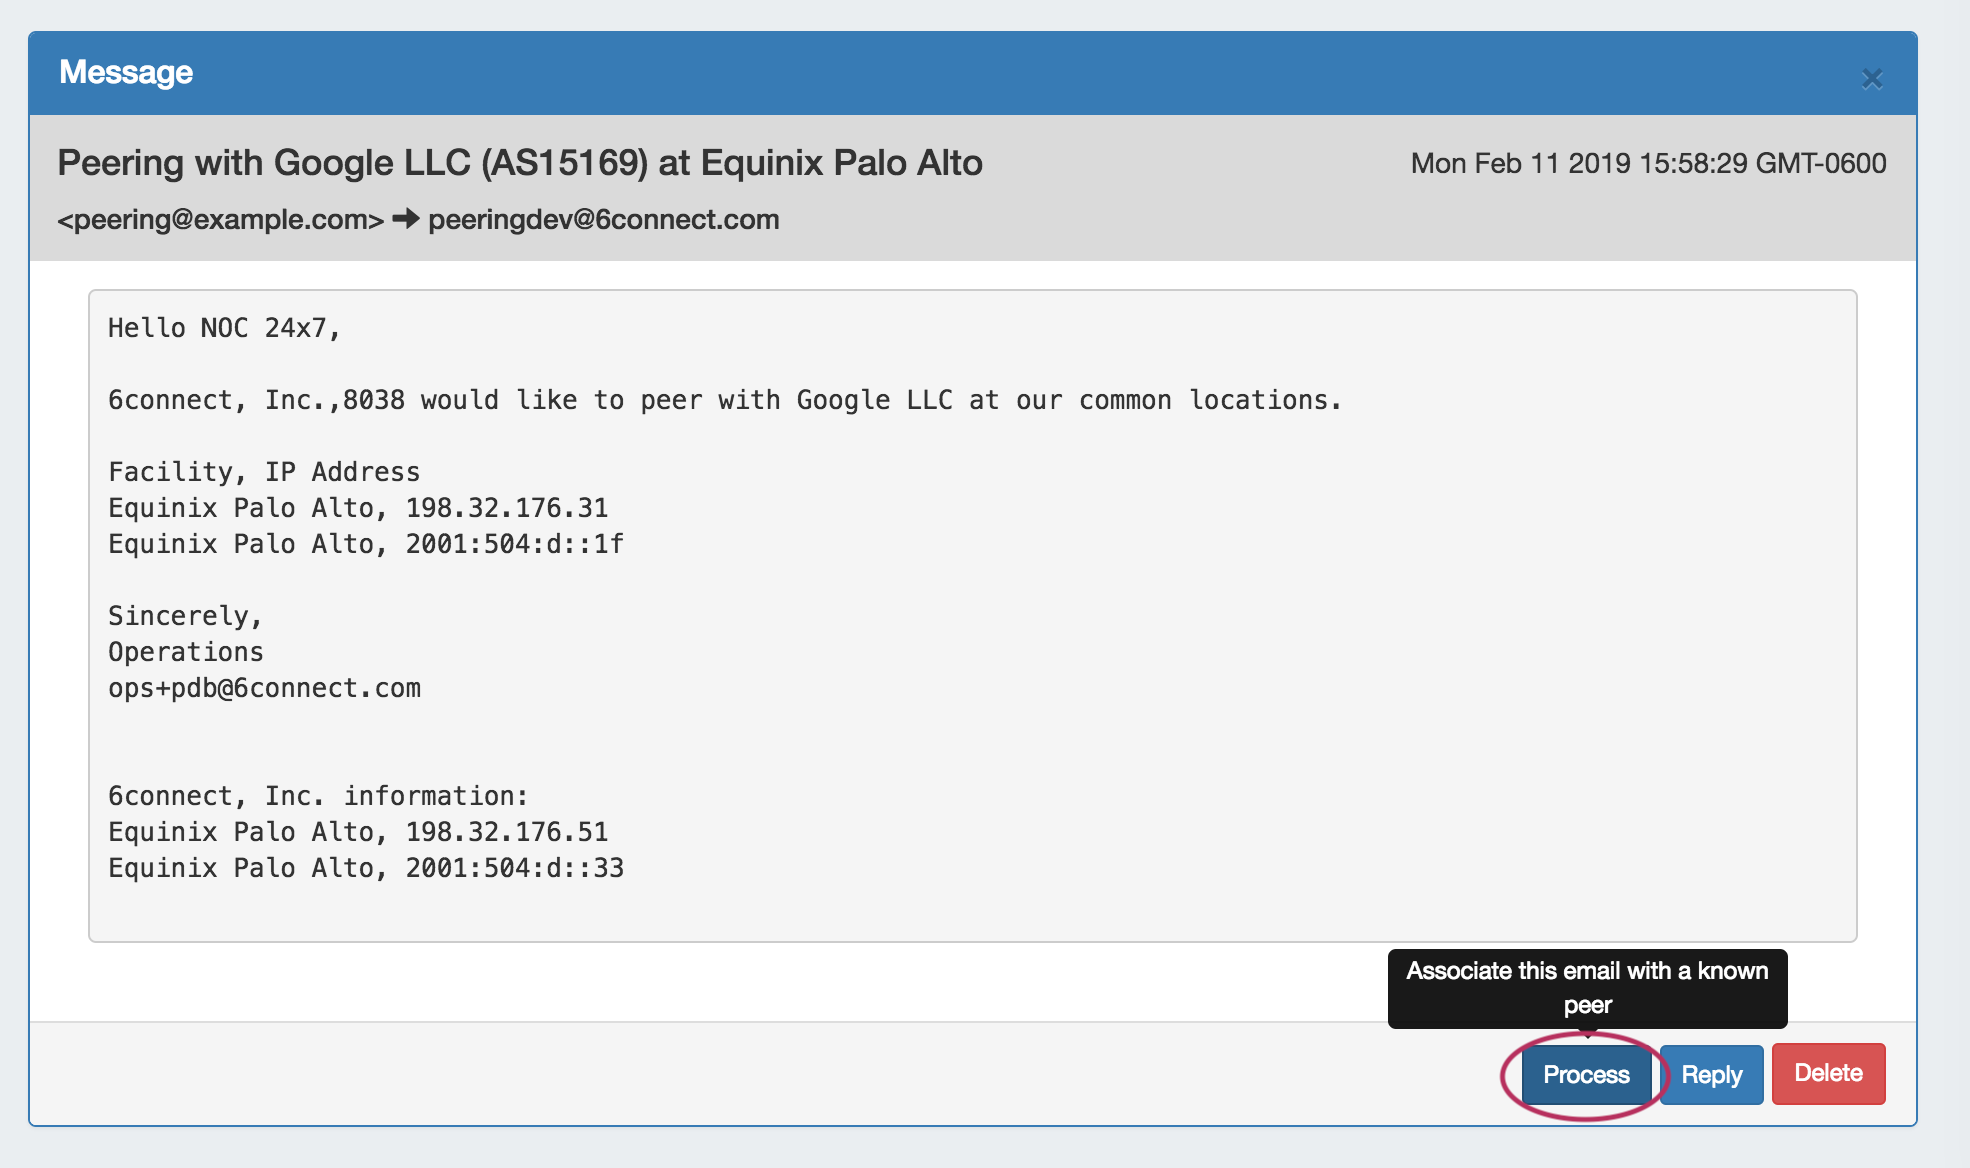
"Processing" a message in ProVision associates that message with a Peer, and moves it into the "Processed" message box. To do so, click Process on the message.
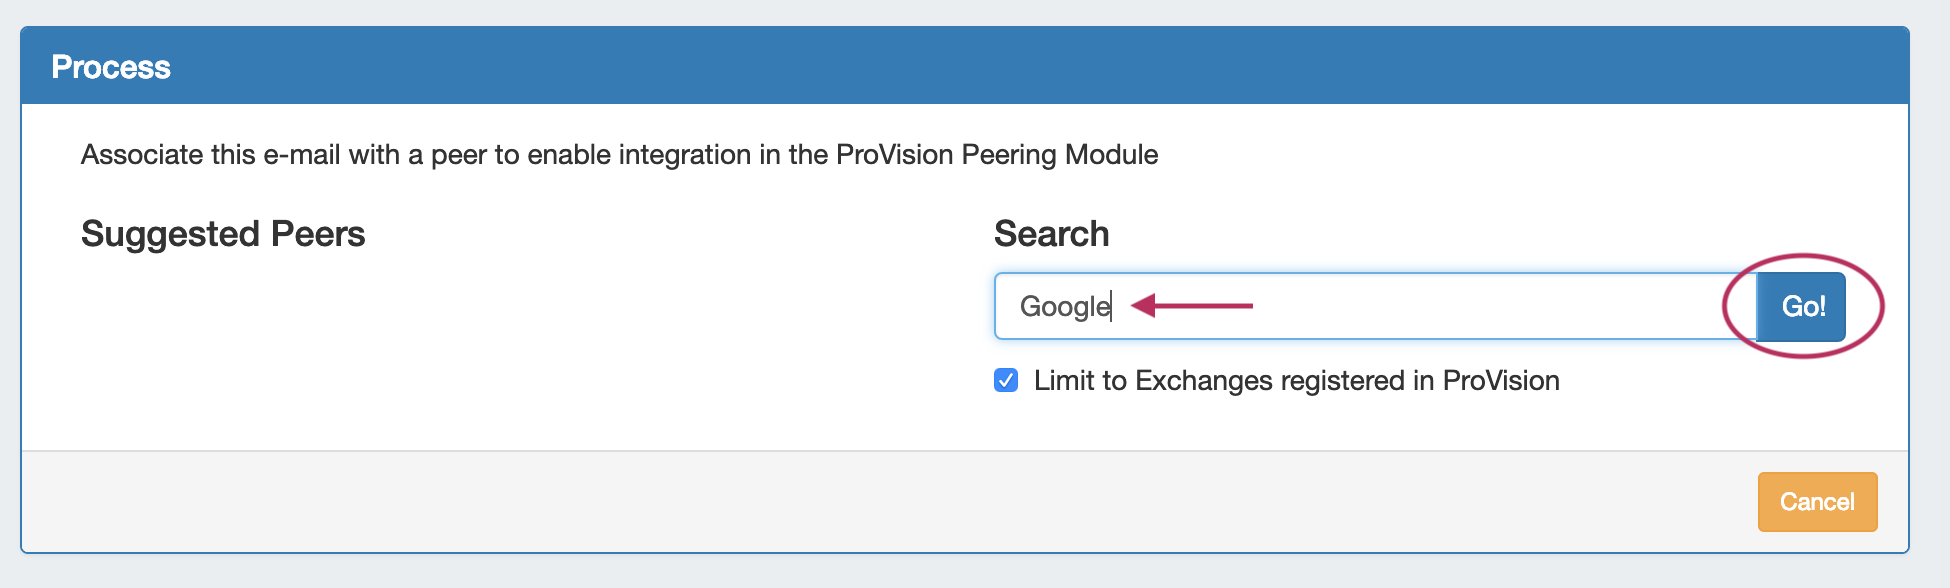
The Process email module open with a search field to select the Peer. Type in all or part of the peer name, then click Go, or click Cancel if you want to skip the processing and go back to the message.
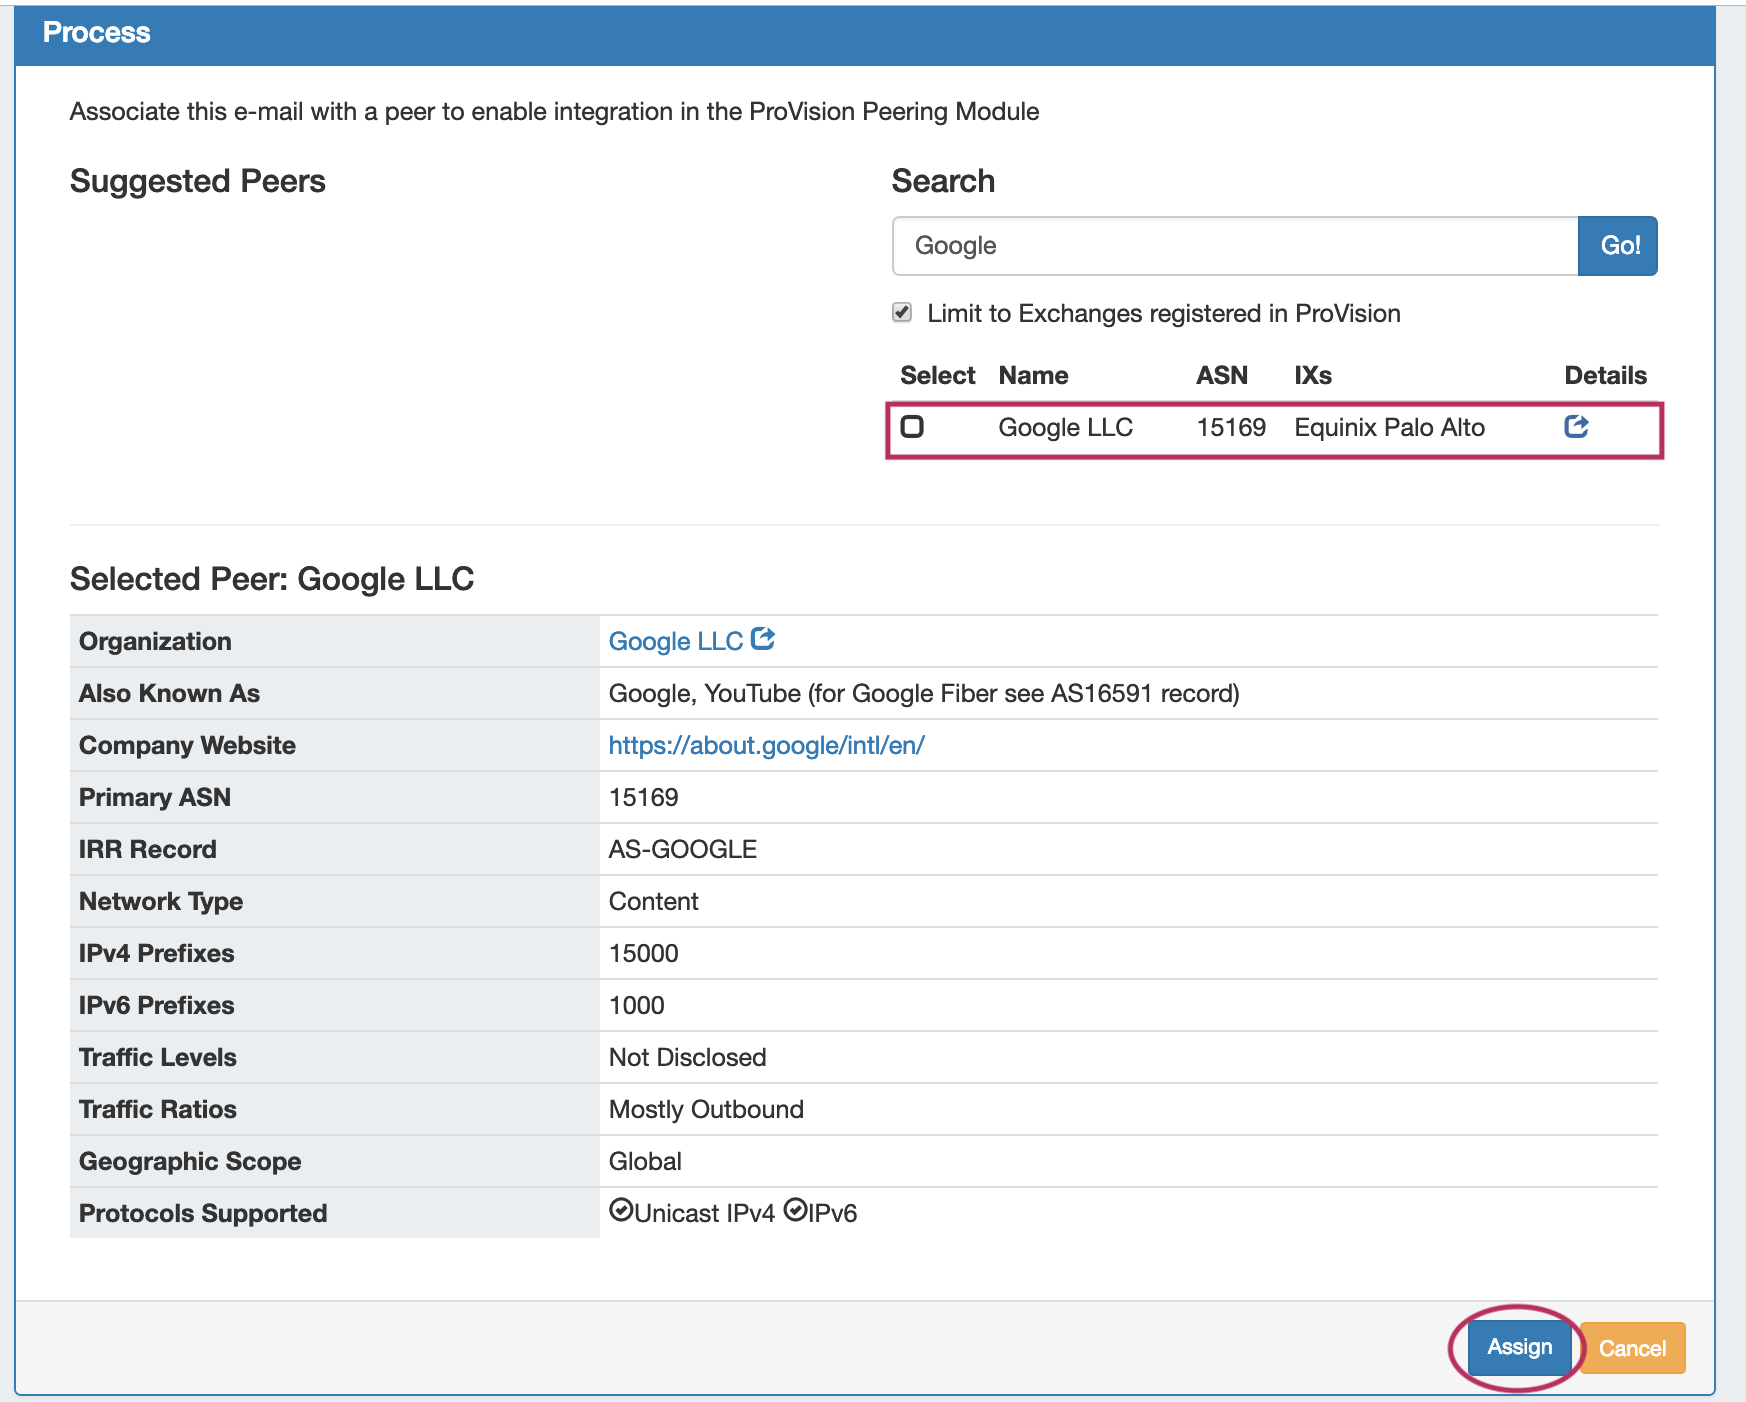
The search results for the peer will display under the search box.
Click on the Peer result that you wish to assign from the search results, then review the peer details to verify it is the correct Peer. When done, click Assign.
The Peer's name will be tagged to the bottom of the email message. If you need to change the associated Peer, you can click the tagged Peer to repeat the process and select a new Peer.

When done, the email will be move to the "processed" message box, to denote the message is associated with a peer.
Reply to a Message
To reply to a message, from the message details click the Reply button at the bottom of the message.

Type in your desired message reply, and click Send.
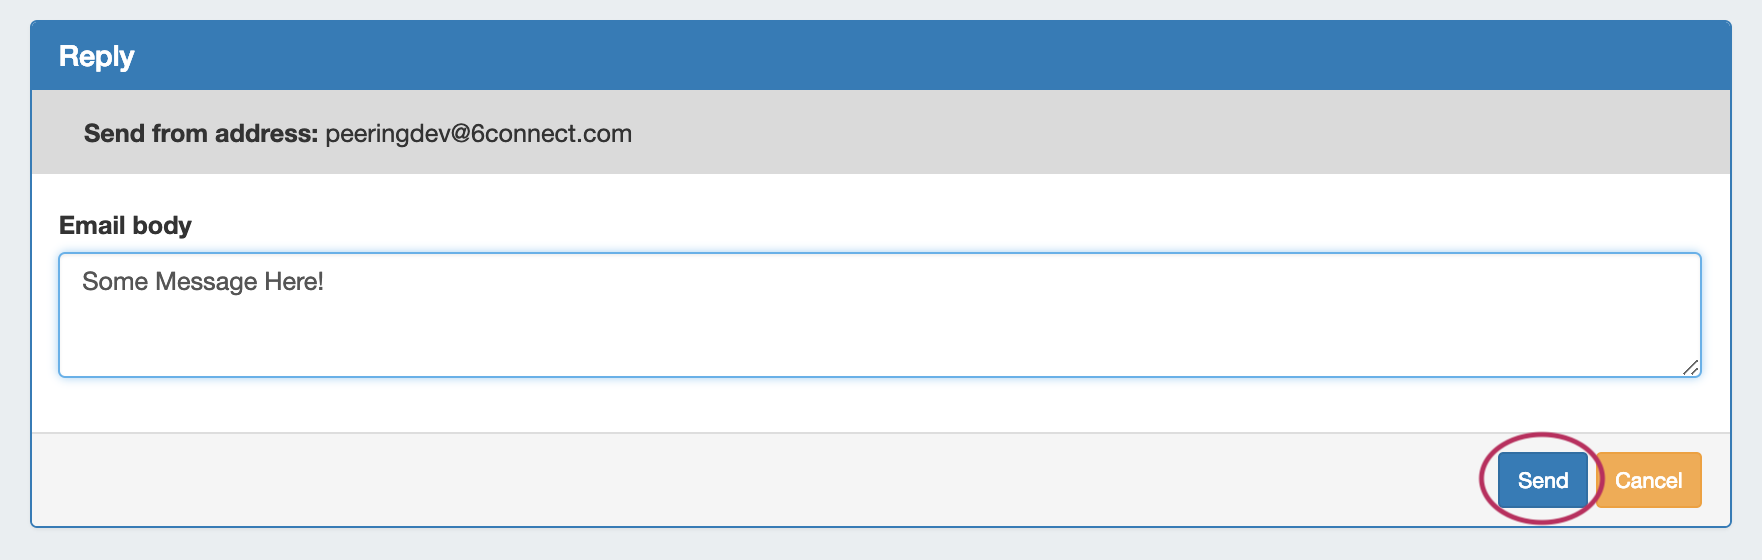
The message reply will be sent to the original sender, and a copy will be saved in the "Sent" folder.
Delete a Message
To delete a message from ProVision, click the Delete button at the bottom of the message. The message will be removed from the Provision inbox and placed in the "Trash" folder, but remains intact on the original email server.

Communications Settings
The "Settings" page allows you to set, edit, or delete the email account associated with ProVision. From the Email Tab, click Settings.

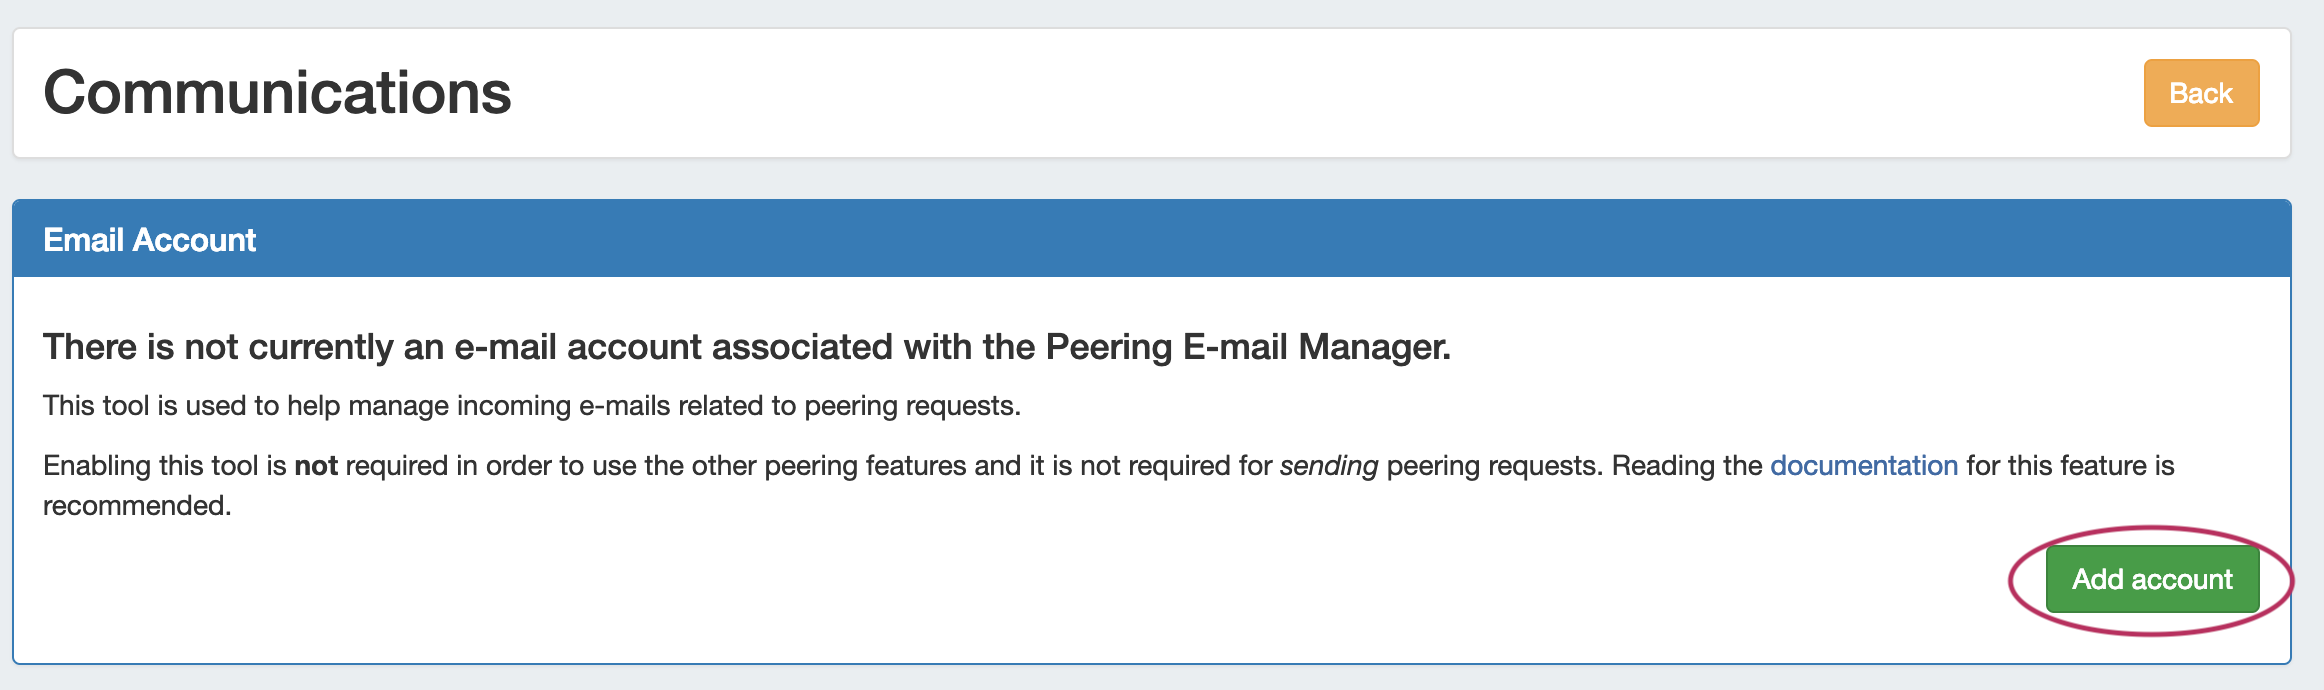
If no account is active, the option to add a new email account will be available.
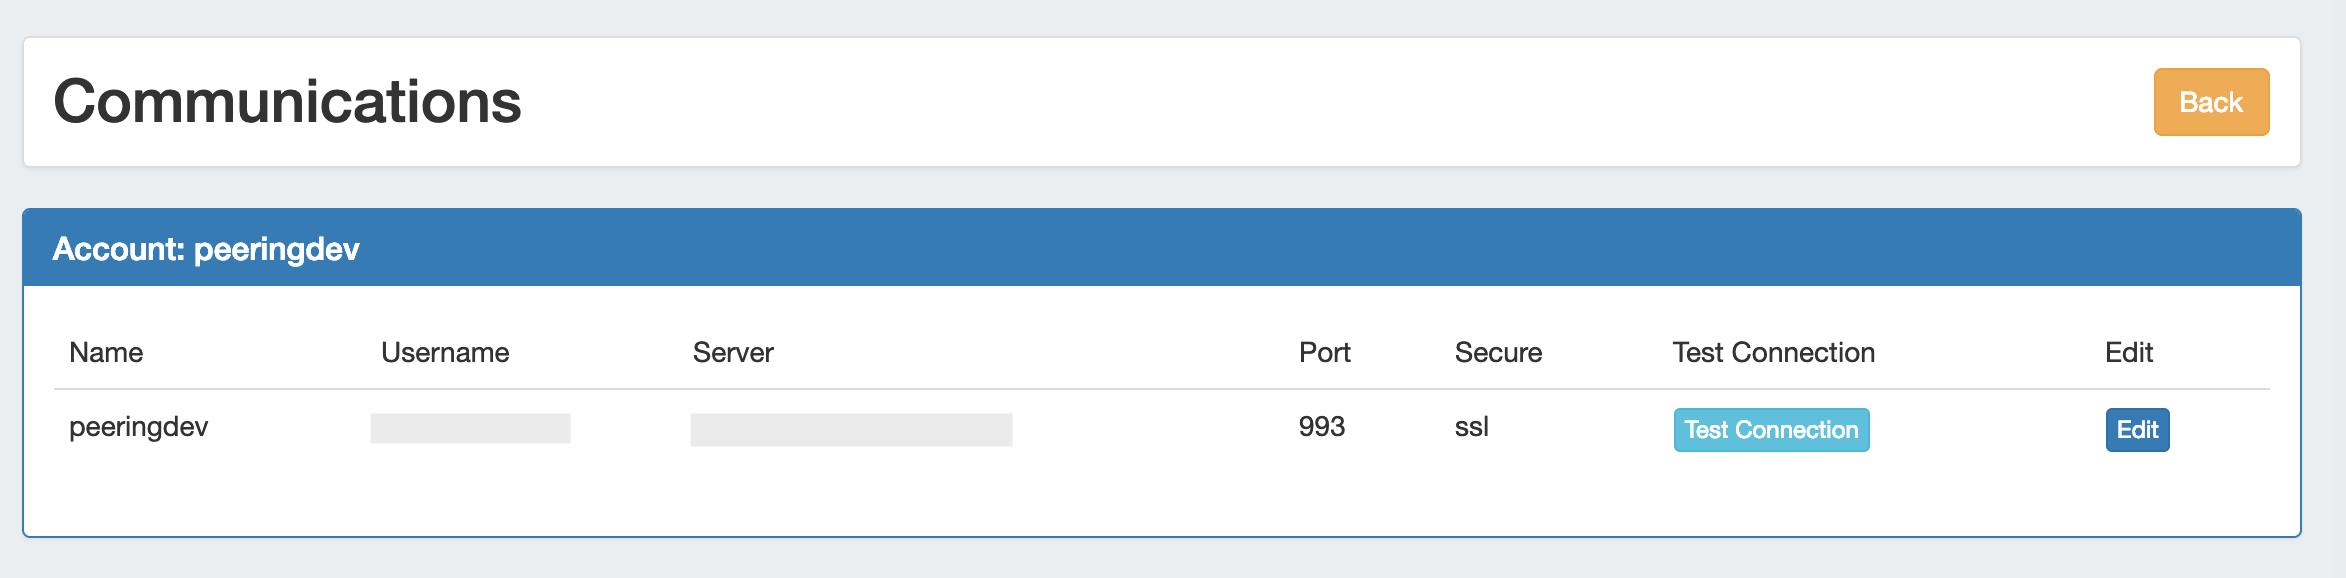
Otherwise, if an account has already been set, details for the account will be visible as well as options to test or edit the account.
Add an Account
If an account is not currently set, status information and and the option to add a new email account will be available. Click Add Account.
On the "Add Account" page, enter the account display name, email username/address, server, email password, and change the security and port settings if needed.
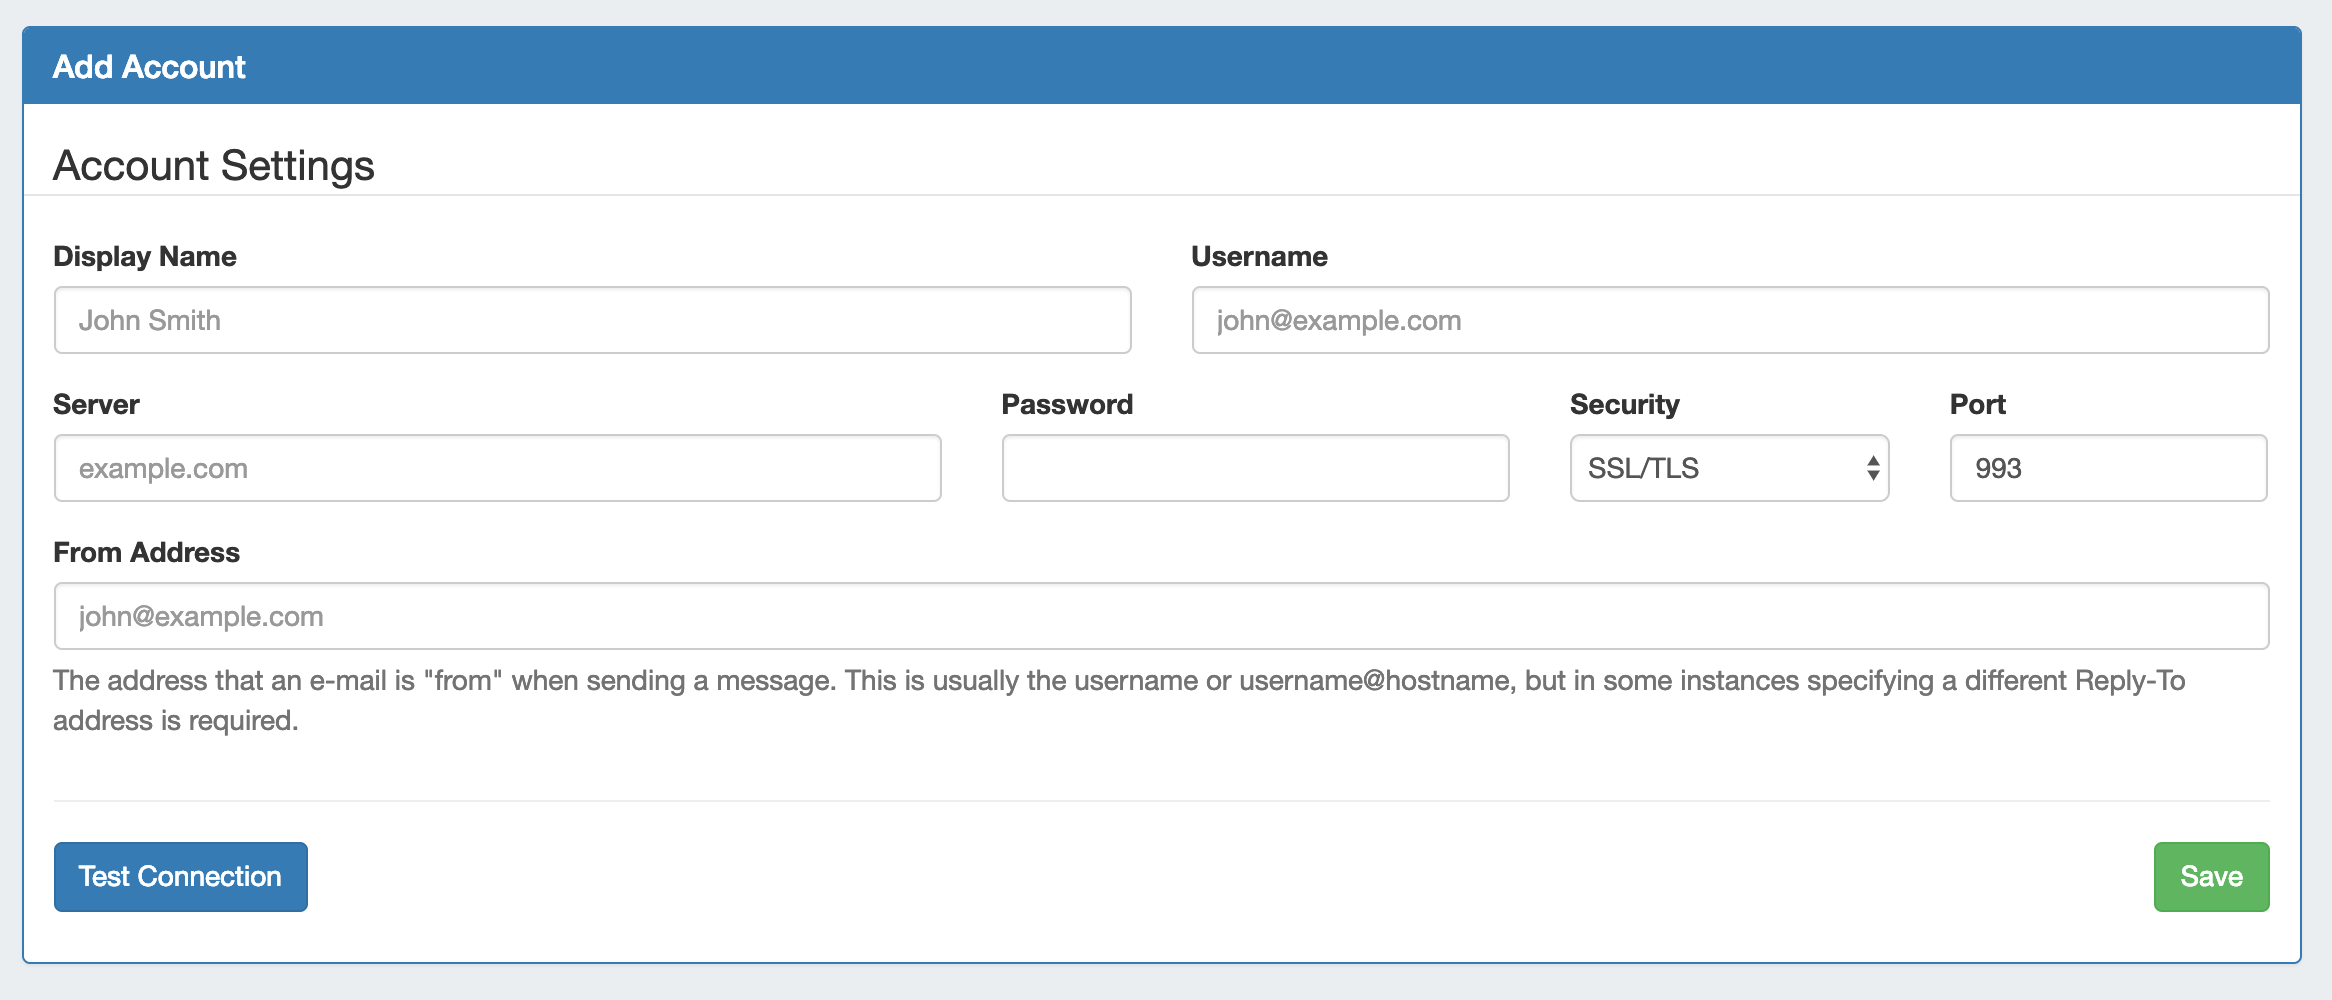
"From Address" is a field used if the email reply address is different than the username@serverhostname - in most cases, it will not be necessary.
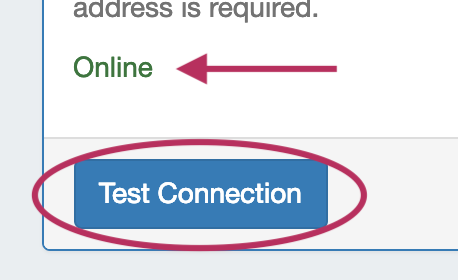
When done, you can verify the information is correct by clicking Test Connection - if the account is valid and a connection succeeds, you will see a "Online" response.
When done, click Save, and the account information will display under "Settings" and the email folder will be available.
A Note on Yahoo and Gmail
When working with Yahoo or Gmail email addresses specific settings are necessary:
Yahoo Settings:
-
Use Yahoo IMAP settings for the server - see: https://help.yahoo.com/kb/sln4075.html
-
Use / create a 3rd party Yahoo app password for the password field - see: https://help.yahoo.com/kb/generate-manage-third-party-passwords-sln15241.html
-
For the Username field, input the Yahoo username instead of the email address (user, instead of user@yahoo.com)
Gmail Settings:
-
Use Gmail IMAP settings - see: https://support.google.com/mail/answer/7126229
-
Turn on access for less secure apps
-
Use a 3rd party app password for the password field (This requires setup of 2 step verification for Gmail sign in). Info on this process is here: https://support.google.com/accounts/answer/3466521?hl=en
-
For the Username field, input the Gmail username instead of the email address (user, instead of user@gmail.com)
If you have additional questions on additions to Peering email addresses, please contact support.
Edit or Delete an Existing Account
An existing account may have the connection tested by clicking Test Connection in Account Information. Additional Actions, such as editing account details or deleting the account from ProVision may be done by clicking Edit for the Account.
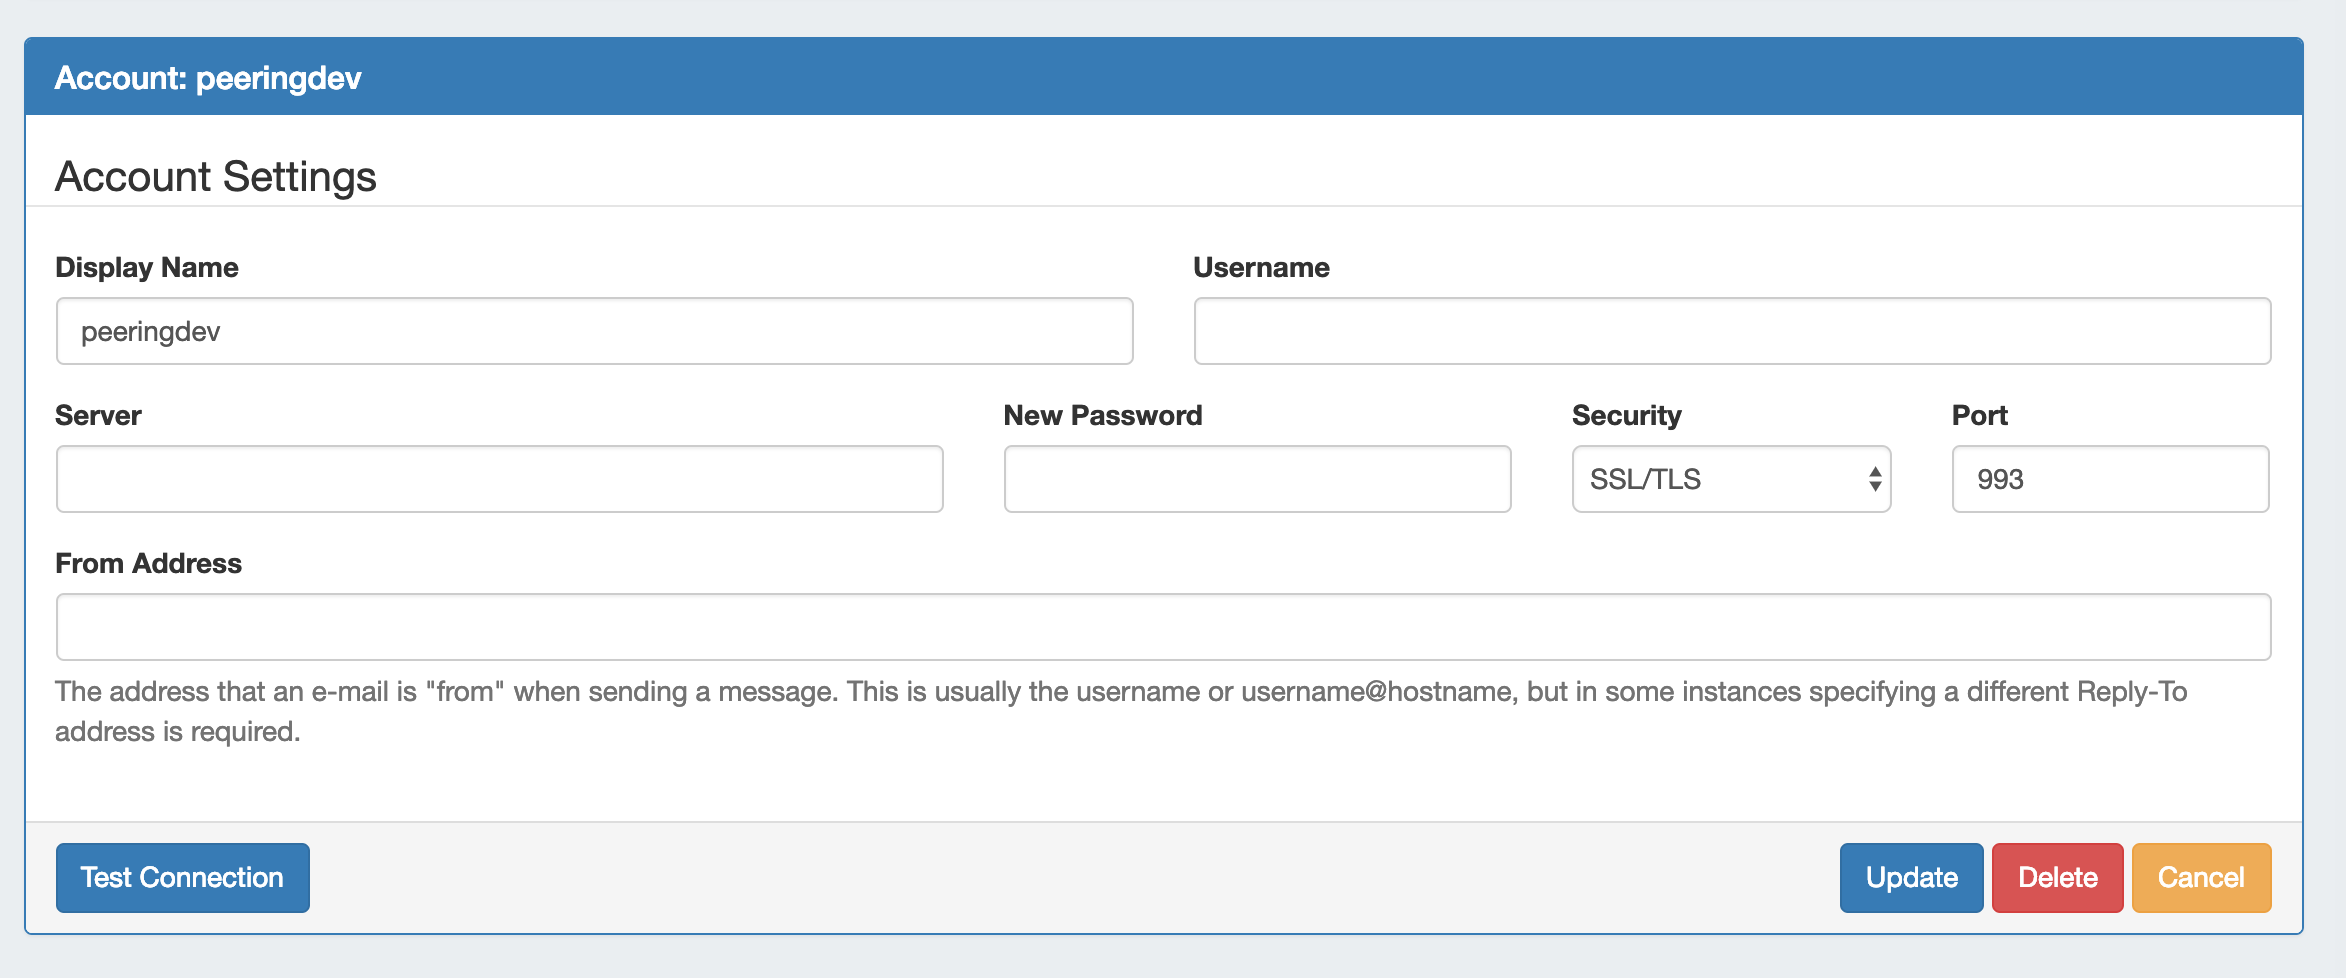
Edit the account settings as needed, test the connection if desired, and click Update.
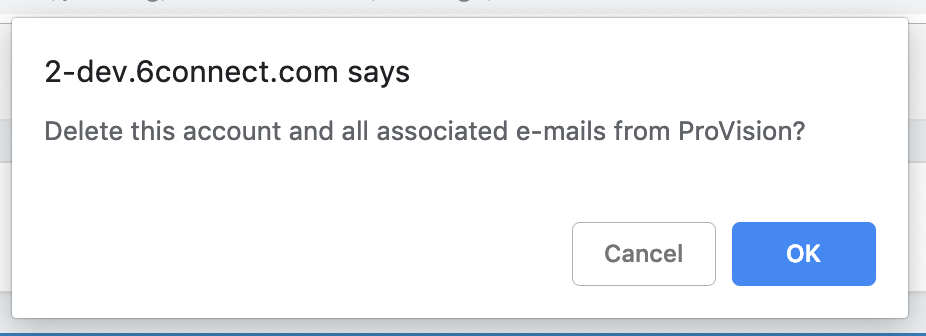
Delete the account by clicking Delete - a confirmation message will appear confirming that the account will be deleted and all emails removed from the ProVision interface - don't worry, the original emails stay fully intact on the email server.