
The Discovery tab is first step to identifying network resources to add to your inventory. Here, you can use configuration files, paste text configs, or use automated scanning options to identify devices to use for discovery.
The Discovery tab allows the user to gather IP topography data via the following methods, organized as sub-tabs: DHCP, DNS, Firewall, Generic Config, mDNS, Load Balancer, Ping Scan, RIR, Router Configs, SSH Router Config, SNMP, ARP, and SSDP.
Discovery Tab Options
RIR
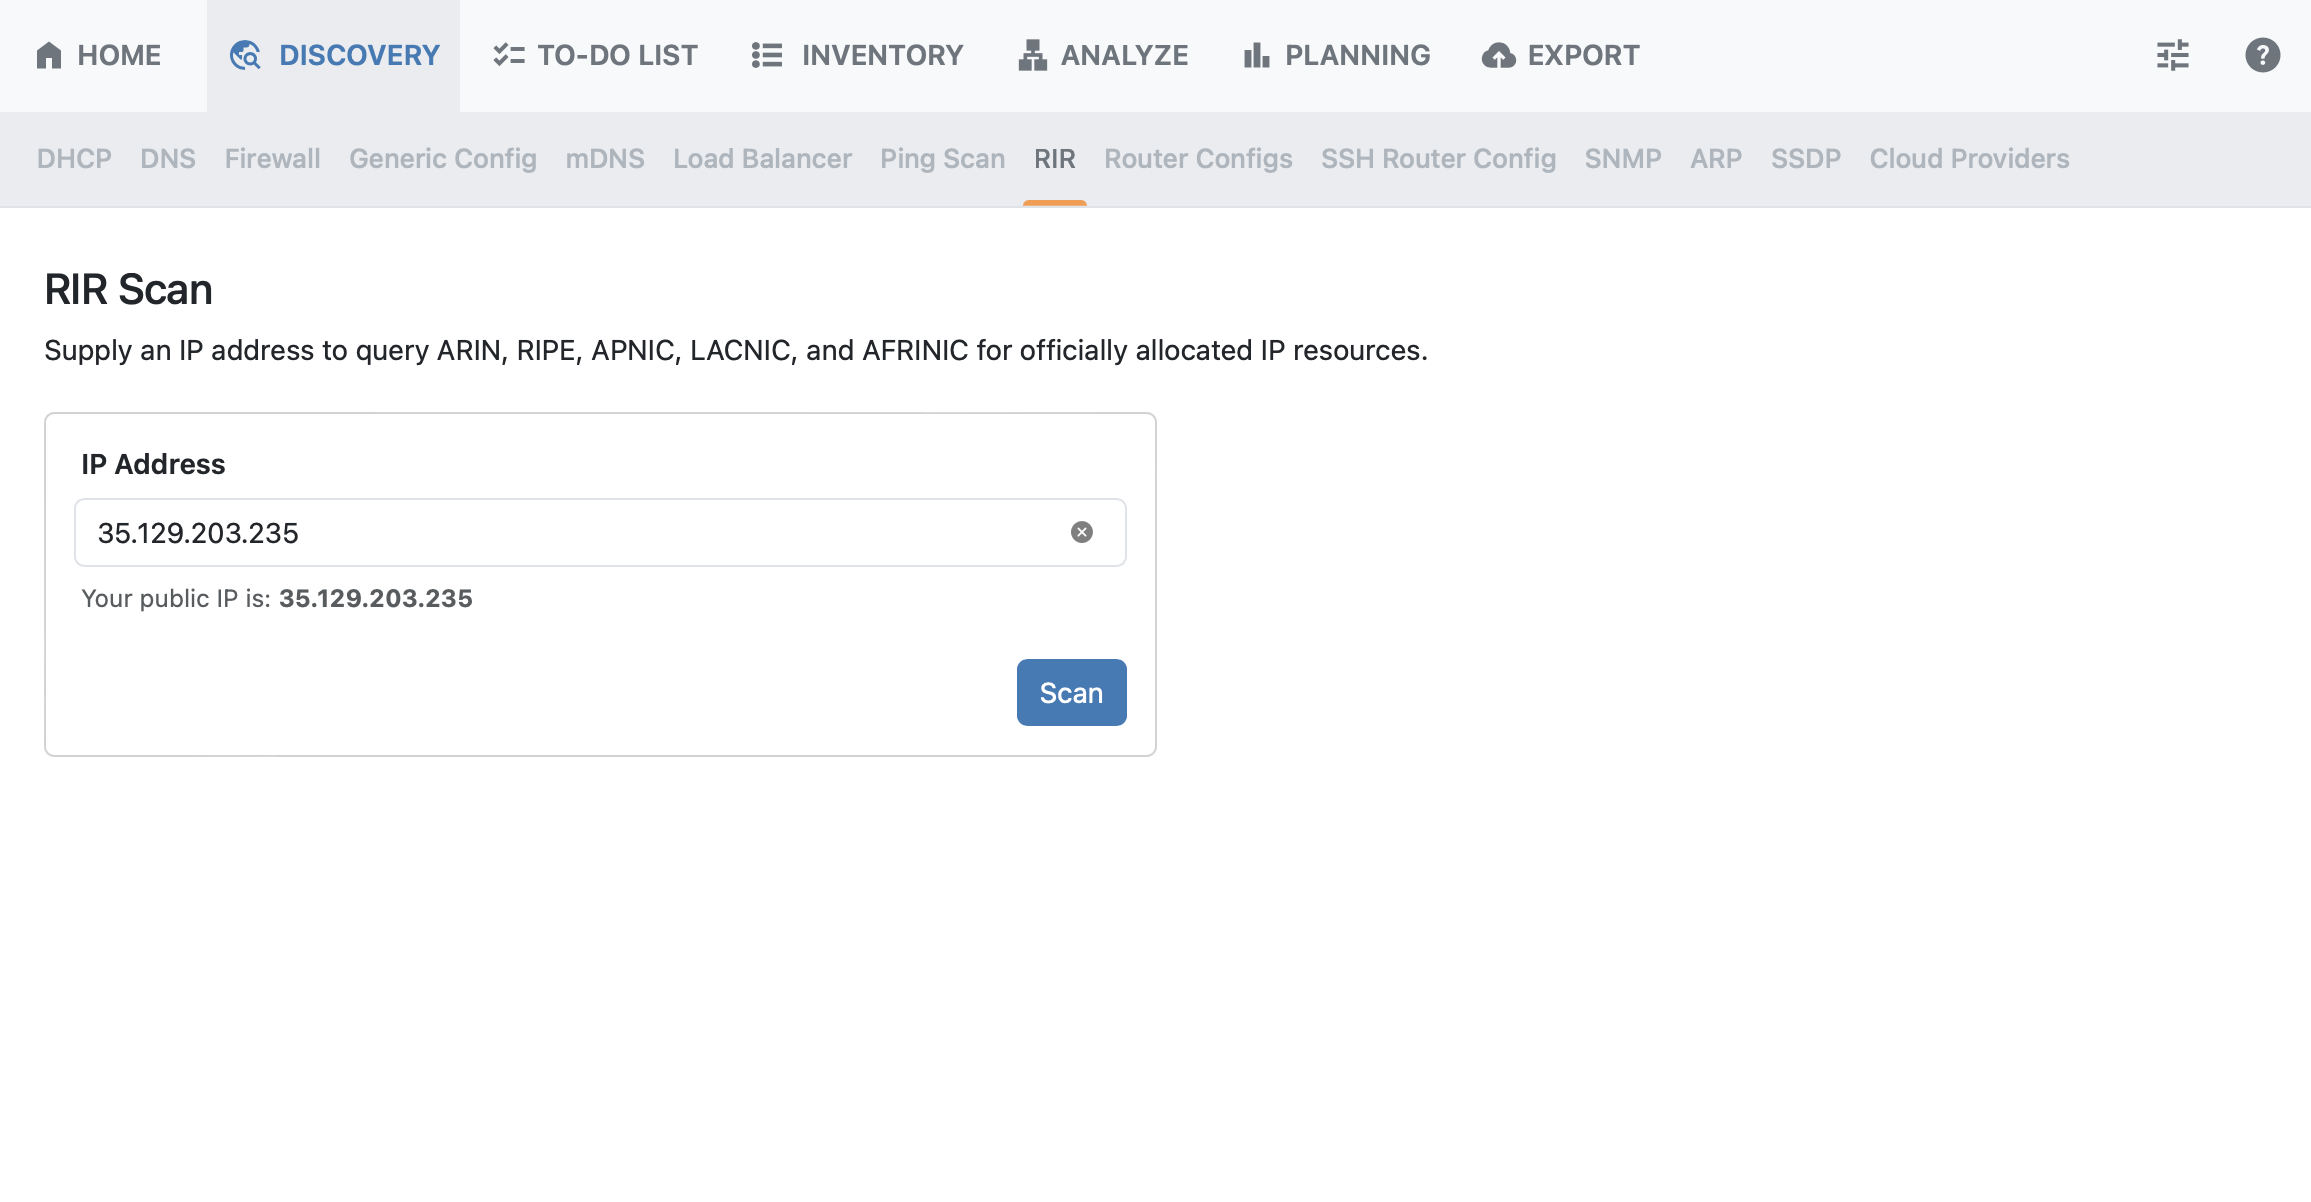
RIR Scan is the recommended first step in discovering your network assets.
RIR discovery establishes a baseline of public space. From here, ReView will use the current user’s IP / provided IP, and then query the WHOIS system to find its ASN. From there, it queries again in order to discover netblock allocations.
When you open RIR Scan, your public IP is automatically populated, though you may also manually enter an IP.
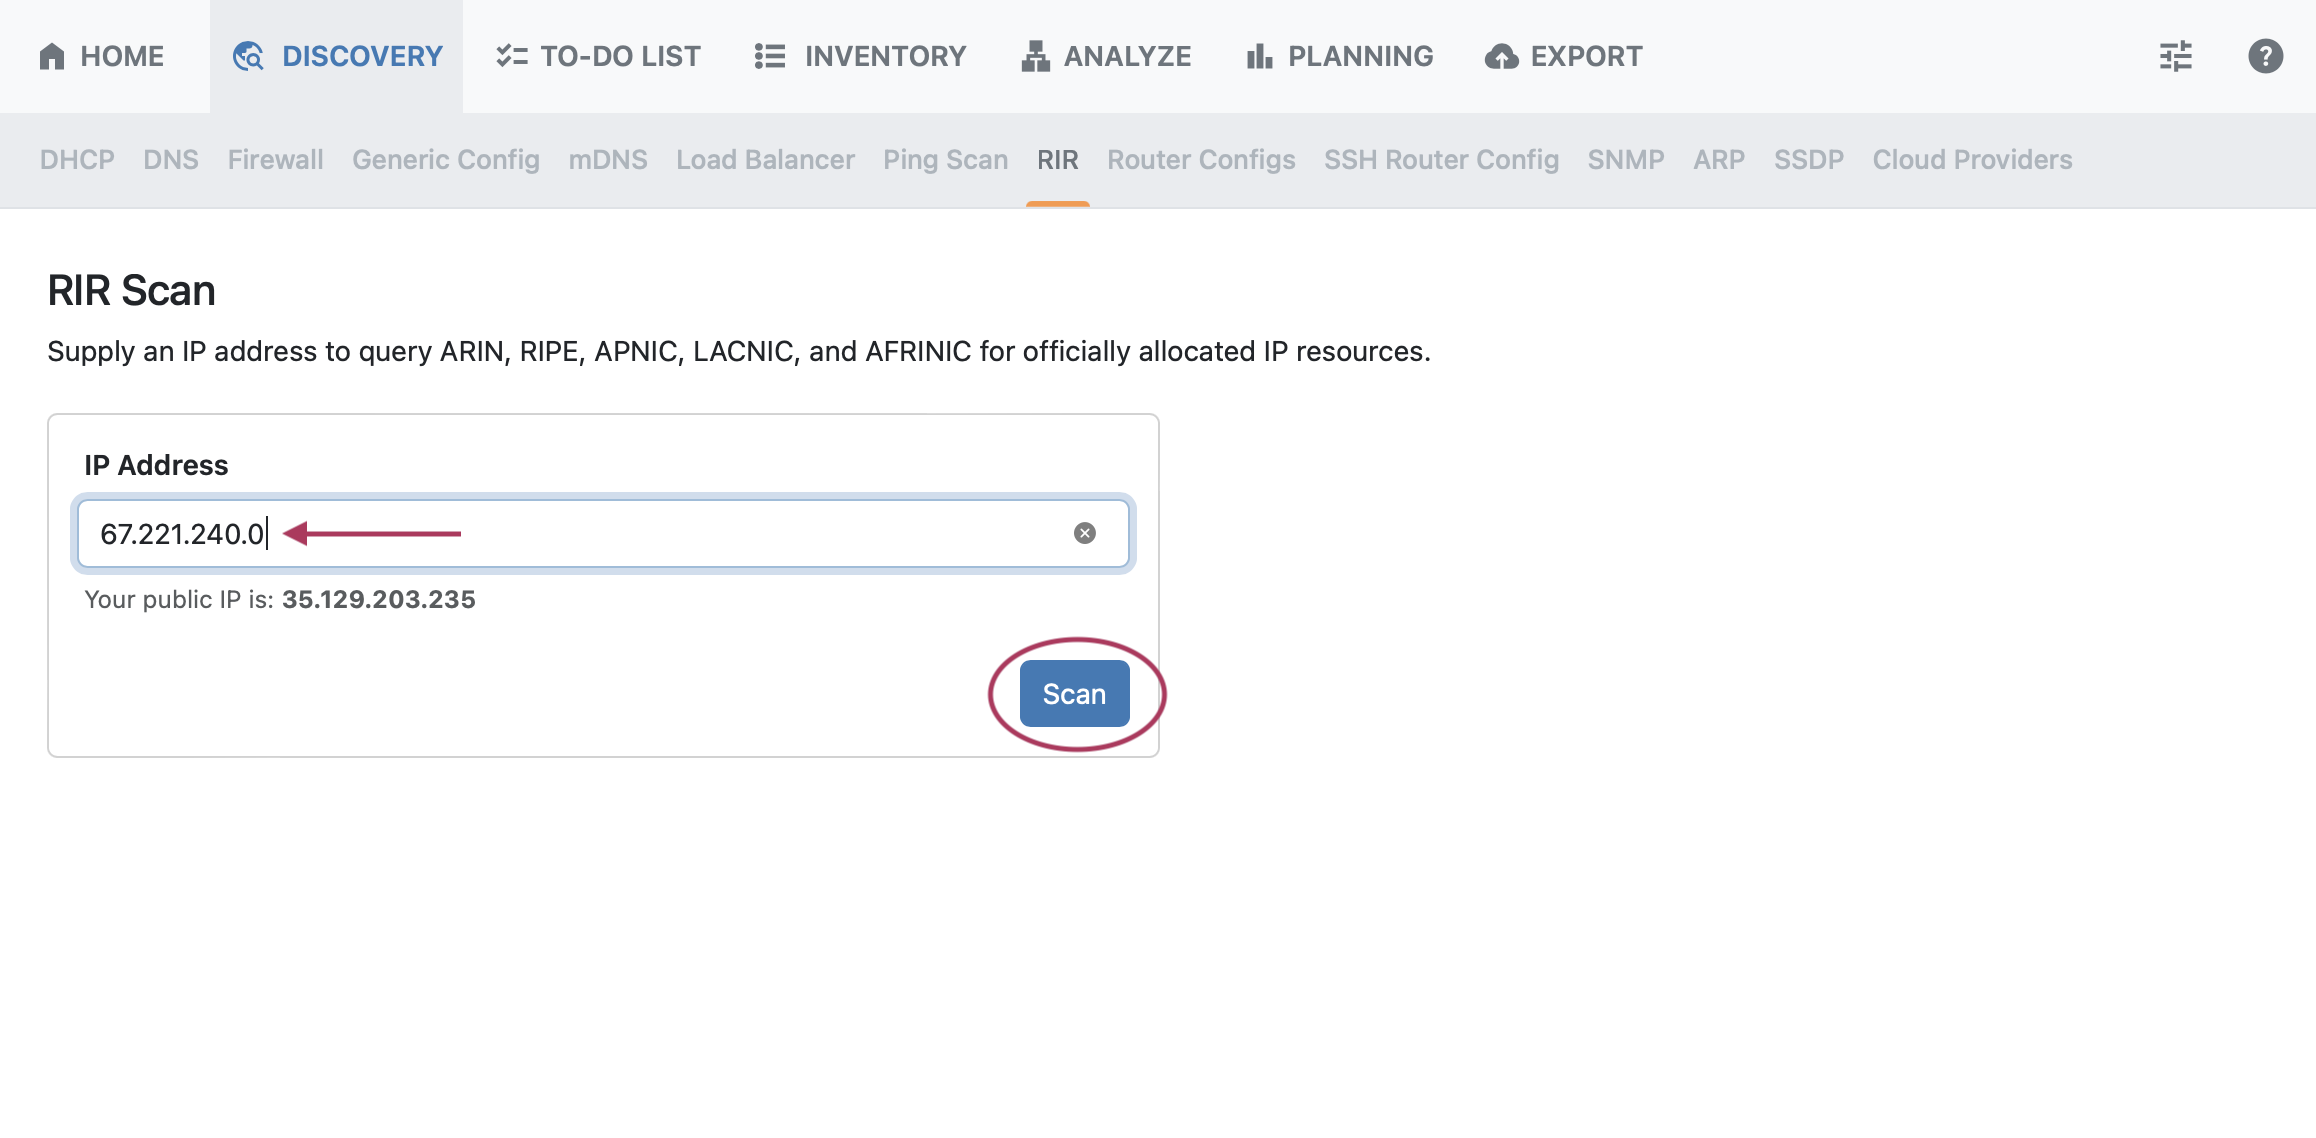
Enter the desired IP address and click “Scan”.
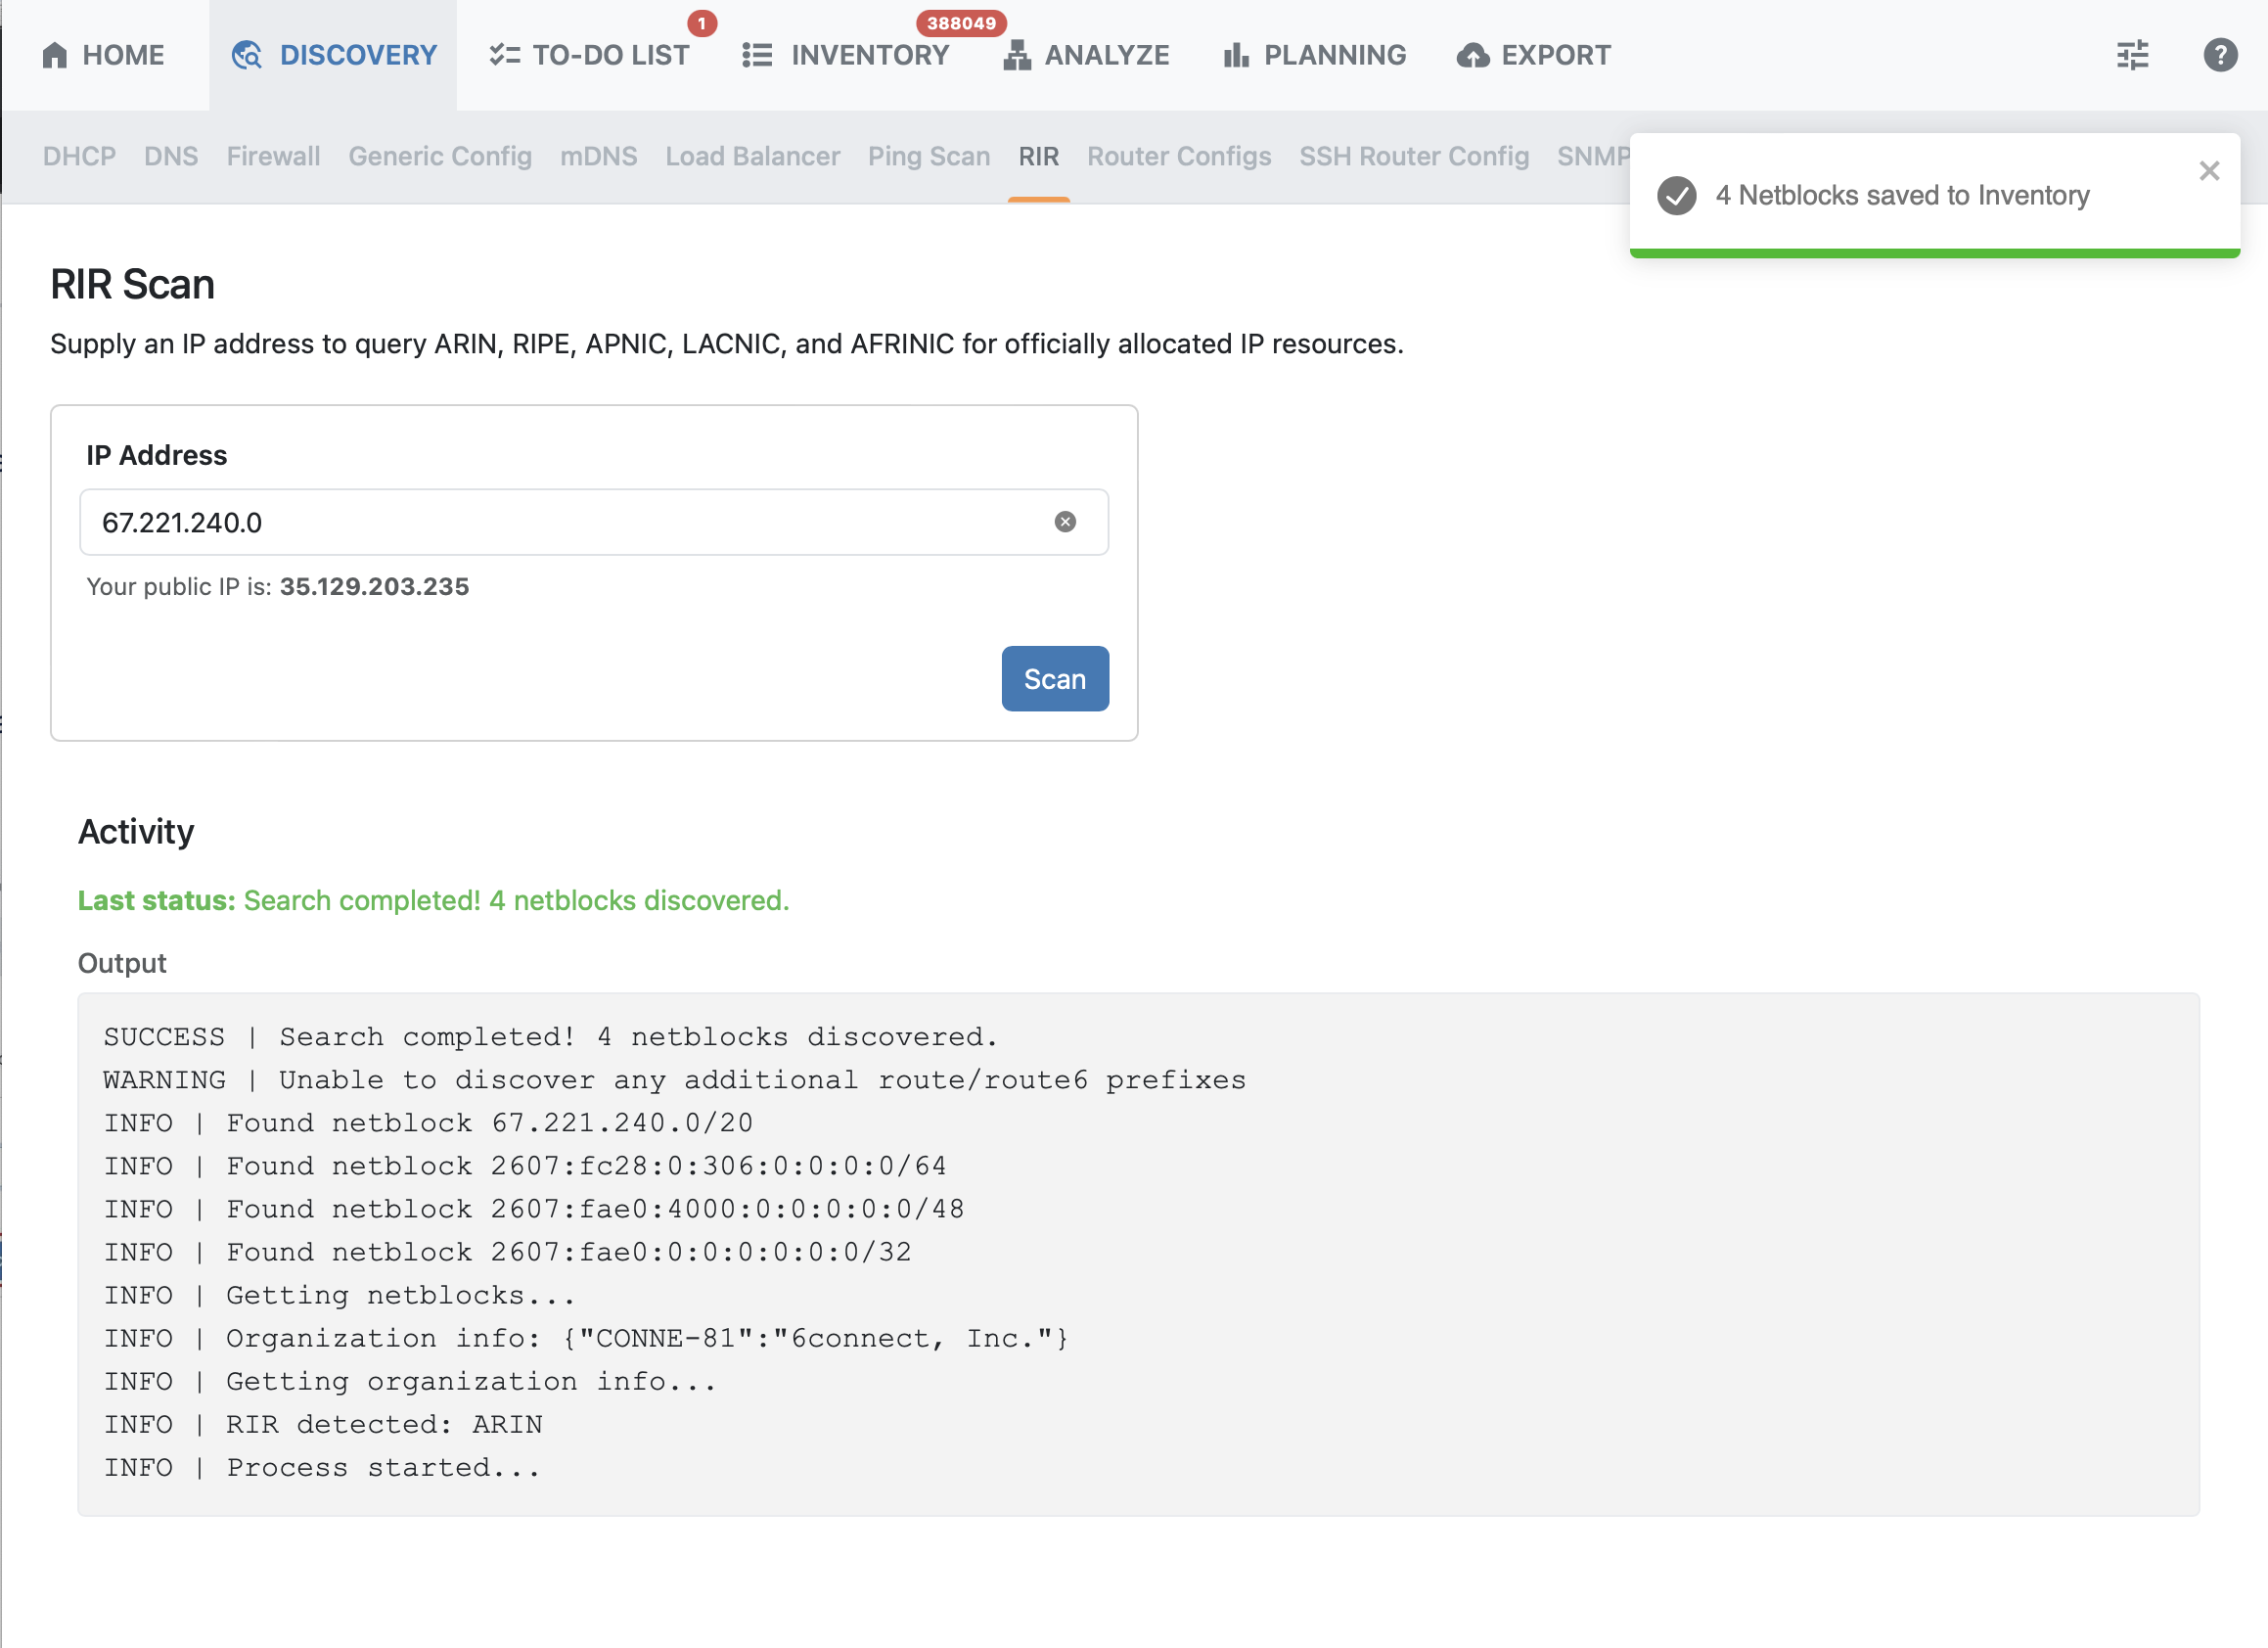
After a successful scan, flags will appear on the To-Do List and Inventory tabs to indicate pending actions.
DHCP
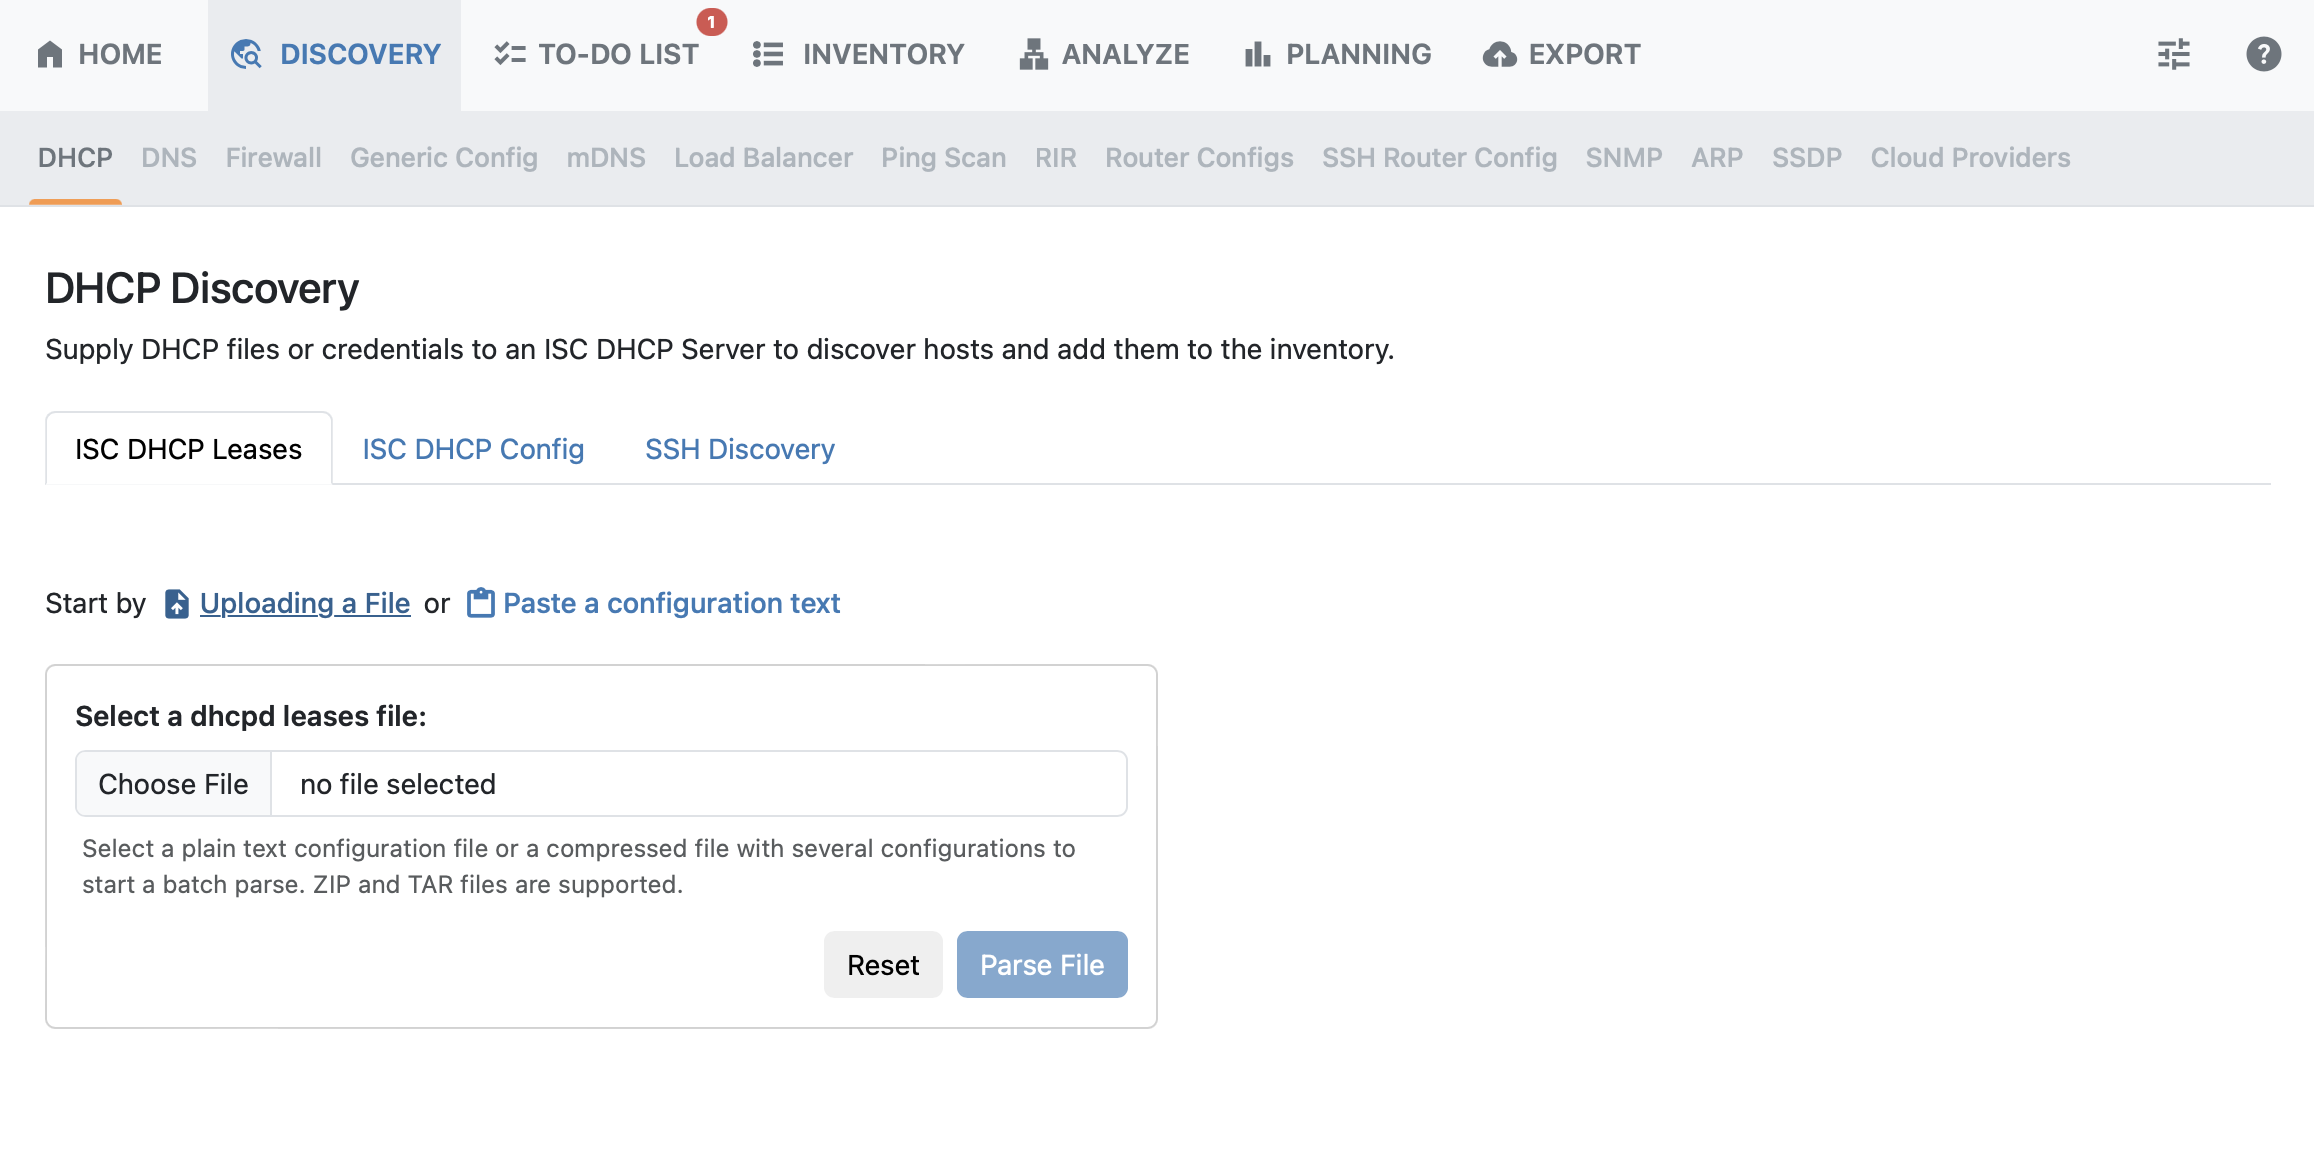
Connects to DHCP usage logs. ReView uses this to determine whether allocated DHCP subnets can be shrunk. Currently supports ISC DHCP, though Microsoft support is expected in a future release.
DNS
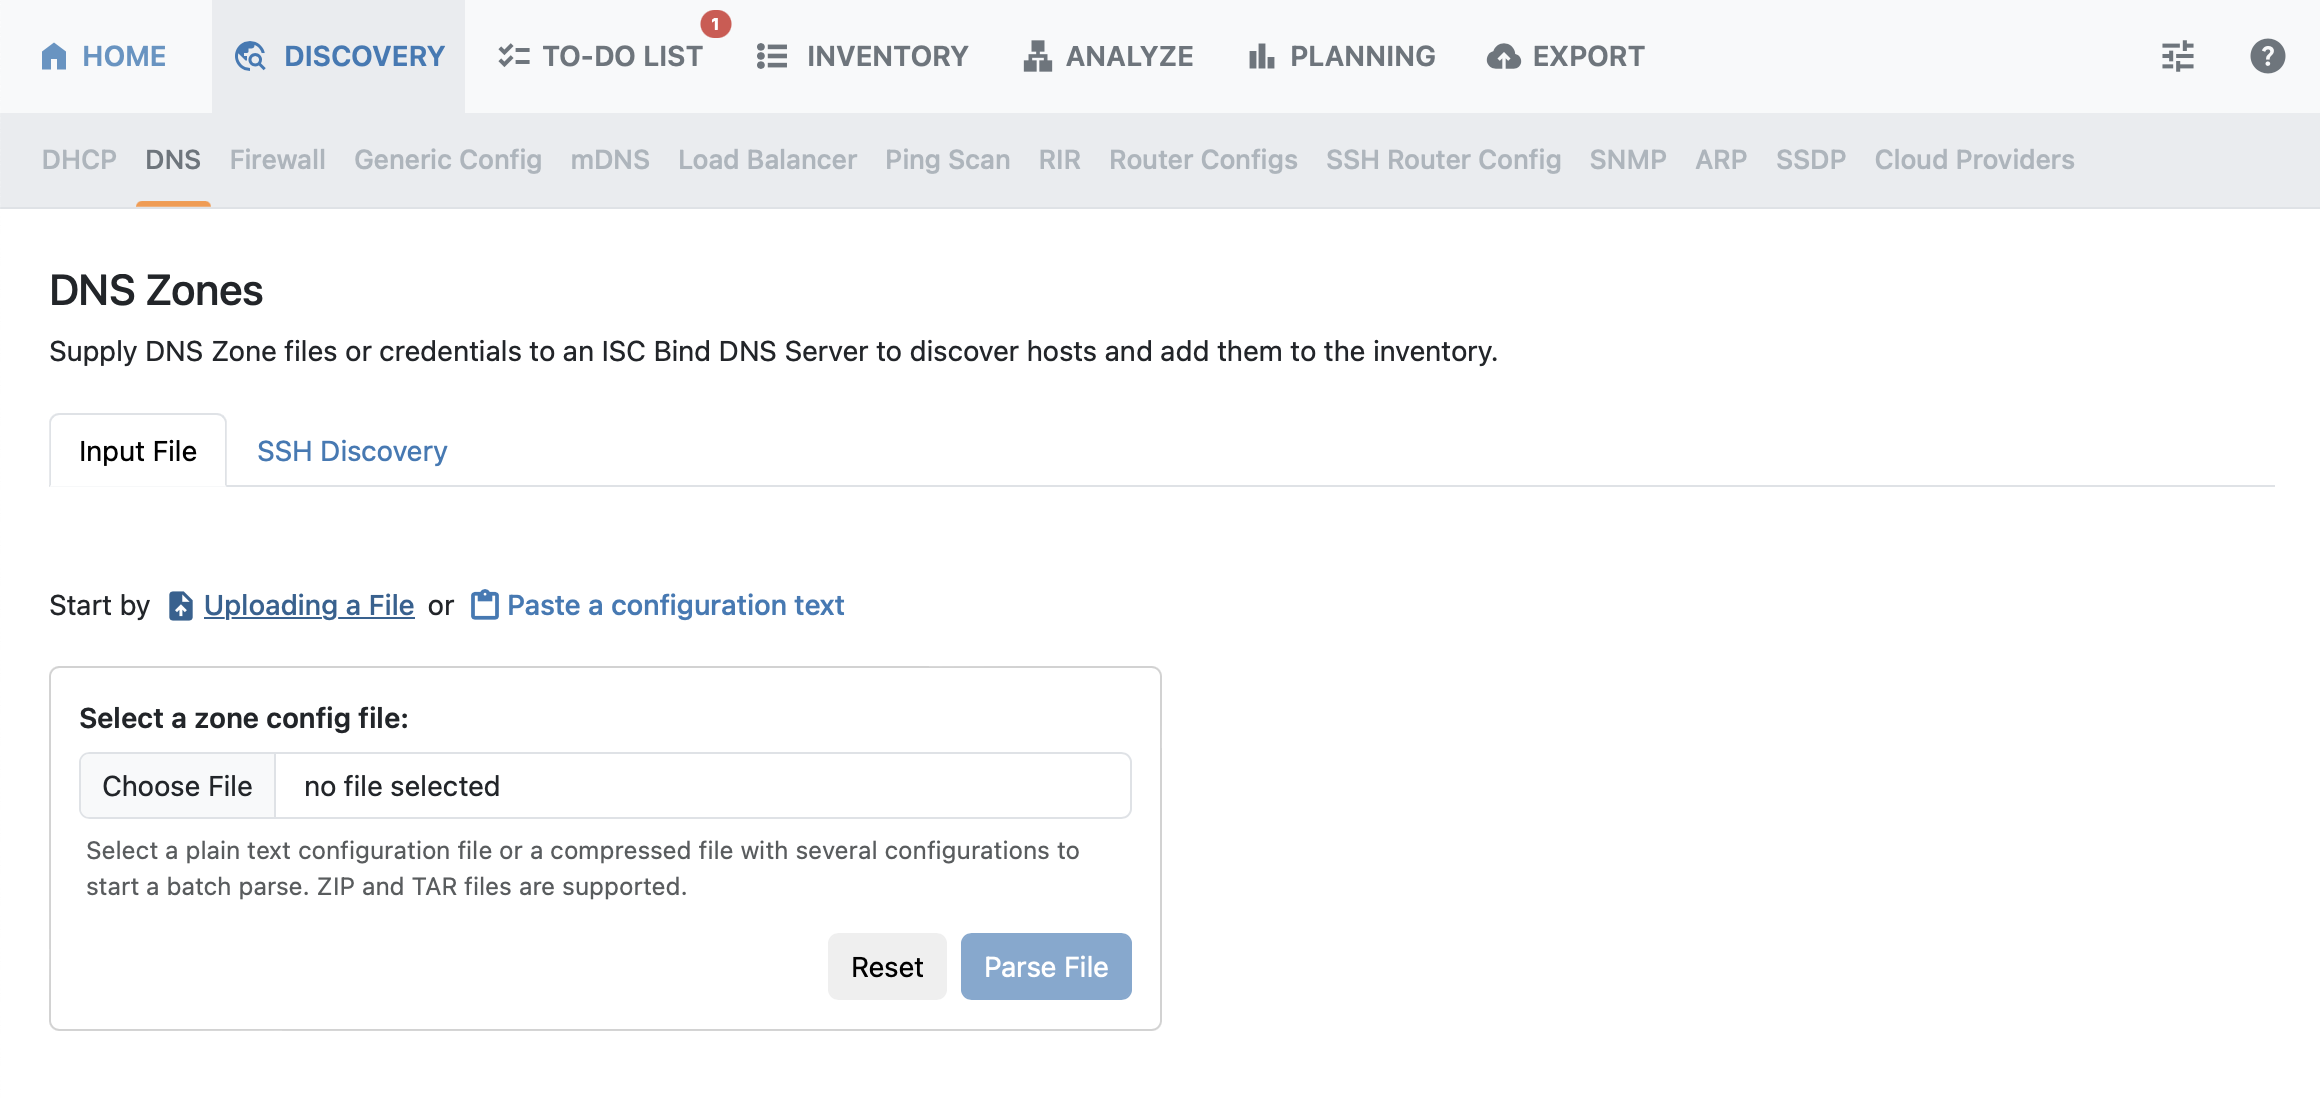
Supply DNS Zone files or credentials to an ISC Bind DNS Server to discover hosts. A config file may be uploaded or configuration text pasted directly into the text field.
Firewall
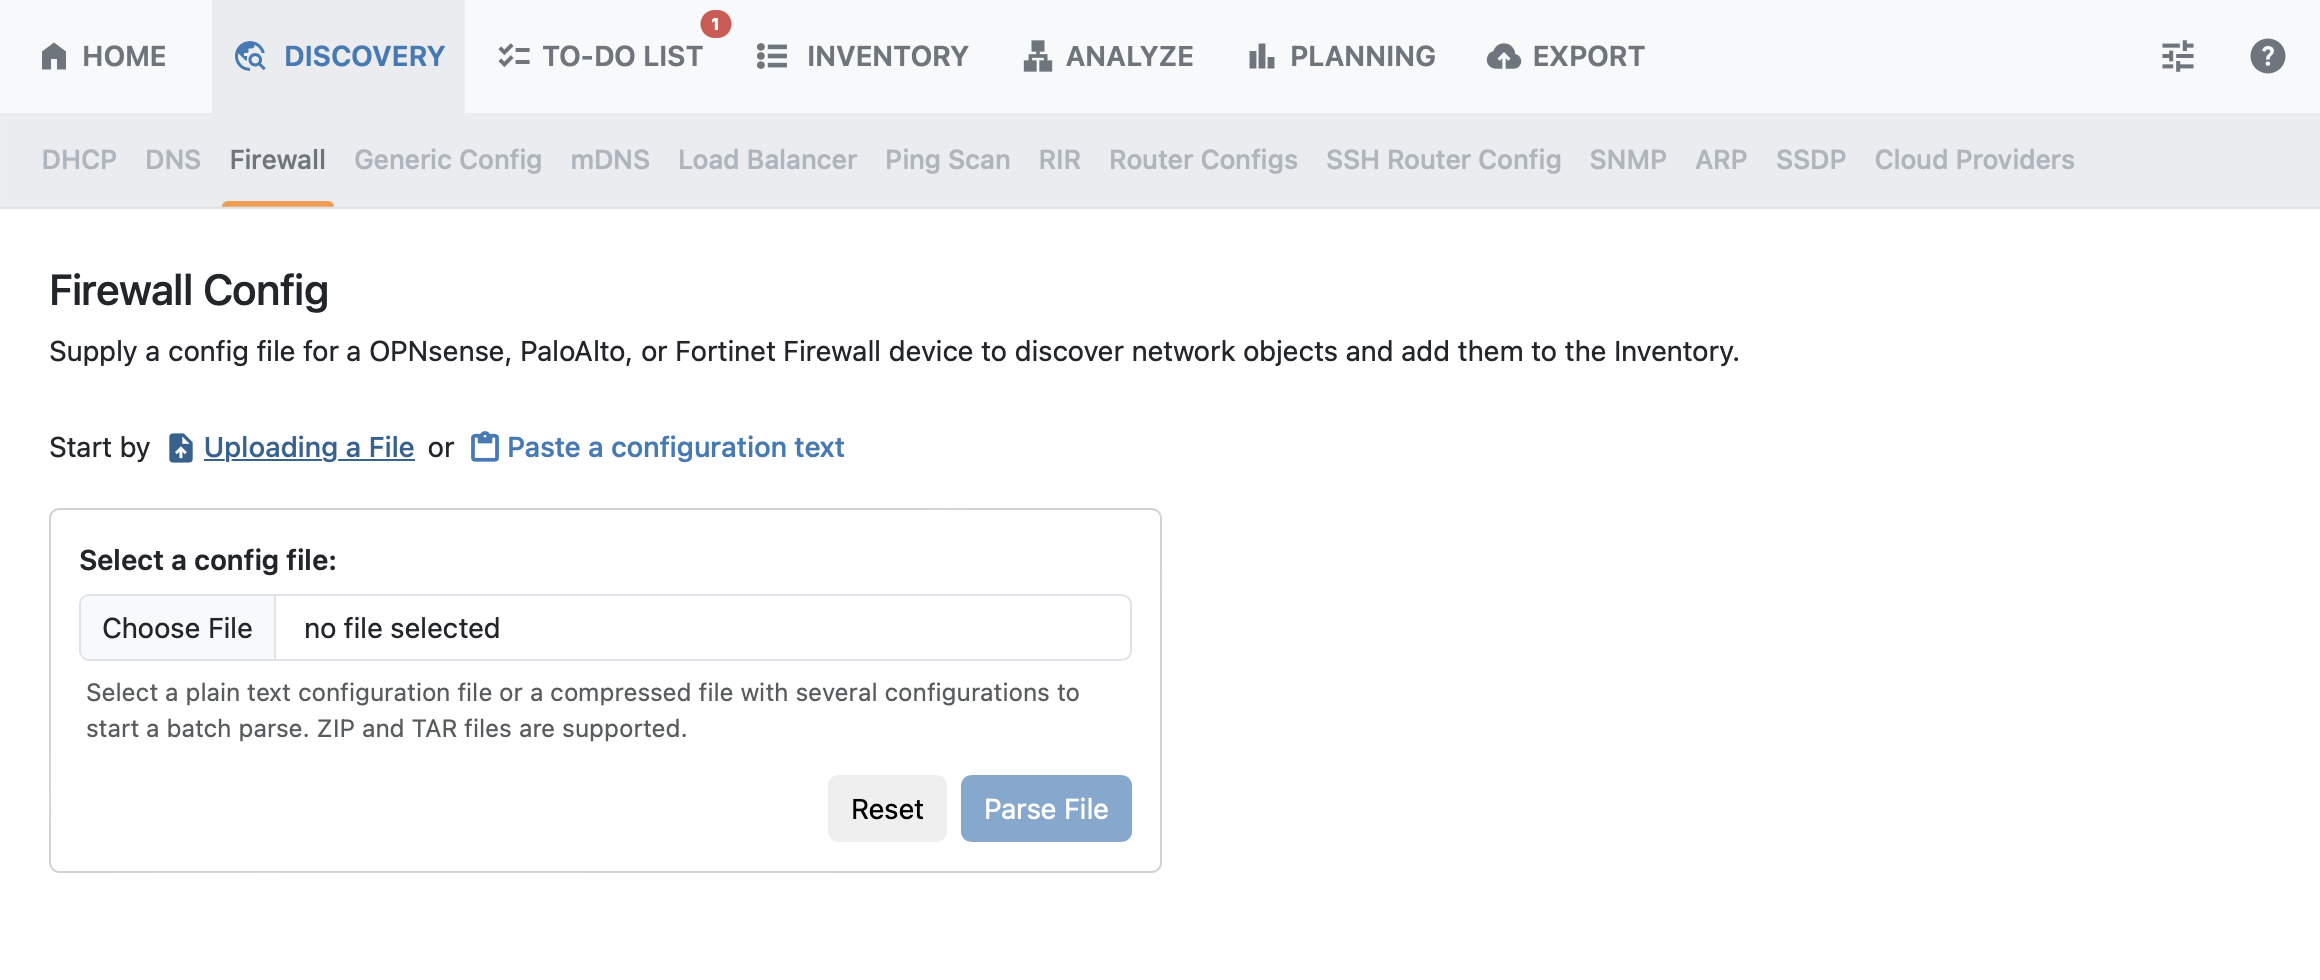
Connects to Firewall configs (OPNsense, Palo Alto, Fortinet). A config file may be uploaded or configuration text pasted directly into the text field.
Generic Config
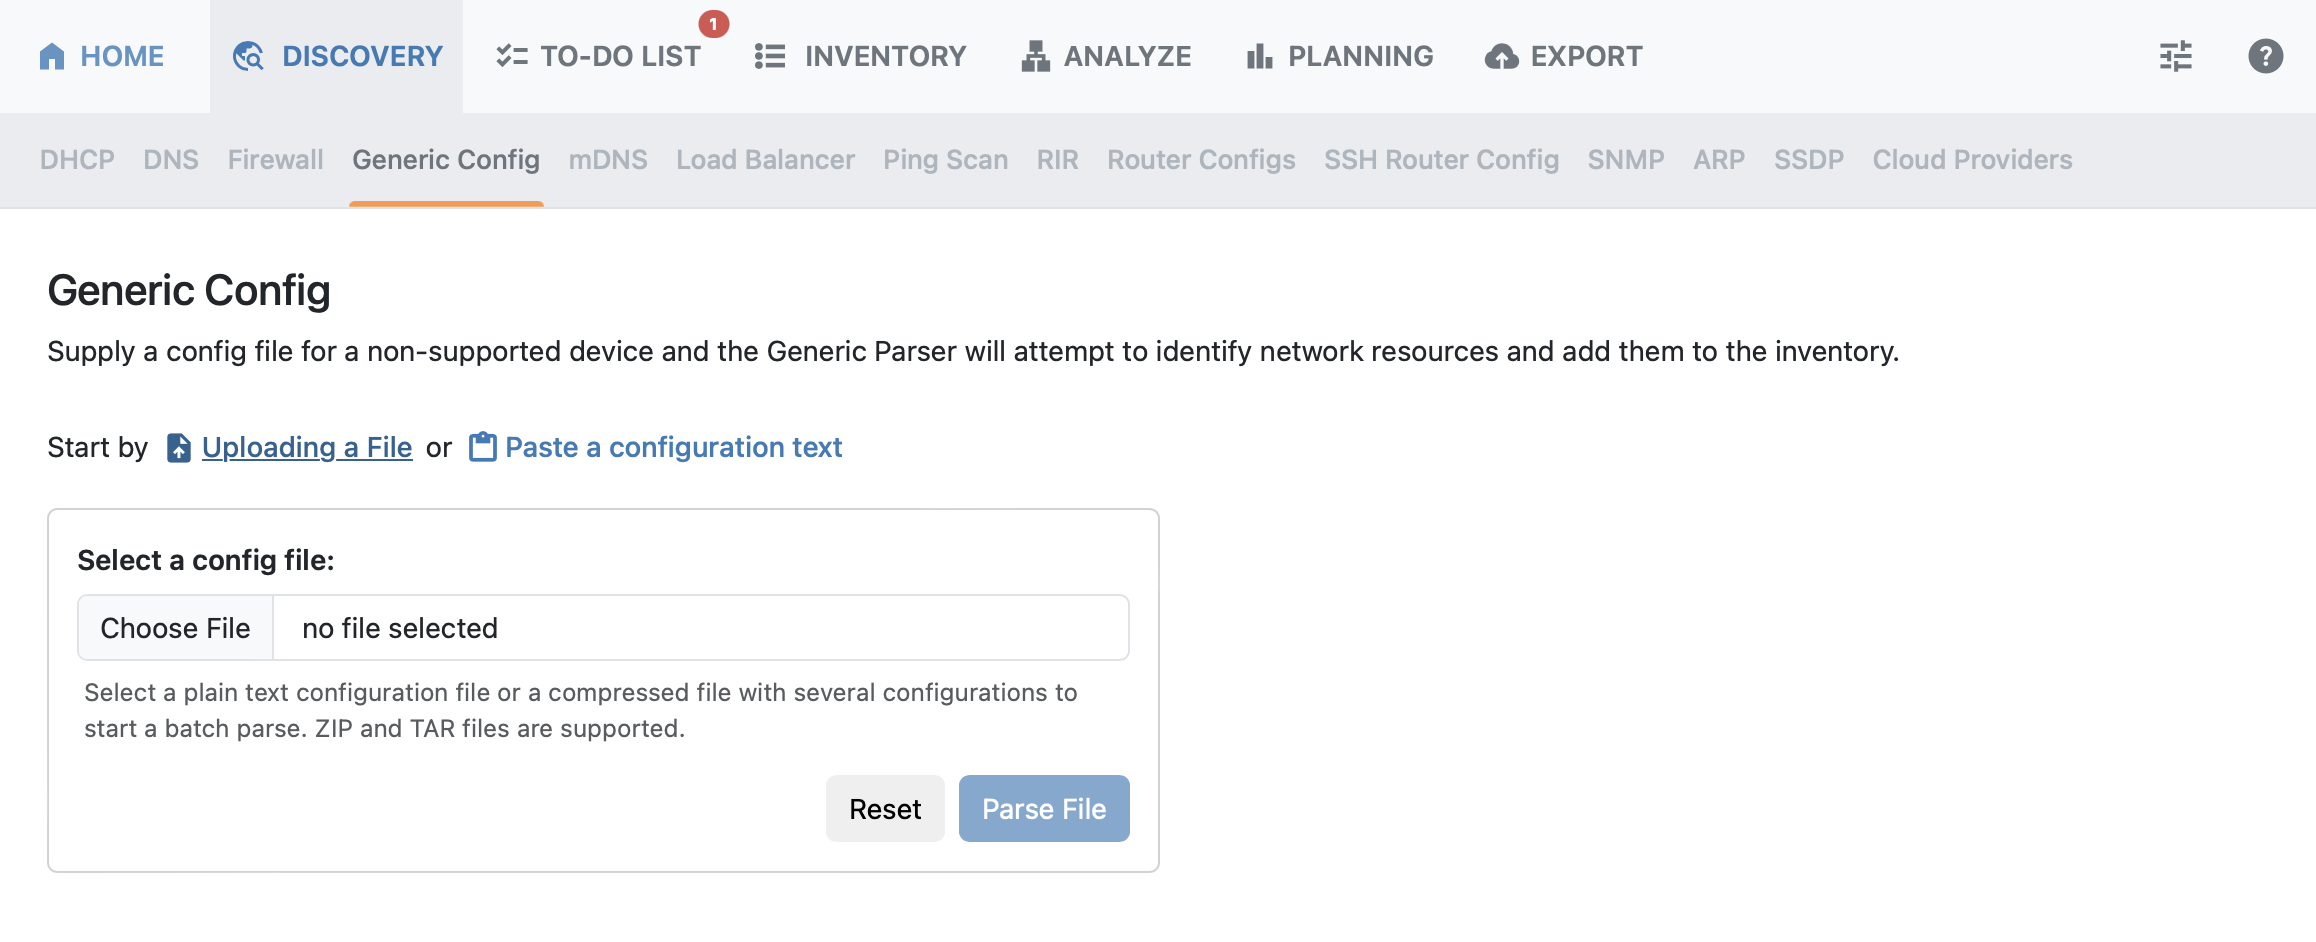
Attempts to parse non-supported devices via a config file in order to identify network resources and add them to the inventory.
mDNS
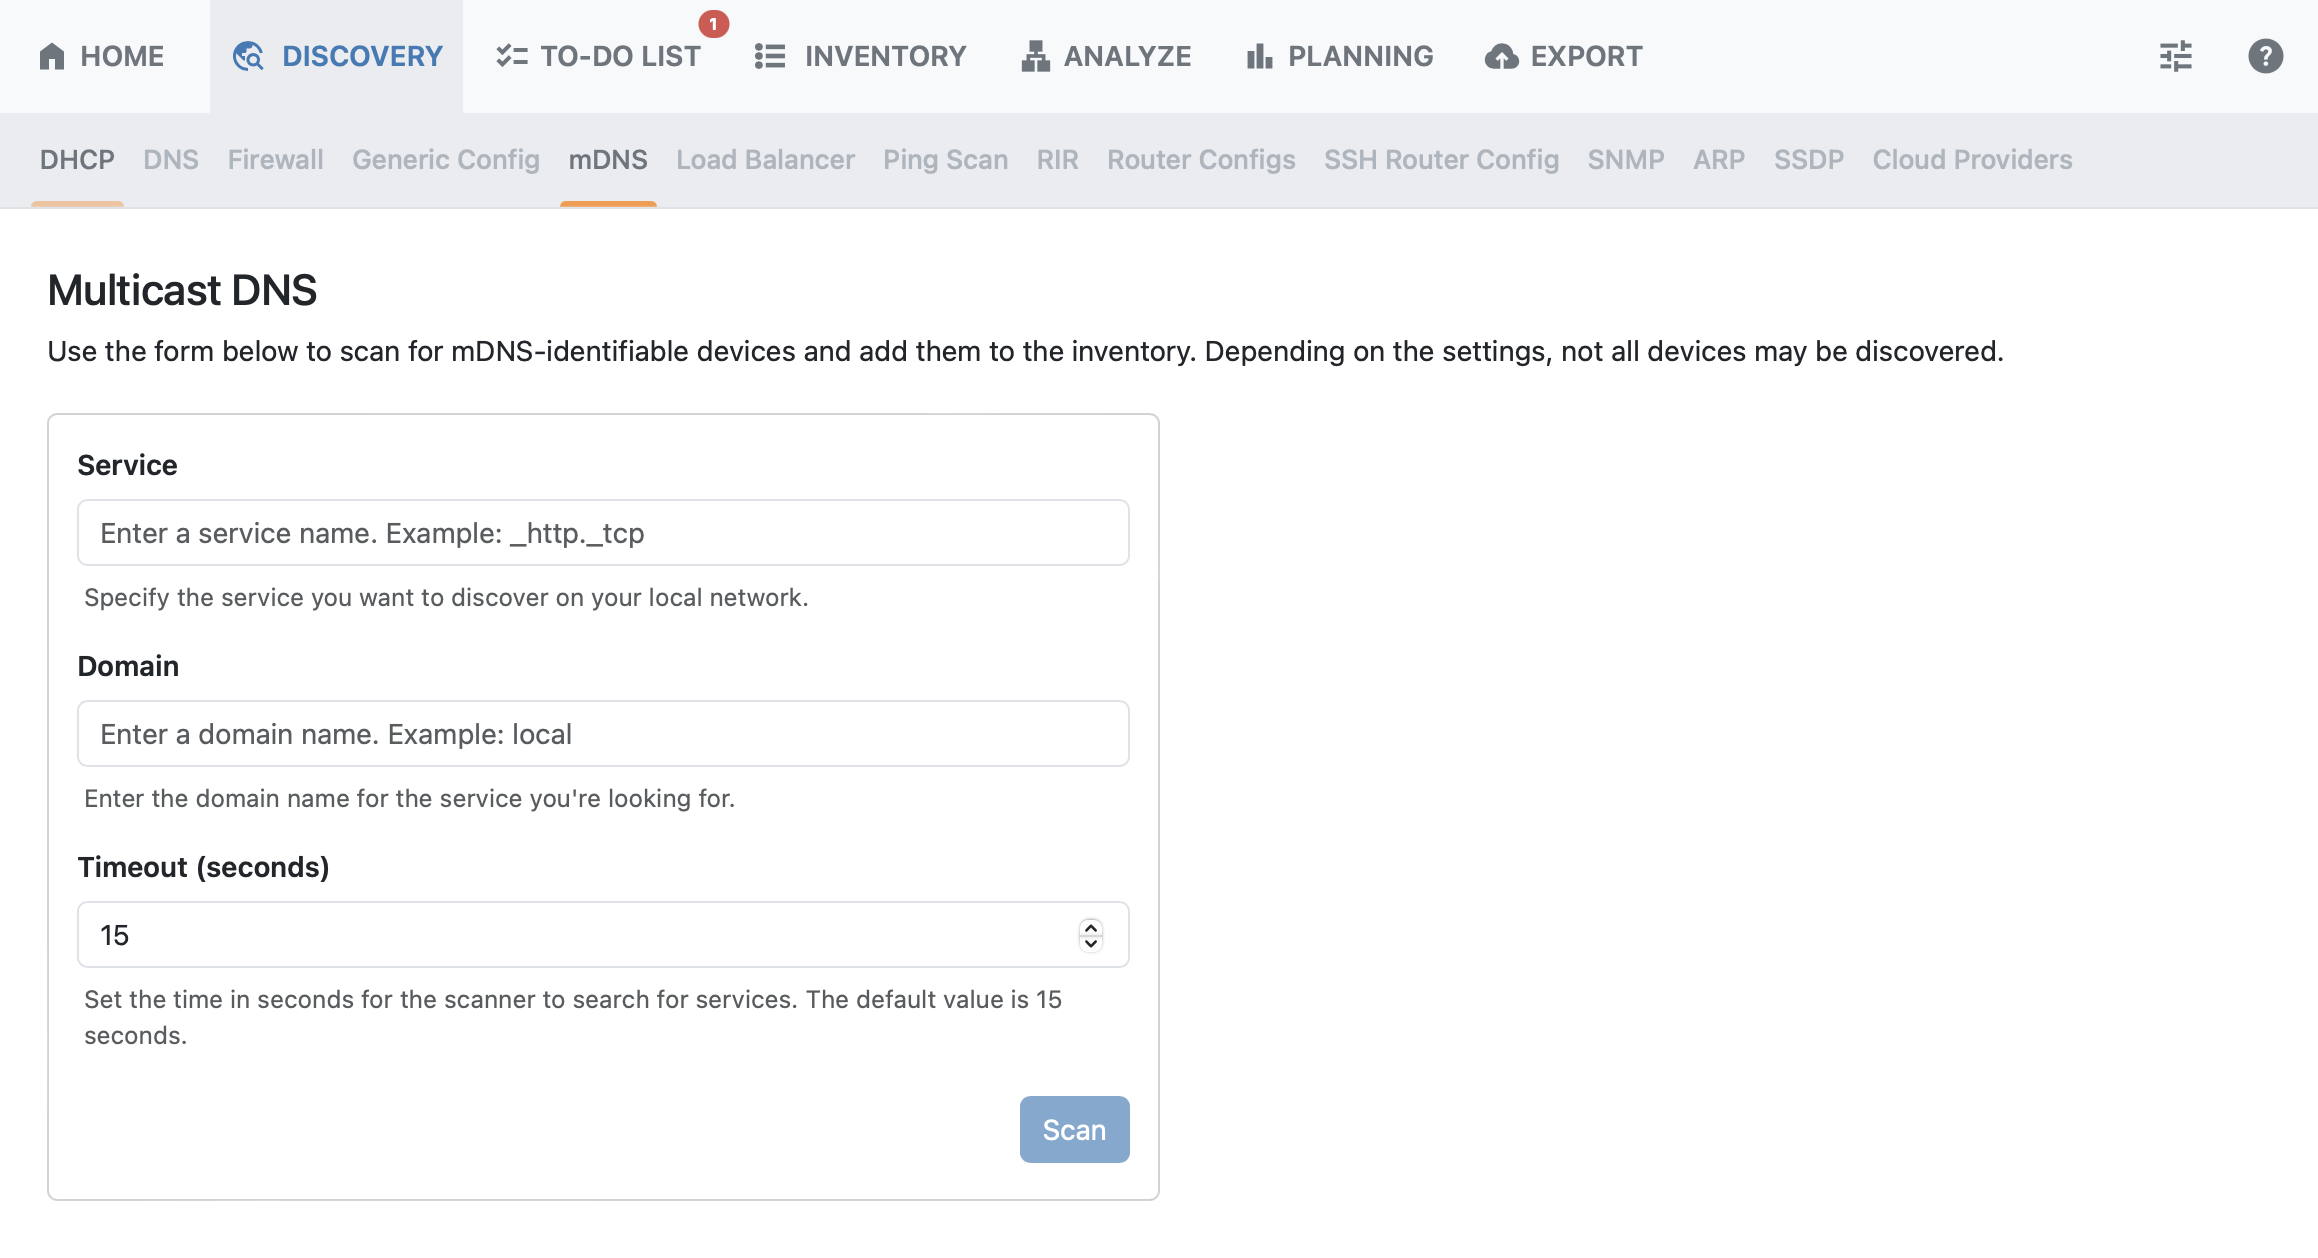
Scans for Multicast DNS identifiable devices. Simply enter a service, domain, and a timeout (in seconds).
Load Balancer
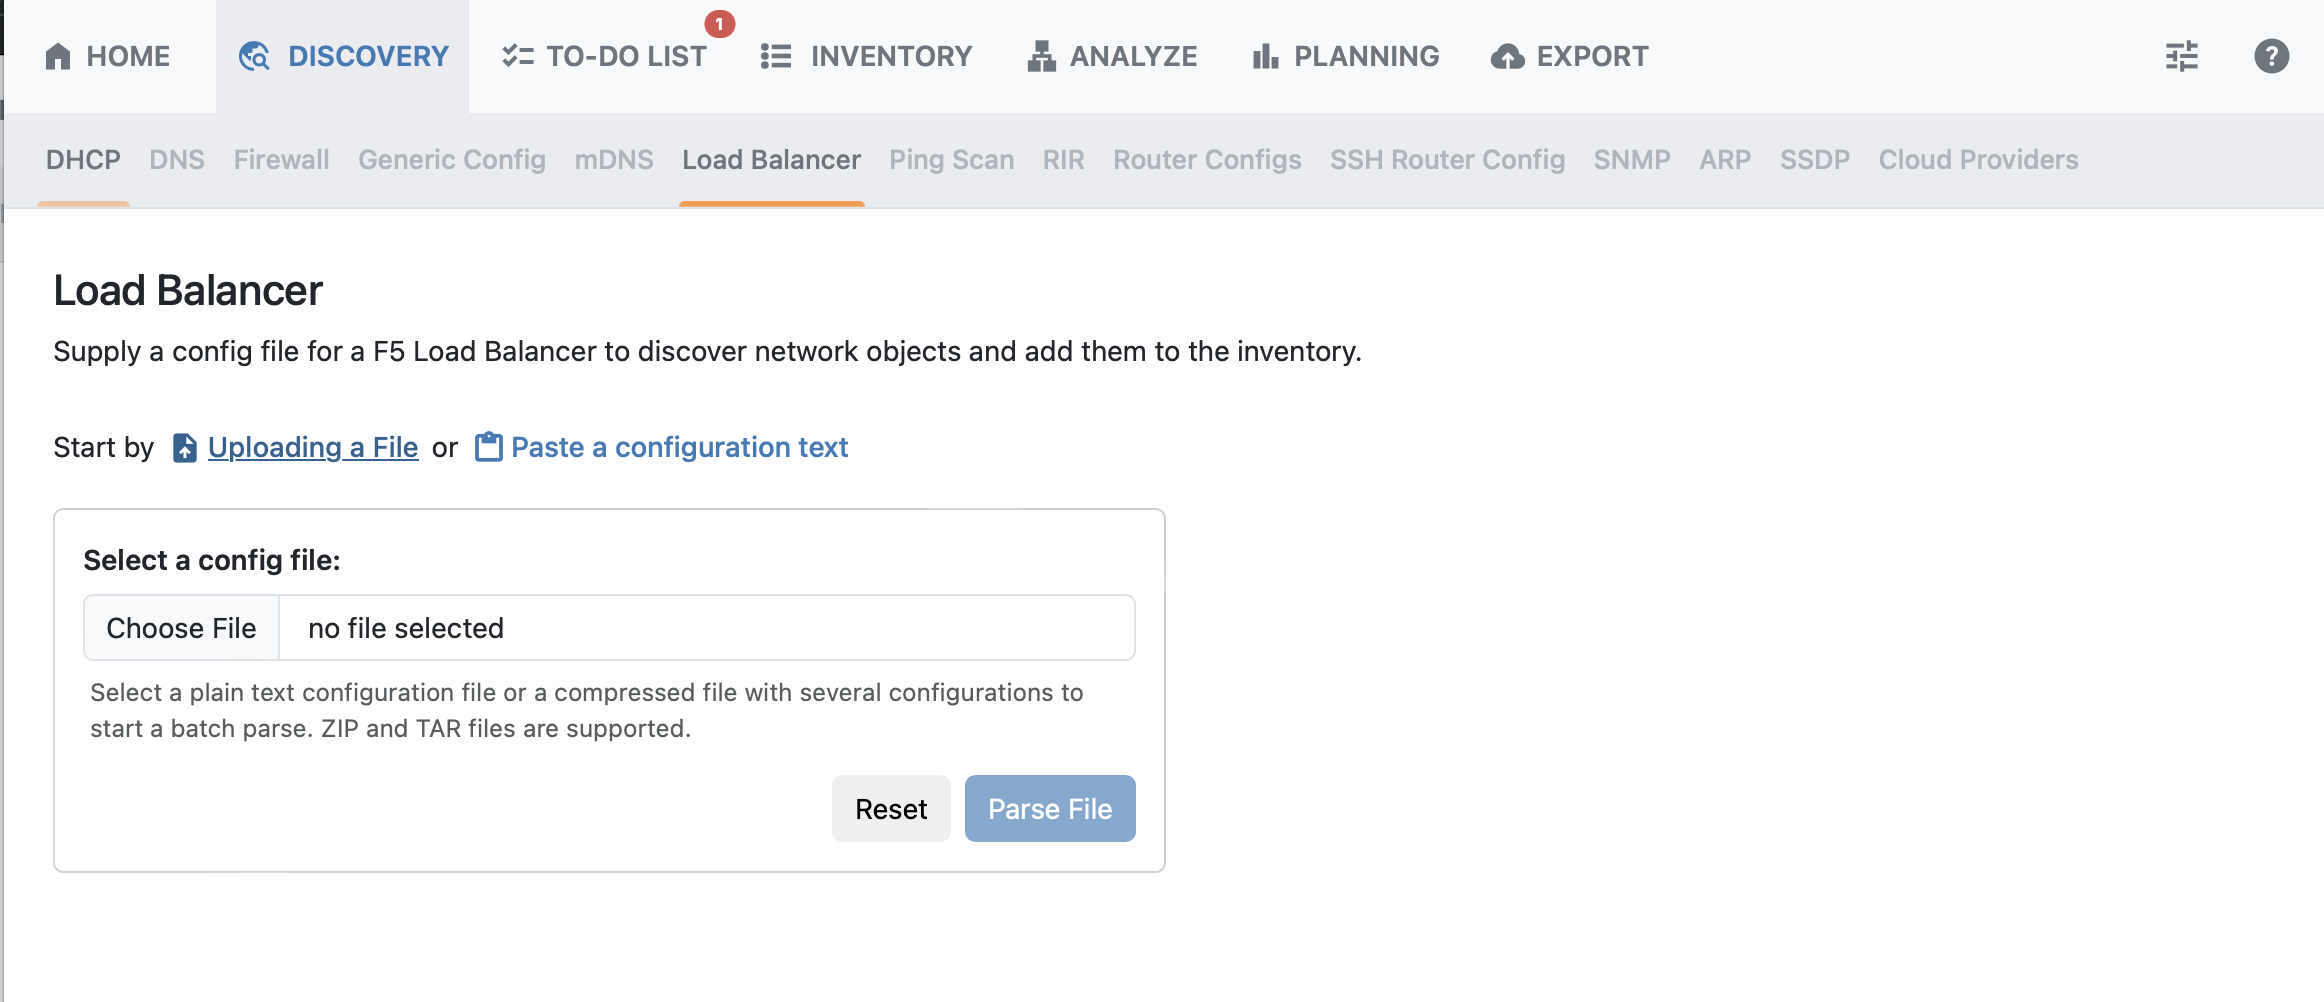
Connects to Load Balancer configs (F5). A config file may be uploaded or configuration text pasted directly into the text field.
Ping Scan
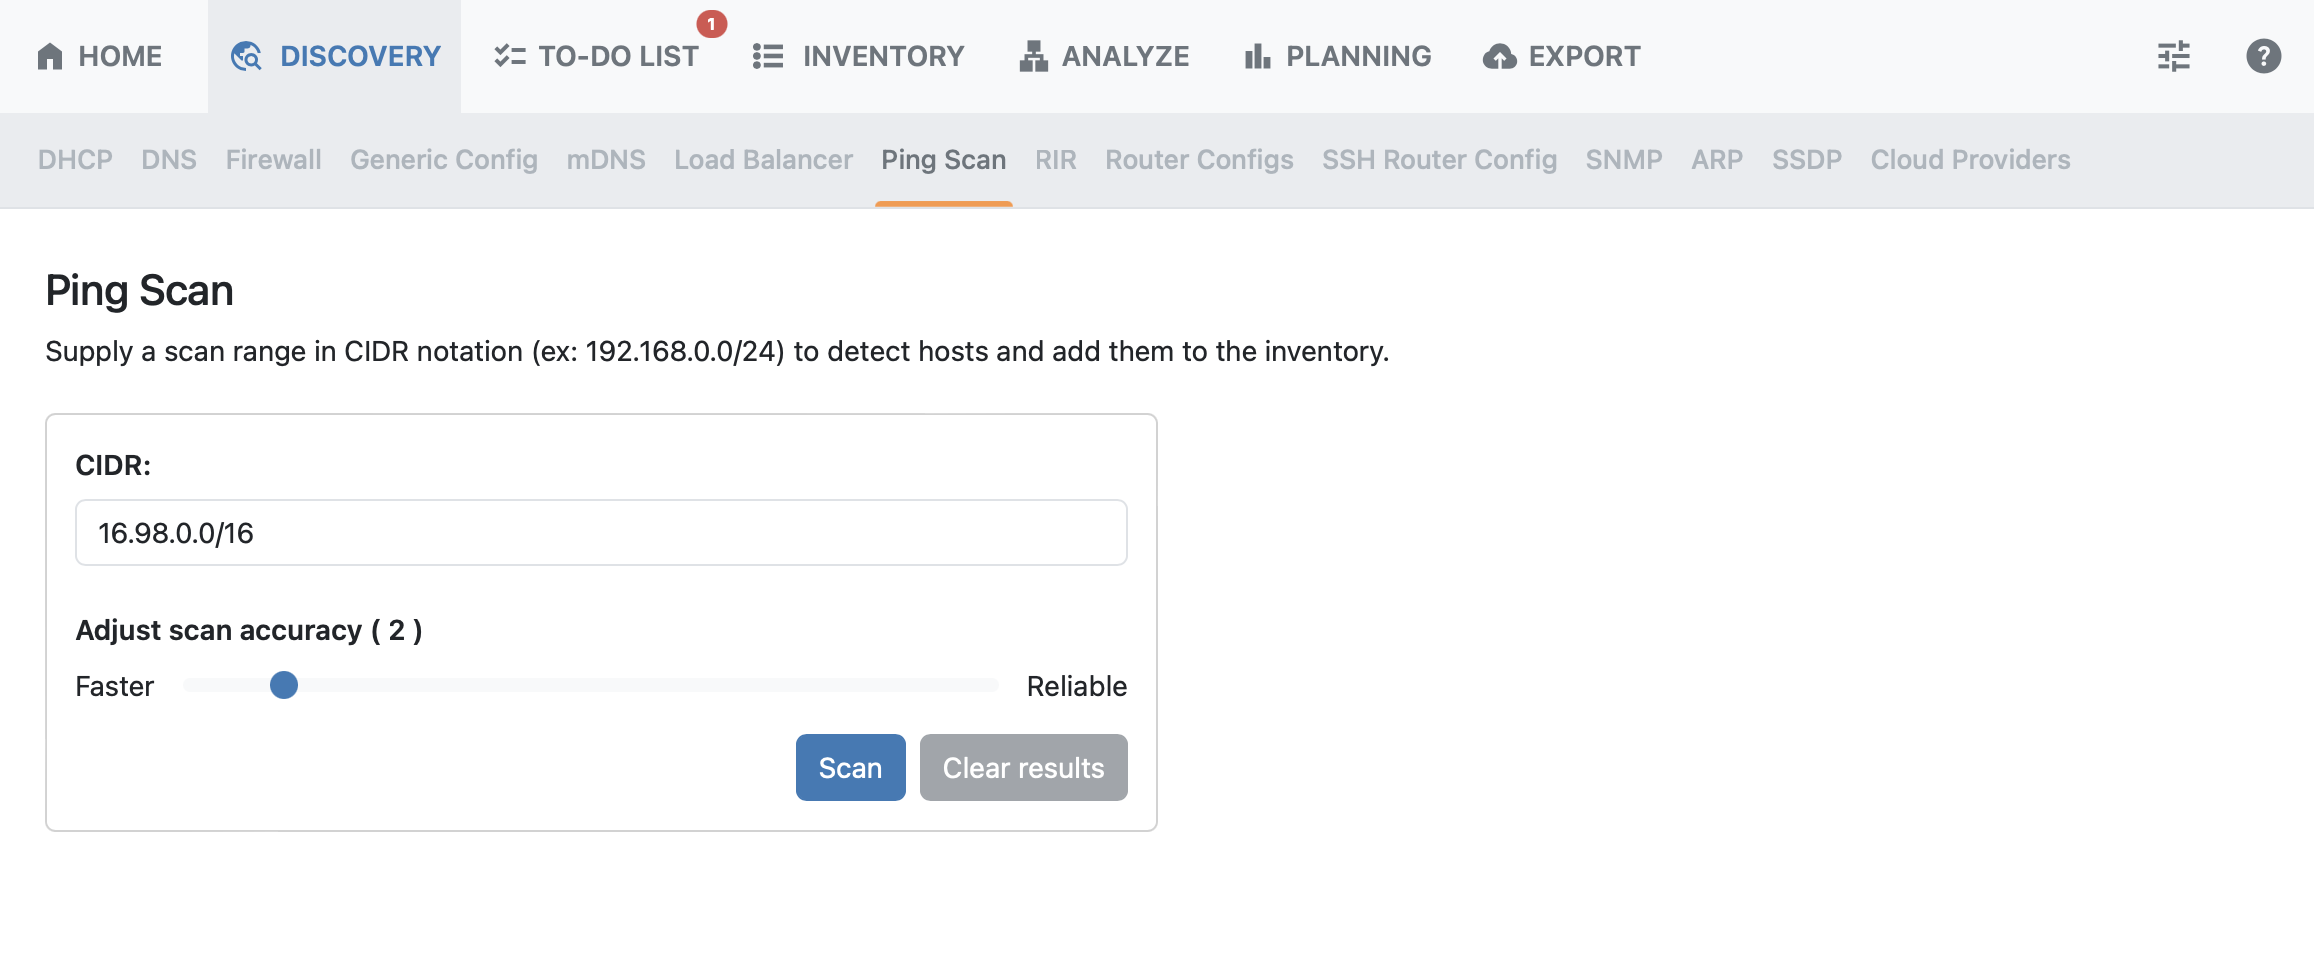
Enter a CIDR to detect hosts and add to the inventory. The scan can be adjusted via a slider to emphasize either speed or accuracy or balanced between the two options.
It is recommended to perform a ping scan after an RIR scan in order to discover individual hosts.
Router Configs
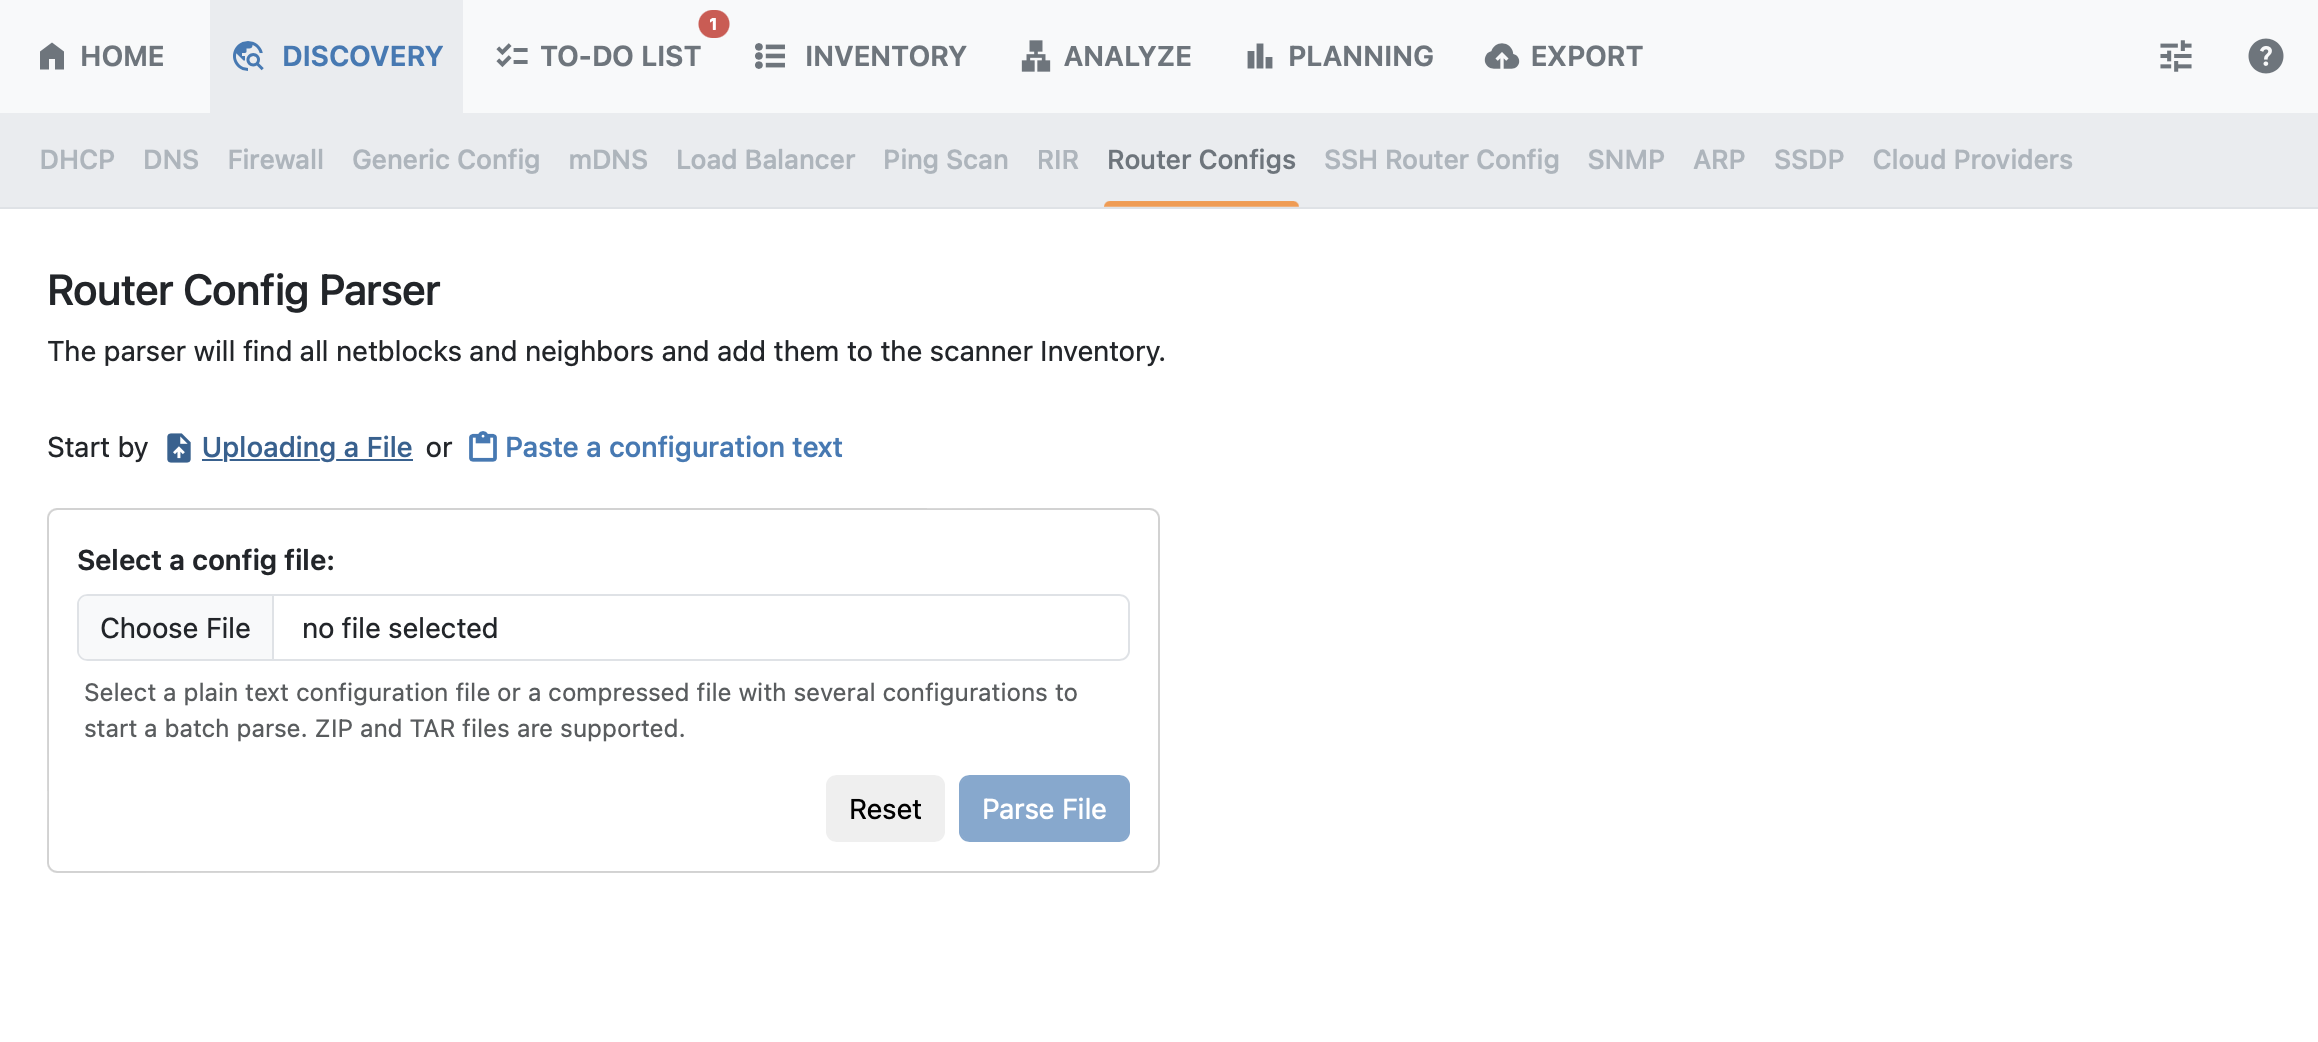
The Router Config page allows the user to either paste full router configs, upload a single config file, or provide an archive of files. ReView parses these configs for configured networks.
Currently supported router configs include the following:
-
Cisco IOS
-
Cisco IOS-XR
-
Juniper
-
Arista
To upload a config file, from the “Uploading a File” section; select a plain text configuration file or a compressed file with several configurations, and click “Parse File”.
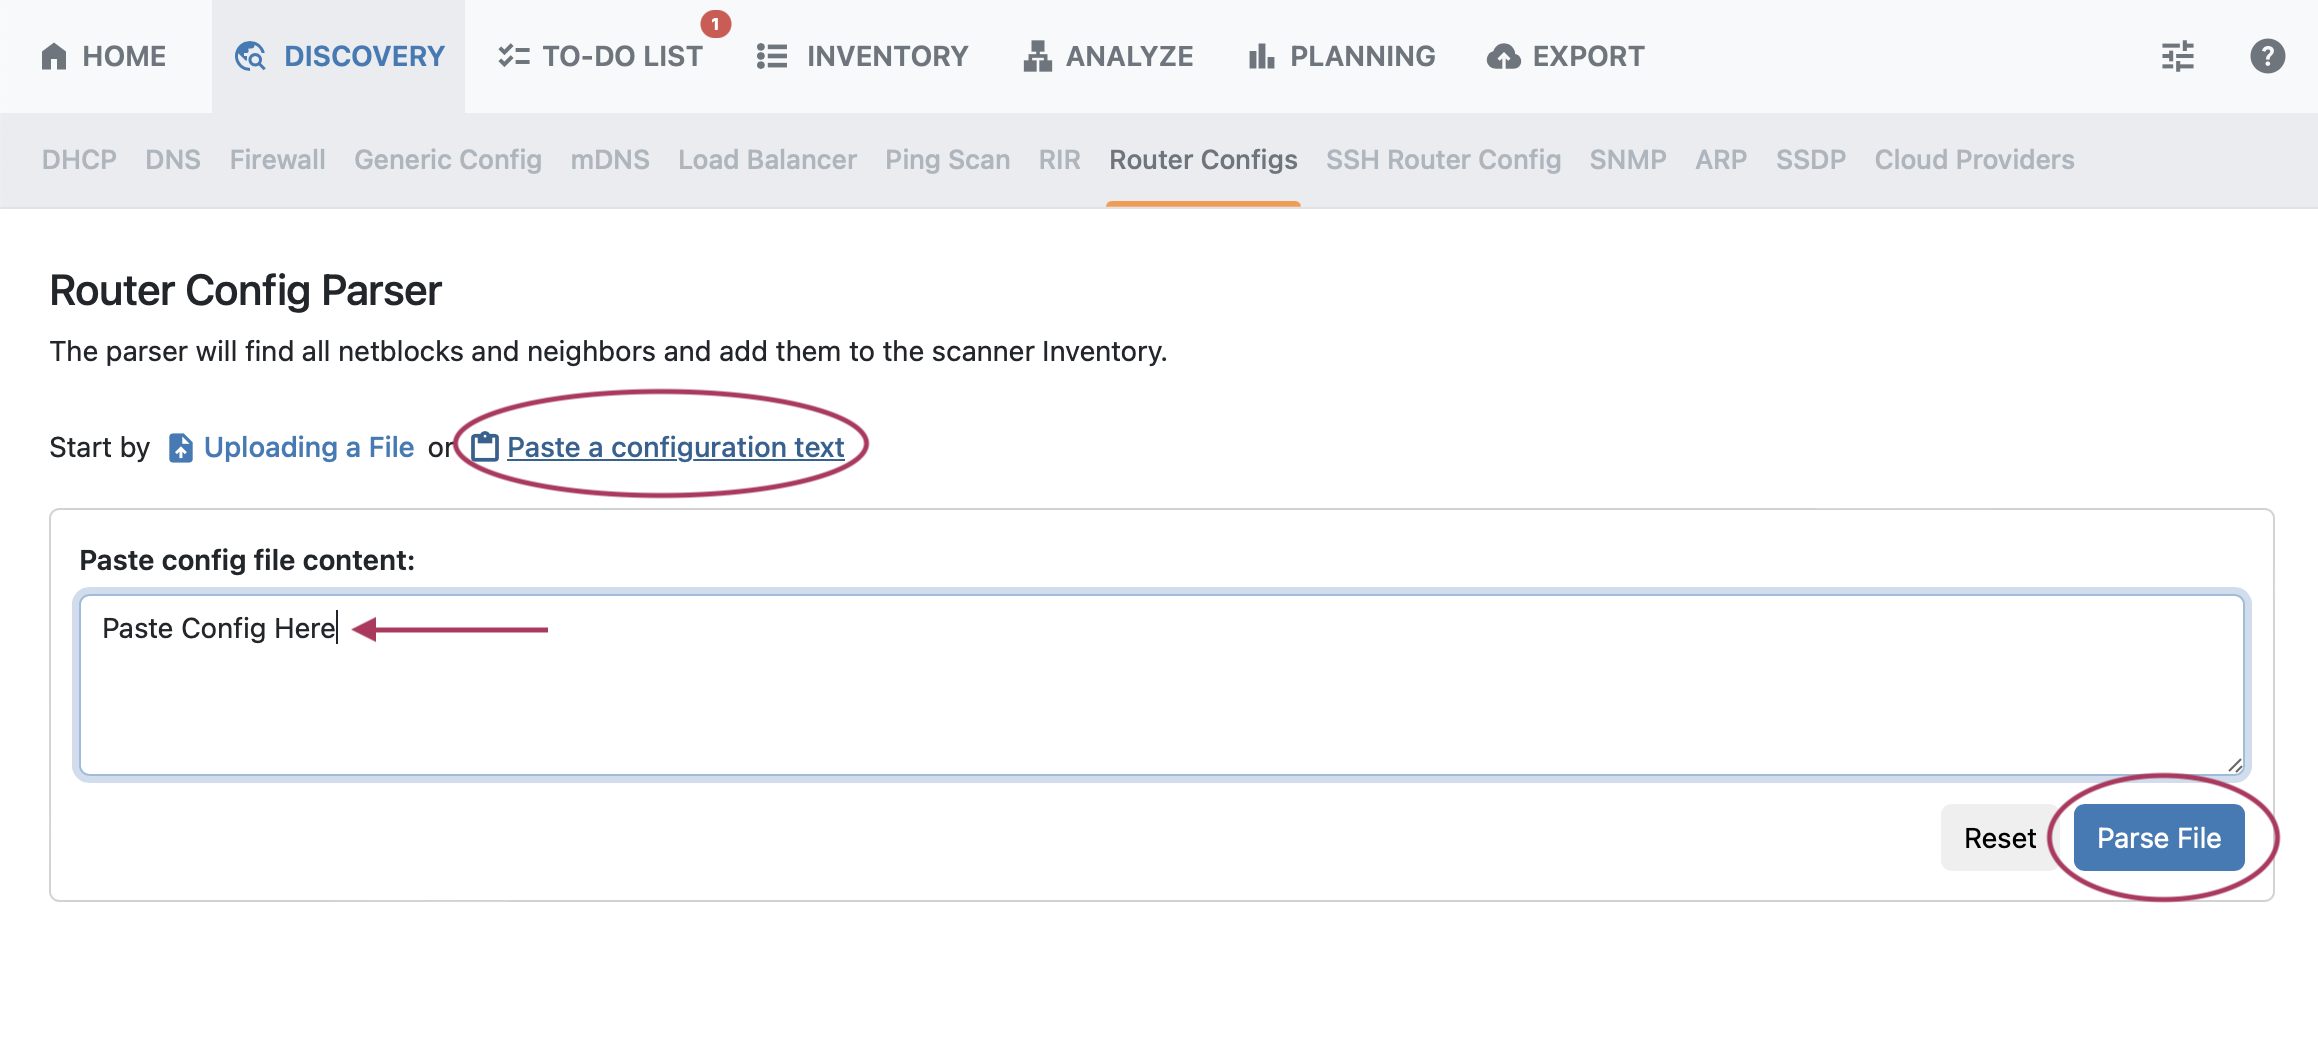
To paste a router config, select “Paste a configuration text”, paste your content, and click “Parse File”.
SSH Router Config
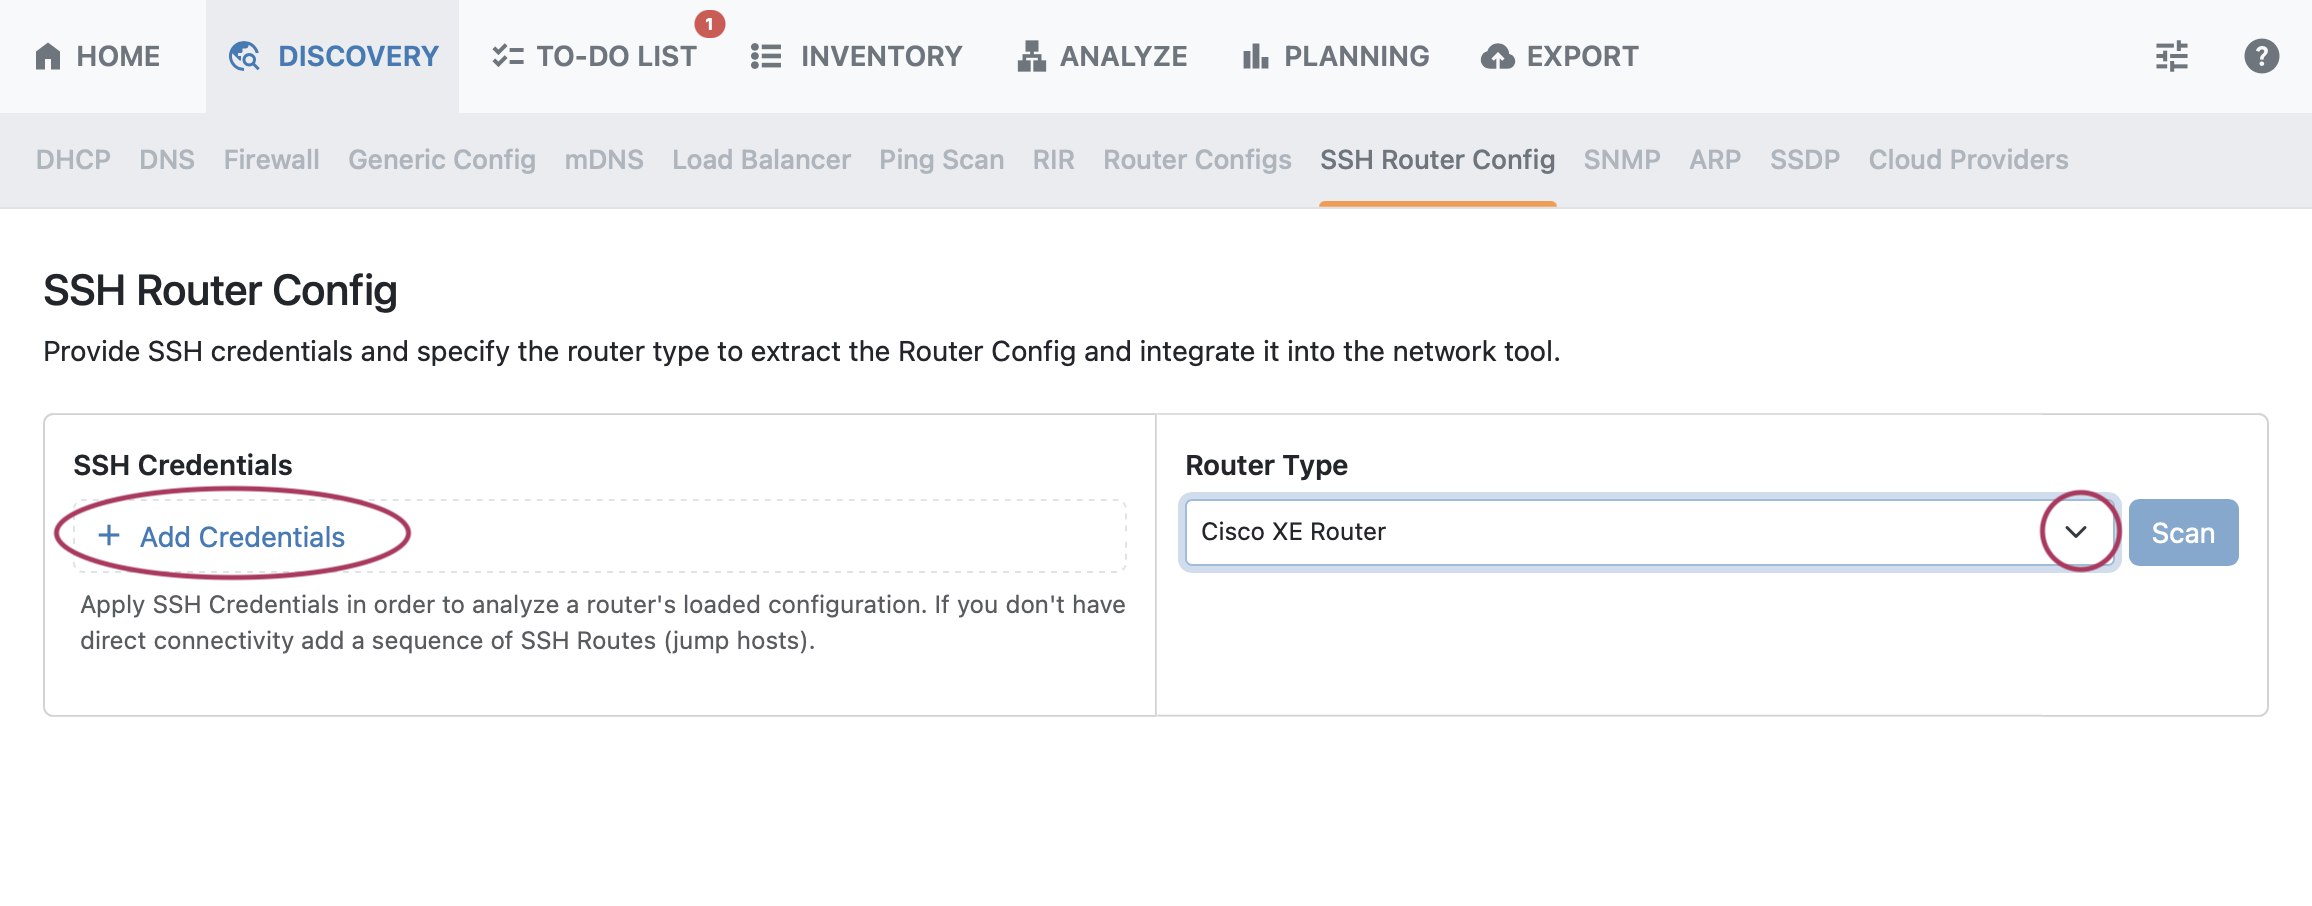
You may also provide credentials for a router, connect via SSH, and then extract the router config in order to integrate it into the tool.
Select a router type from the dropdown and then click “Add Credentials”.
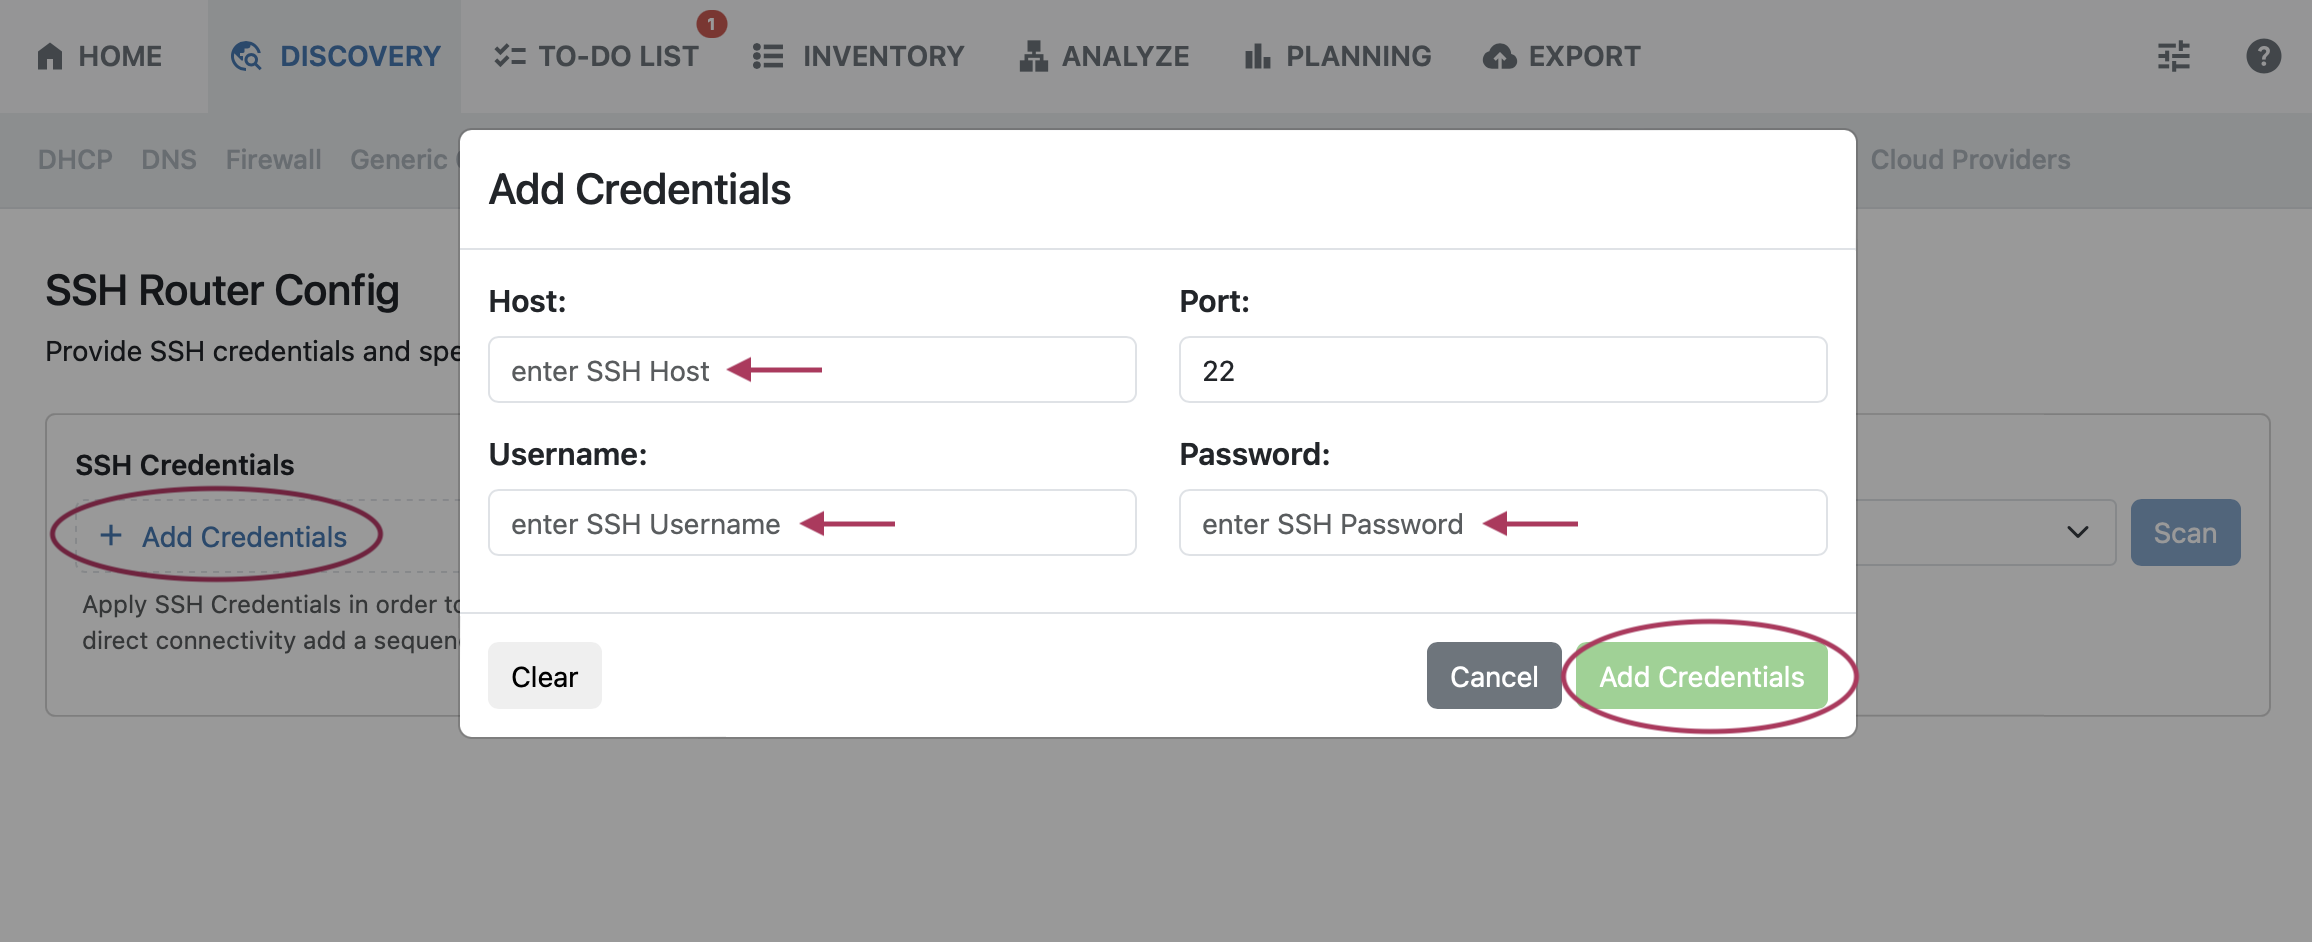
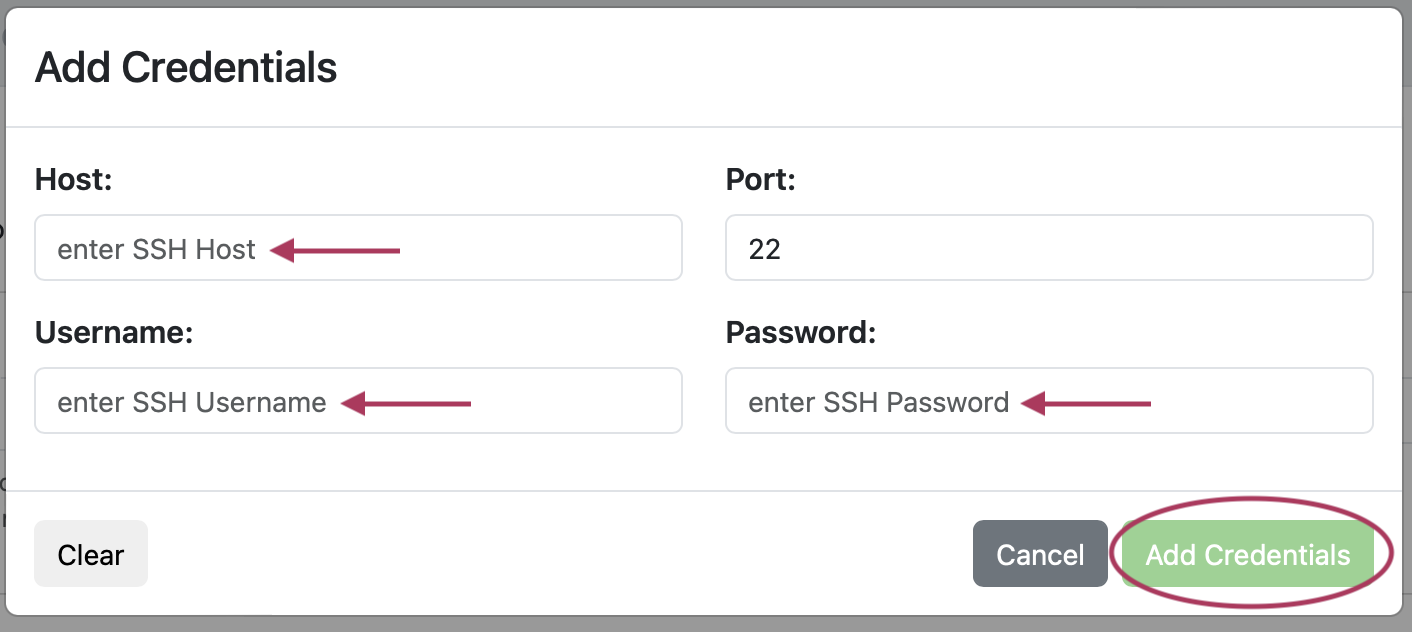
Enter SSH credentials in the resulting form and click the “Add” button.
SNMP
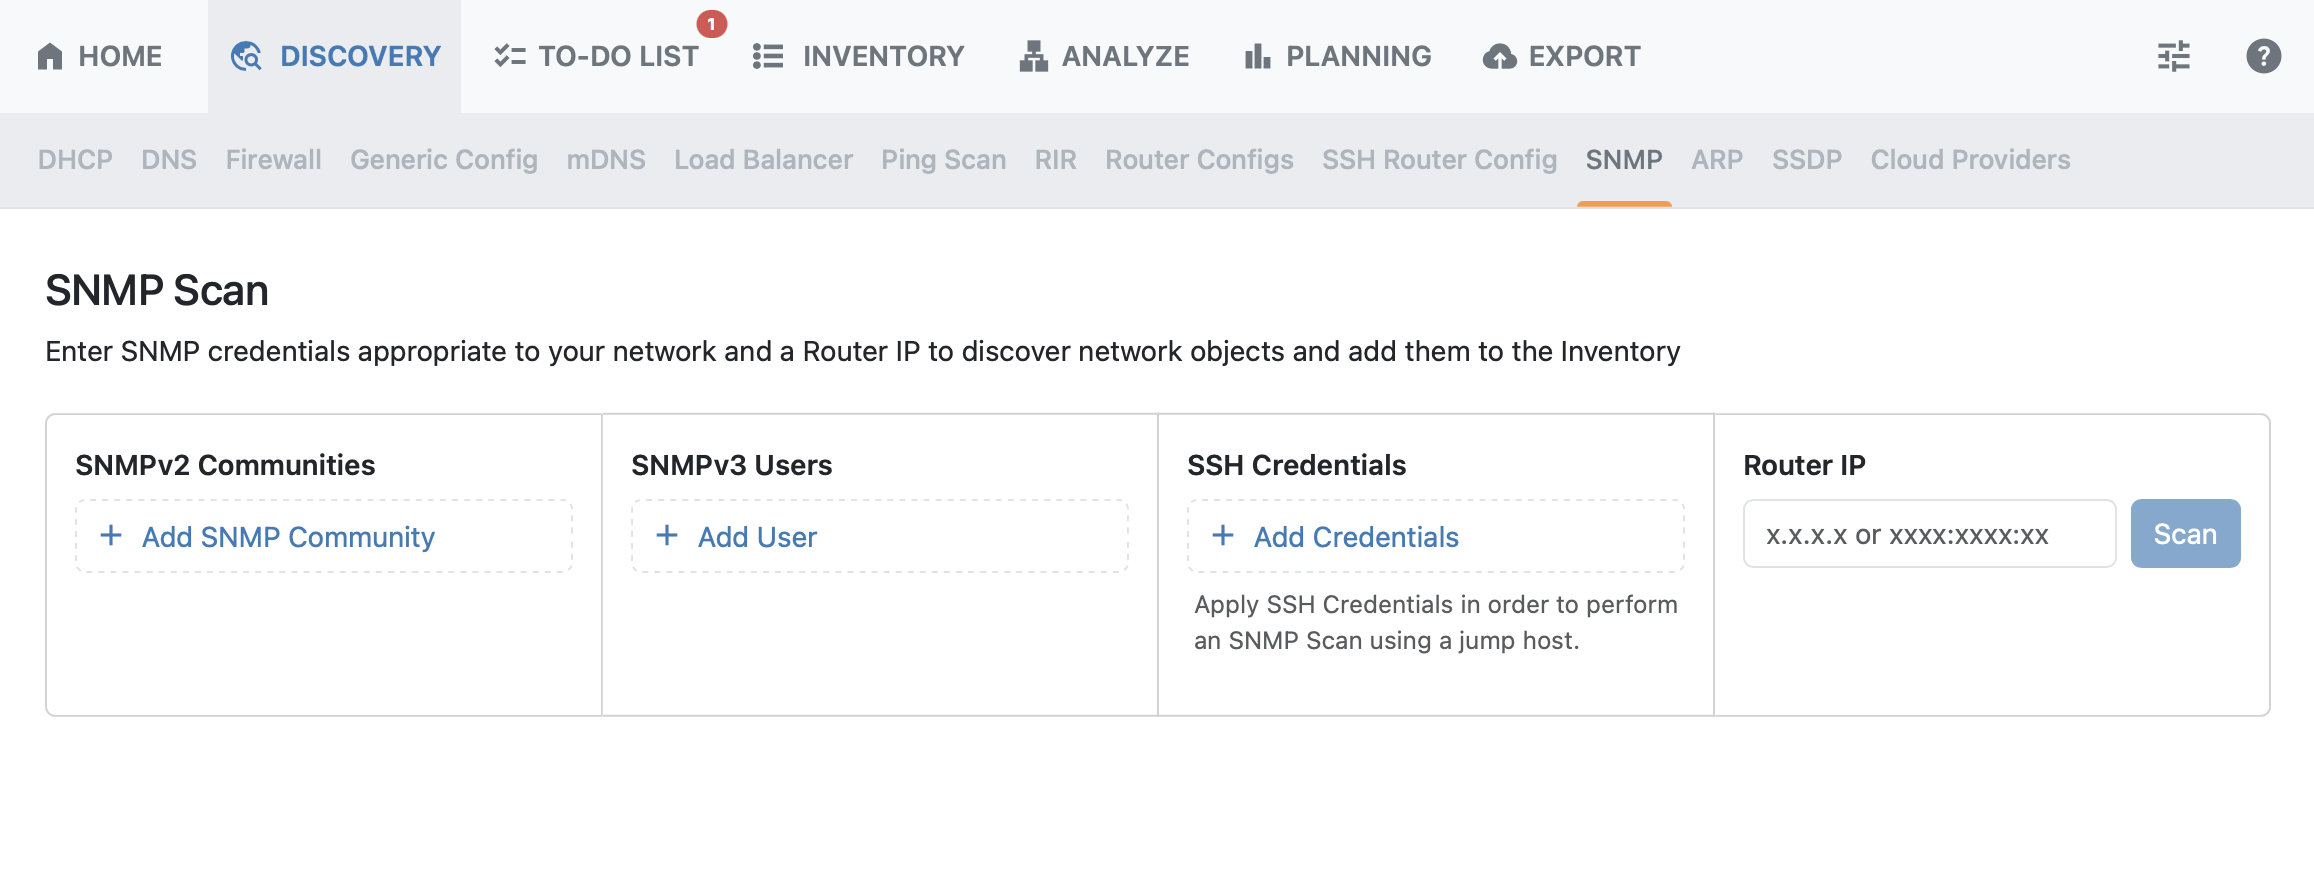
To initiate an SNMP scan, enter credentials and a router IP.
ARP
Supply SSH credentials and a router type to fetch the ARP table and add its contents to the inventory
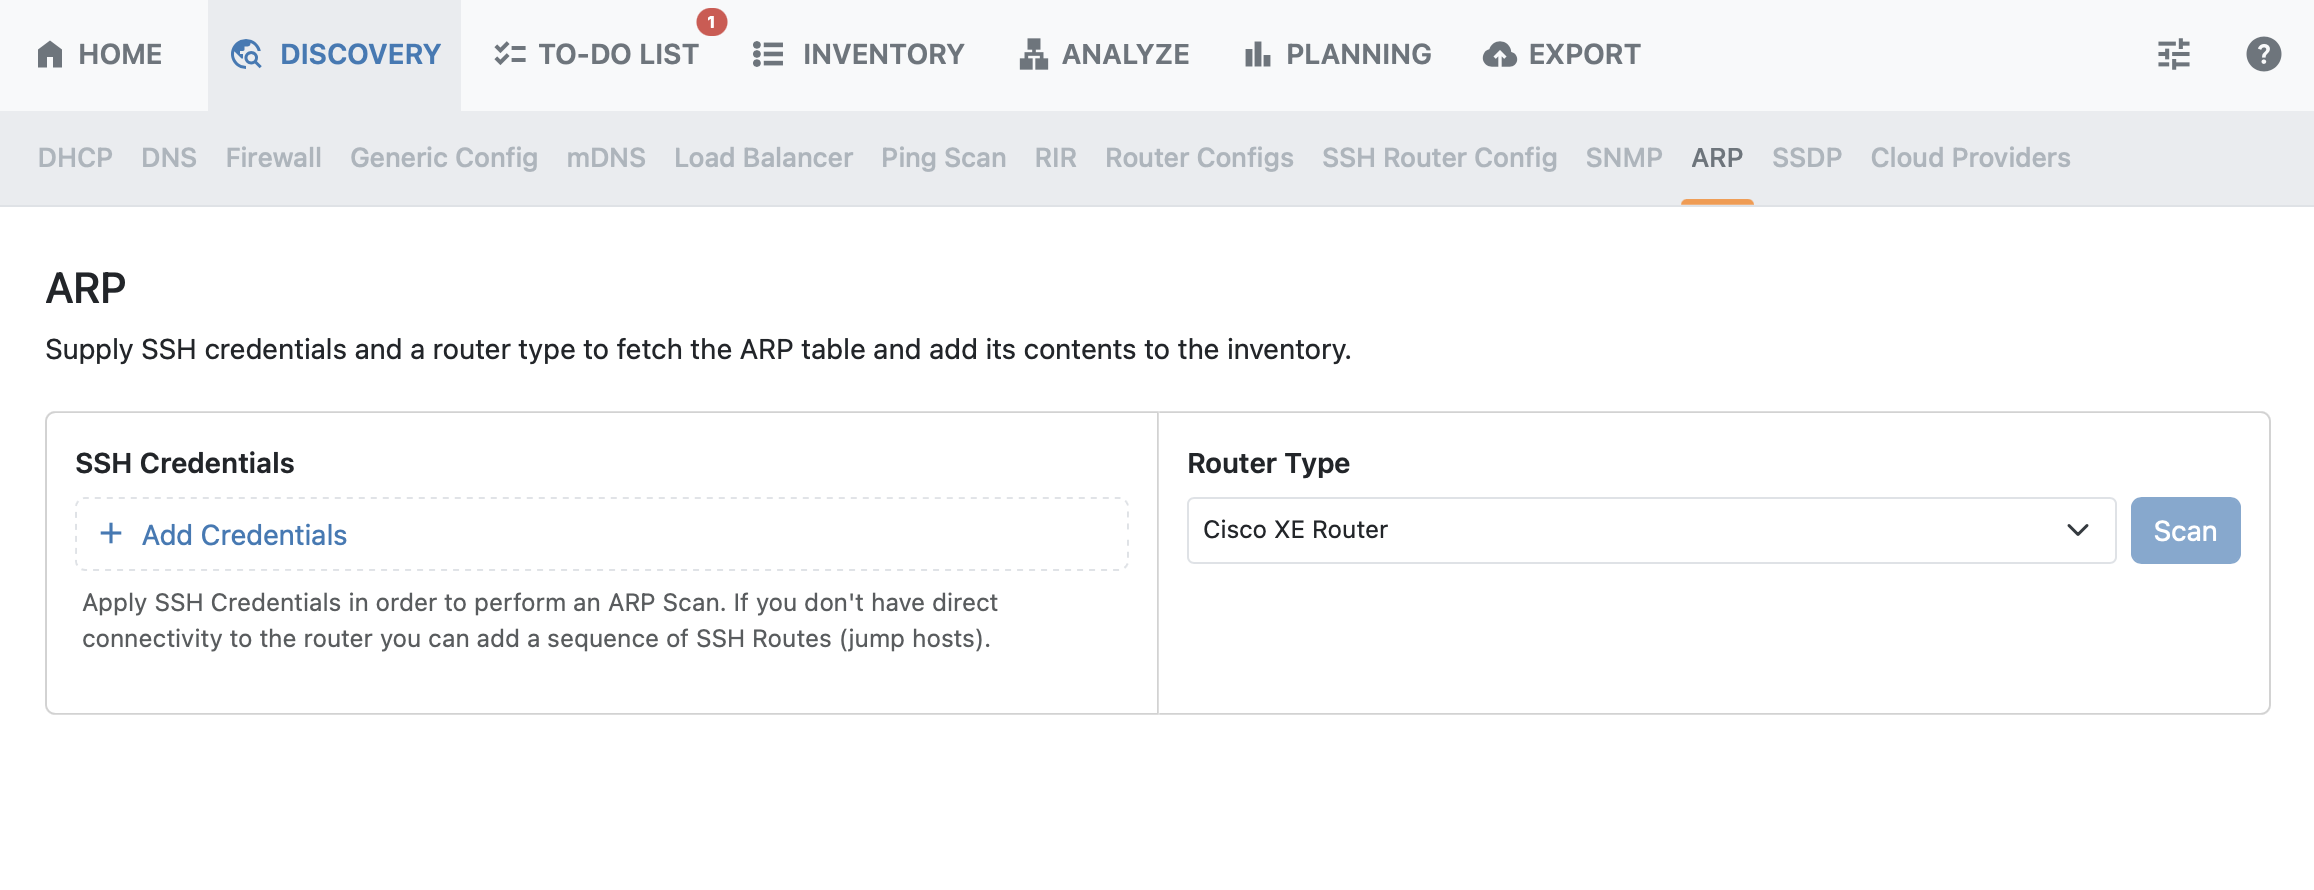
Select a router type and click “Add Credentials”. Enter credentials in the resulting form, and click the “Add” button.
SSDP
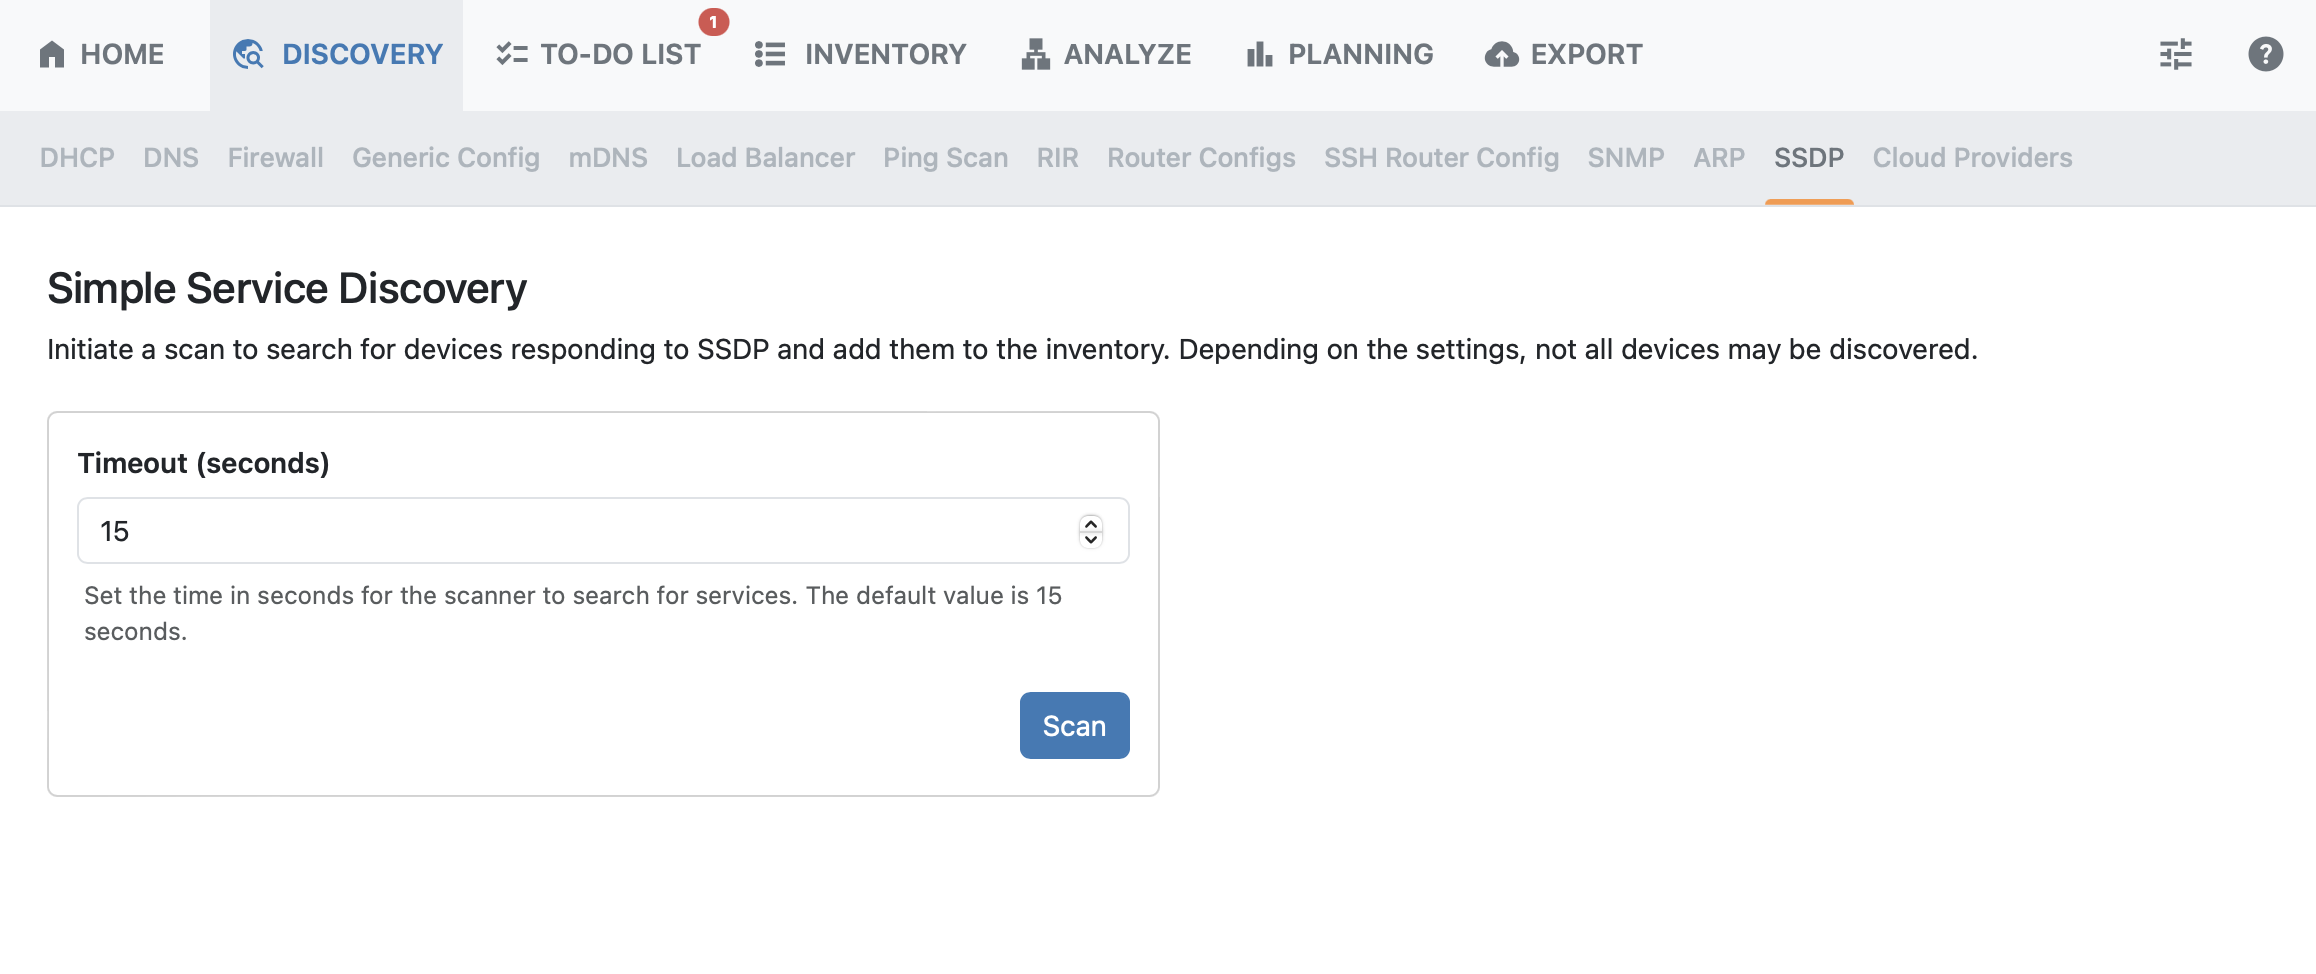
Initiates a scan to search for devices responding to SSDP. The default timeout is 15 seconds.
Cloud Providers
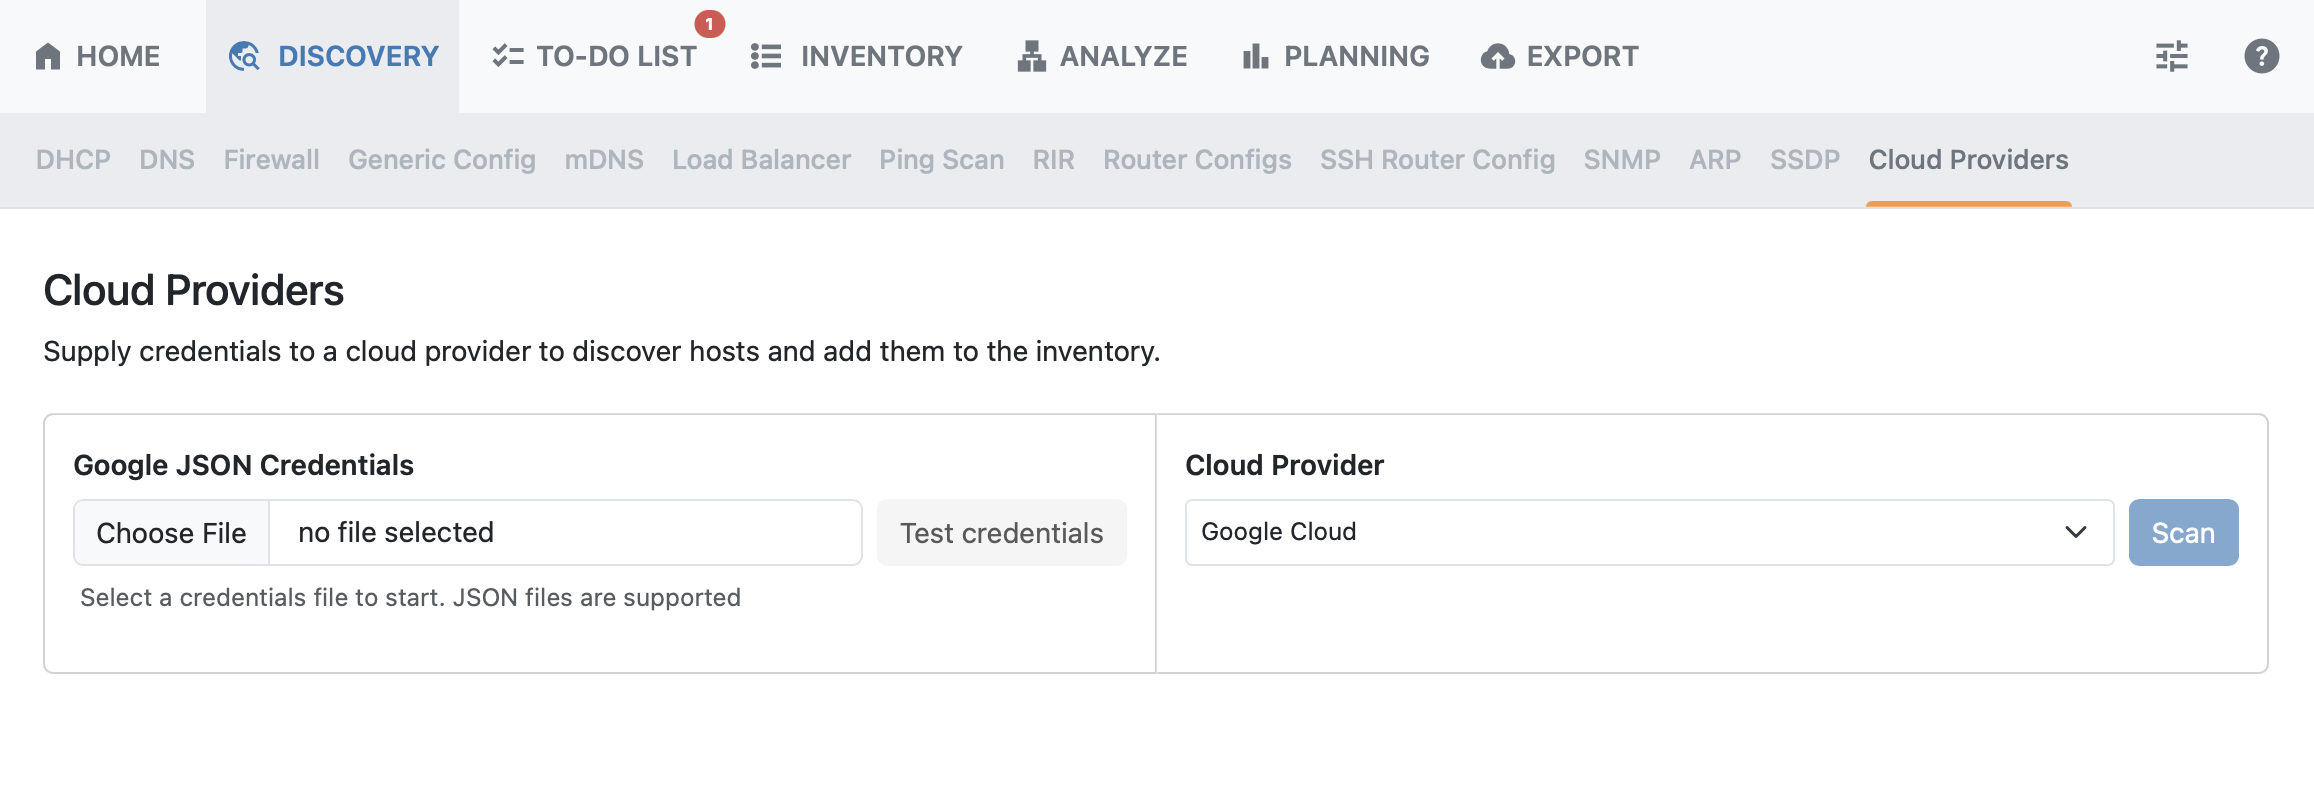
Select a cloud provider and enter credentials to scan cloud provider hosts and add them to the inventory.
Next Steps
If neighboring devices have been discovered via the router config discovery option, those devices will be populated into the To Do List tab for further scanning.
Once one or more of the available Discovery modules has been processed, all found space will be loaded into the Inventory tab for display and auditing.